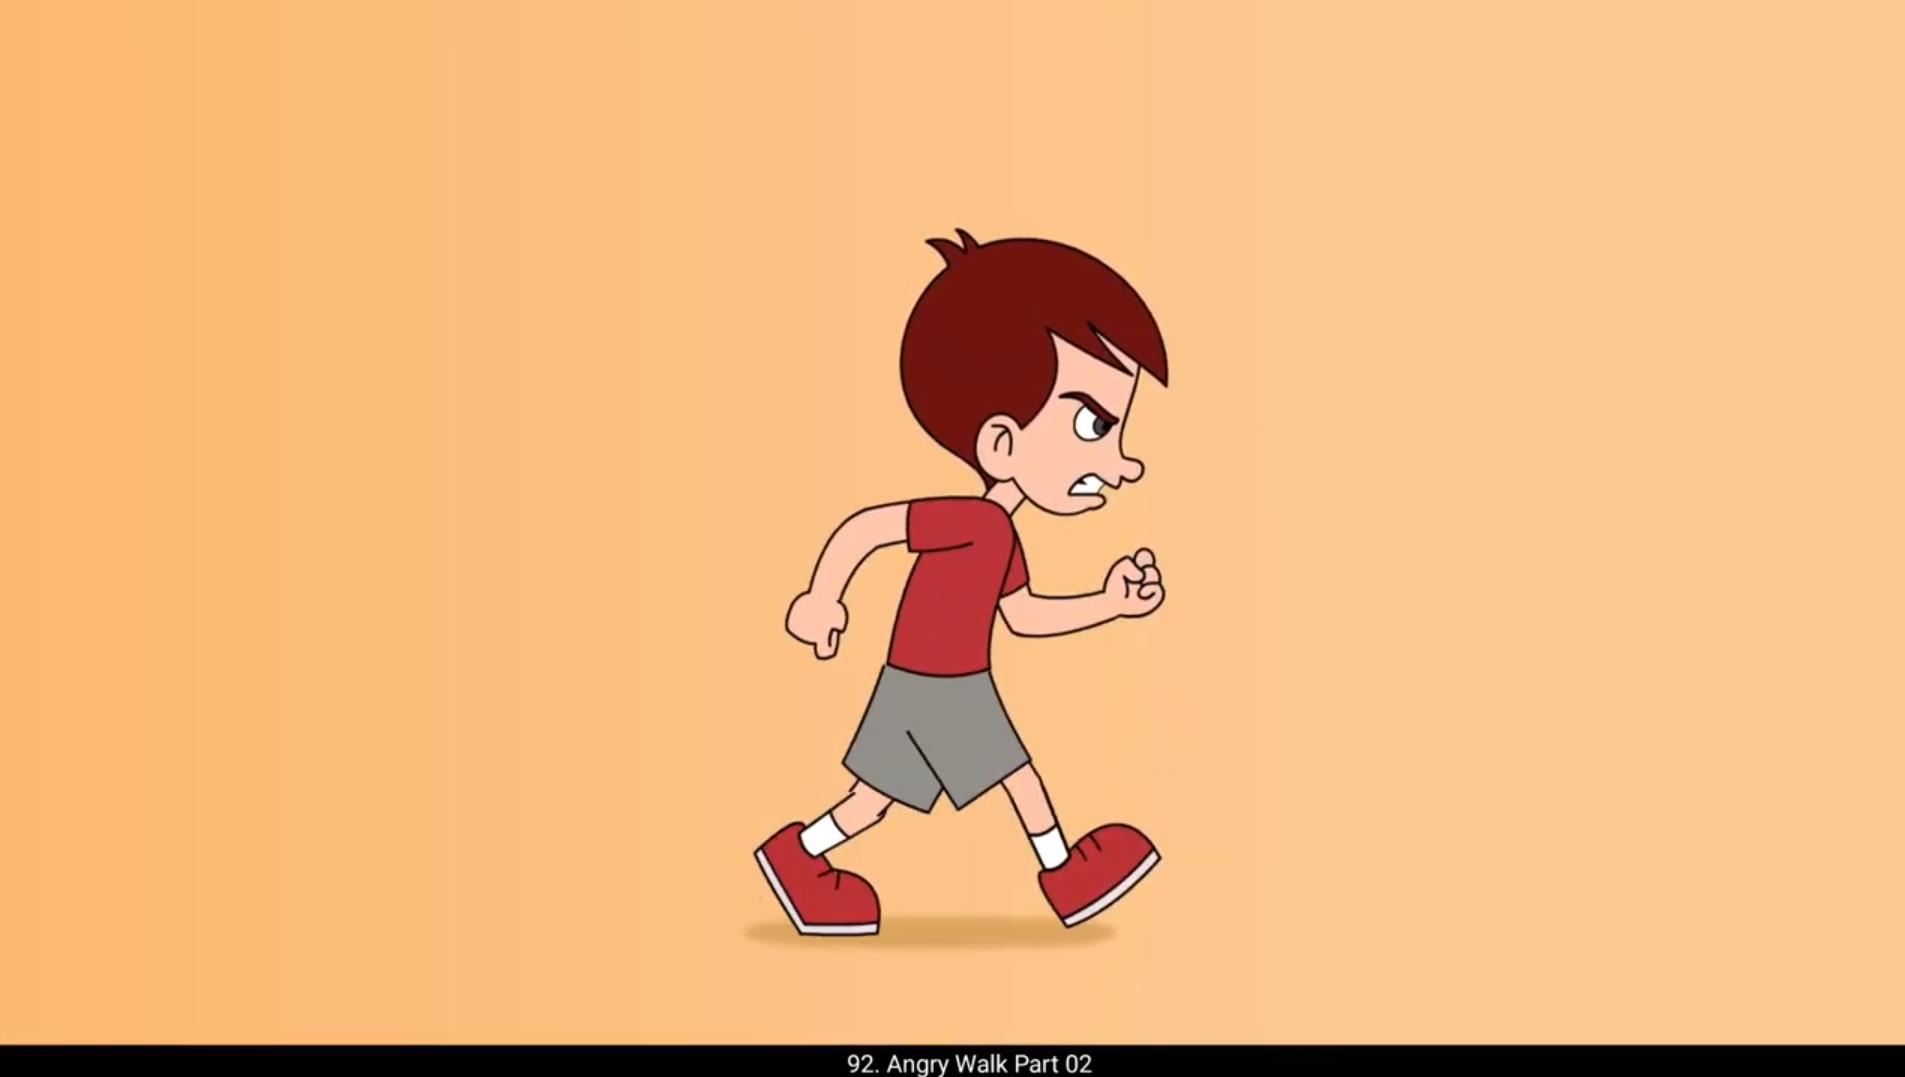
We start vectoring first pose of the walk cycle using character profile from our turn around model sheet.We enter the symbol and place the head and the neck first. We select the torso and double Click to enter it. We increase the frame still frame 25 and modify the shape using the selection tool, the shortcut for which is V. Please see the video and follow. We come out and enter the hand symbol and again increase the frames till frame 25 using F5.We then enter the upper hand symbol and separate the sleeves and the arm on individual layers.We modify the shape of the sleeve and put the outlines and fill of the shape on individual layers. We do the same with the arm group and put the outlines and fill on the separate layers. In this way we vector first pose and separate the lines and fills on individual layers. Please follow the video carefully. After vectoring the first pose, we add a keyframe on frame 13 on all the layers using F6 and start tracing the second key pose by entering the symbols, adding keyframe on all the layers and modifying the shape using the selection tool. Please see the video. We now move ahead to vector the contact position. Please see the video and follow. We add a keyframe on frame 3 on all the layers as seen and enter the torso symbol and again add a keyframe on frame 3 on all the layers. We adjust the torso. Similarly, we trace each and every rough pose that we had drawn in Part 1. Please follow the video carefully. Now that we have traced every key pose and seen in the video, we are going to apply tween to our poses to smoothen out our animation.We select the frame in between the 1st and the 3rd keyframe and add classic tween. We enter the right hand symbol and add classic tween again as we did earlier. We enter the left hand symbol and again add classic tween. We enter the torso and add shape tween here.We enter the upper right leg symbol and add shape tween to both of the groups.We come out of the symbol and add classic tween to the right leg symbol. We do the same for the other leg as well.Please follow the video.We enter the left shoe symbol and add a keyframe on frame two. We adjust the shoe a bit here to match the ground and to match with the keyframe before and after frame 2. We are now going to repeat the same process between the keyframe 13 and 15. We add classic tween outside the symbol and enter the symbol and add shape tween to morph the shape. Please see the video and follow. We now add classic tween between keyframe 3 and 7. We enter the lower right leg symbol and adjust the drawing as seen in the video.We then enter the shoe symbol and adjust the shoe drawing by adding keyframes using F6. Please see the video and follow carefully. We then enter every symbol and add shape between. We fix any kind of distortion by adding shape hints, the shortcut for which is Control plus Shift plus H. After we have created tween between the keyframes, we now fix the breaks and glitches in our animation. If we want to fix a break in the drawing by modifying the drawing, we first add a keyframe to the frame on which we want to modify the drawing inside the symbol. Remember to always add keyframes before changing the drawings. We have now Completed the angry work using tween. Hope you found this useful. Thanks for watching. 😘😘😘😘😘😘😘😘😘😘😘😘😘😘😘😘😘😘😘😘😘😘😘😘😘😘😘😘😘😘😘😘😘😘😘😘😘😘😘😘 हम अपने टर्न अराउंड मॉडल शीट से कैरेक्टर प्रोफाइल यूज़ करके वॉक साइकल का पहला पोज़ वेक्टर करना शुरू करते हैं। हम सिंबल के अंदर जाते हैं और सबसे पहले हेड और नेक को प्लेस करते हैं। हम टॉर्सो को सेलेक्ट करते हैं और उसमें एंटर करने के लिए डबल क्लिक करते हैं। हम फ्रेम को बढ़ाकर फ्रेम 25 तक ले जाते हैं और सेलेक्शन टूल से शेप मॉडिफाई करते हैं, जिसका शॉर्टकट V है। कृपया वीडियो देखें और फॉलो करें। हम बाहर आते हैं और हैंड सिंबल में जाते हैं और F5 की मदद से फ्रेम 25 तक फ्रेम बढ़ाते हैं। फिर हम अपर हैंड सिंबल में जाते हैं और स्लीव्स और आर्म को अलग-अलग लेयर्स पर सेपरेट करते हैं। हम स्लीव की शेप मॉडिफाई करते हैं और उसकी आउटलाइन और फिल को अलग-अलग लेयर्स पर रखते हैं। हम आर्म ग्रुप के साथ भी यही करते हैं और उसकी आउटलाइन और फिल को अलग लेयर्स पर रखते हैं। इस तरह हम पहला पोज़ वेक्टर करते हैं और लाइन्स और फिल्स को अलग-अलग लेयर्स पर सेपरेट करते हैं। कृपया वीडियो को ध्यान से फॉलो करें। पहला पोज़ वेक्टर करने के बाद हम F6 की मदद से सभी लेयर्स पर फ्रेम 13 पर कीफ्रेम ऐड करते हैं और सिंबल में जाकर, सभी लेयर्स पर कीफ्रेम ऐड करके और सेलेक्शन टूल से शेप मॉडिफाई करके दूसरा की पोज़ ट्रेस करना शुरू करते हैं। कृपया वीडियो देखें। अब हम कॉन्टैक्ट पोज़िशन को वेक्टर करने के लिए आगे बढ़ते हैं। कृपया वीडियो देखें और फॉलो करें। जैसा दिखाया गया है, हम सभी लेयर्स पर फ्रेम 3 पर कीफ्रेम ऐड करते हैं और टॉर्सो सिंबल में जाकर फिर से सभी लेयर्स पर फ्रेम 3 पर कीफ्रेम ऐड करते हैं। हम टॉर्सो को एडजस्ट करते हैं। इसी तरह हम पार्ट 1 में बनाए गए हर एक रफ पोज़ को ट्रेस करते हैं। कृपया वीडियो को ध्यान से फॉलो करें। अब जब हमने हर की पोज़ को ट्रेस कर लिया है और वीडियो में देख लिया है, तो हम अपनी एनीमेशन को स्मूद करने के लिए पोज़ेस पर ट्वीन अप्लाई करेंगे। हम पहले और तीसरे कीफ्रेम के बीच वाले फ्रेम को सेलेक्ट करते हैं और क्लासिक ट्वीन ऐड करते हैं। हम राइट हैंड सिंबल में जाते हैं और पहले की तरह फिर से क्लासिक ट्वीन ऐड करते हैं। हम लेफ्ट हैंड सिंबल में जाते हैं और फिर से क्लासिक ट्वीन ऐड करते हैं। हम टॉर्सो में जाते हैं और यहाँ शेप ट्वीन ऐड करते हैं। हम अपर राइट लेग सिंबल में जाते हैं और दोनों ग्रुप्स में शेप ट्वीन ऐड करते हैं। हम सिंबल से बाहर आते हैं और राइट लेग सिंबल में क्लासिक ट्वीन ऐड करते हैं। हम यही प्रोसेस दूसरी लेग के साथ भी करते हैं। कृपया वीडियो फॉलो करें। हम लेफ्ट शू सिंबल में जाते हैं और फ्रेम 2 पर एक कीफ्रेम ऐड करते हैं। हम यहाँ शू को थोड़ा एडजस्ट करते हैं ताकि वह ग्राउंड से और फ्रेम 2 के पहले और बाद वाले कीफ्रेम से मैच हो सके। अब हम कीफ्रेम 13 और 15 के बीच वही प्रोसेस दोहराने वाले हैं। हम सिंबल के बाहर क्लासिक ट्वीन ऐड करते हैं और सिंबल के अंदर जाकर शेप को मॉर्फ करने के लिए शेप ट्वीन ऐड करते हैं। कृपया वीडियो देखें और फॉलो करें। अब हम कीफ्रेम 3 और 7 के बीच क्लासिक ट्वीन ऐड करते हैं। हम लोअर राइट लेग सिंबल में जाते हैं और वीडियो में दिखाए अनुसार ड्रॉइंग को एडजस्ट करते हैं। फिर हम शू सिंबल में जाते हैं और F6 की मदद से कीफ्रेम ऐड करके शू की ड्रॉइंग एडजस्ट करते हैं। कृपया वीडियो देखें और ध्यान से फॉलो करें। फिर हम हर सिंबल में जाकर शेप ट्वीन ऐड करते हैं। हम किसी भी तरह की डिस्टॉर्शन को ठीक करने के लिए शेप हिंट्स ऐड करते हैं, जिसका शॉर्टकट कंट्रोल प्लस शिफ्ट प्लस H है। कीफ्रेम्स के बीच ट्वीन बनाने के बाद अब हम अपनी एनीमेशन में आने वाले ब्रेक्स और ग्लिचेस को ठीक करते हैं। अगर हम ड्रॉइंग को मॉडिफाई करके कोई ब्रेक ठीक करना चाहते हैं, तो सबसे पहले हम उस फ्रेम पर कीफ्रेम ऐड करते हैं जिस पर हमें सिंबल के अंदर ड्रॉइंग बदलनी है। याद रखें, ड्रॉइंग बदलने से पहले हमेशा कीफ्रेम ज़रूर ऐड करें। अब हमने ट्वीन की मदद से पूरा एनीमेशन वर्क कम्प्लीट कर लिया है। उम्मीद है आपको यह उपयोगी लगा होगा। देखने के लिए धन्यवाद।