In this tutorial we are going to animate a flowing hose pipe.We are going to do this with drawn keyframes just like it's done in the traditional animation. You will see that we have 3 layers with us here. 1 is the background with the city skyline, so we have named it BG. One is called Overlay, it has the fireman on it.And the third is layer 2 where we'll animate the flowing water. So let's call it animation. Let's start drawing the keys by using the brush tool. The shortcut is B. We are going to have each one of our drawings seen for 2 frames, which means we will place our key drawings after every other frame. In traditional animation, this is known as keeping your animation in twos. Before we start drawing, let's add a layer 3 just above the PG layer using the line tool.Draw a line. The shortcut is N We then modify it so that it serves as a guide for the flowing water that comes out of the pipe. We are going to make the line thicker by going to the tab at the right of our work area and then going to the slider that says stroke size. This is in properties, Object color and style strokes and we can change the stroke size to 9 as seen in the video. Then using the selection tool, the shortcut is V Curve the line so that it can work.Well, as a guide for the flowing water, please follow the video for the curve. We lock layer 3 now and let's go back to the animation layer and start drawing our keys using the brush tool. The shortcut is D. Please make sure you choose a similar shade of blue which we can see in the video. And also make sure you follow the key drawings in the video. We now switch on the onion skin so that we can see a trace of the other keys.
Please see the video to locate the onion skin switch.Also keep with the video to see where the key drawings are placed on the timeline. You will notice that there are small little details being drawn. Please make sure you try to match them as far as possible to get a good result.
Once five key drawings are done, as seen in the video, we move on to coloring our key drawings.
Once we are done with the coloring, we add some highlights to the water for it to look more realistic and more interesting. Again, please keep up with the video for the details.
We now add a new layer called reflection and do the reflection or the highlights for the last two key drawings of the water on this layer. You will see why we do this as we move ahead in the tutorial.
Once we are done with the highlights we add a new layer 5. We then draw a rectangle using the Rectangle tool. The shortcut is R Then we select the rectangle and convert it to a symbol using F8 and call it Water Flow. We now select our animation layer in reflection or the highlight layer. Holding down the shift key. We right click on any one of the layers and select Cut Layer option from the drop down menu.It's now double click on the symbol on layer 5 and enter it. Now we right click on the layer one and choose paste layer from the menu that shows.
We now exit the symbol by clicking on the Scene 1 tab as seen in the video.We can move ahead now. We now adjust the symbol that has our water flowing animation so that it matches with the hose pipe.
Let's explore the SWF and see the preview using control enter.We need to go back and once we are back we are now going to make some more changes in our animation.
We enter our water flow symbol and between the two keyframes we add frames using F5 as seen in the video. We then select the reflection or the highlights layer and press F7 to add a blank keyframe and turn on the onion skin option just above the timeline. On this newly added blank keyframes, we start adding more reflections or more highlights so that The water flow will animate smoothly. We are now working on in betweens of the highlights in the water flow symbol. We added the reflections or the highlights of the last two key drawings of the water on new layer so we could animate them separately.
You can now see that we have added total 4 IN betweens on the reflection of the highlight layer. Also, we have added some minor details such as water drops falling and water spraying on the sides which enhances our animation. You can experiment and play around with these details and modify them as you like.Now our animation doesn't look smooth and looks a bit jerky. So we go back and enter our water flow symbol and delete the key drawings from frame 79 and 11 as seen in the video and we copy a drawing from keyframe 1 and paste it in place using Control Shift V.
We now modify our reflections or highlights and make them a bit thinner using the erase tool. The shortcut is E.
Then we add a new layer bellow the reflections Or highlight layer and we copy every keyframe from the reflection layer using Control C and paste it in place on the new layer that we have created using Control Shift V Select the newly pasted reflection from each key 1 by 1 using Control A and using the paint bucket tool we fill them with a darker shade of blue as seen in the video. We do this for all the keyframes and we slightly move the reflection or highlights using the arrow keys to the right side of the earlier reflection, which is light blue. We now export an SWF to see what our animation looks like.Hope you found this useful, thanks for watching.
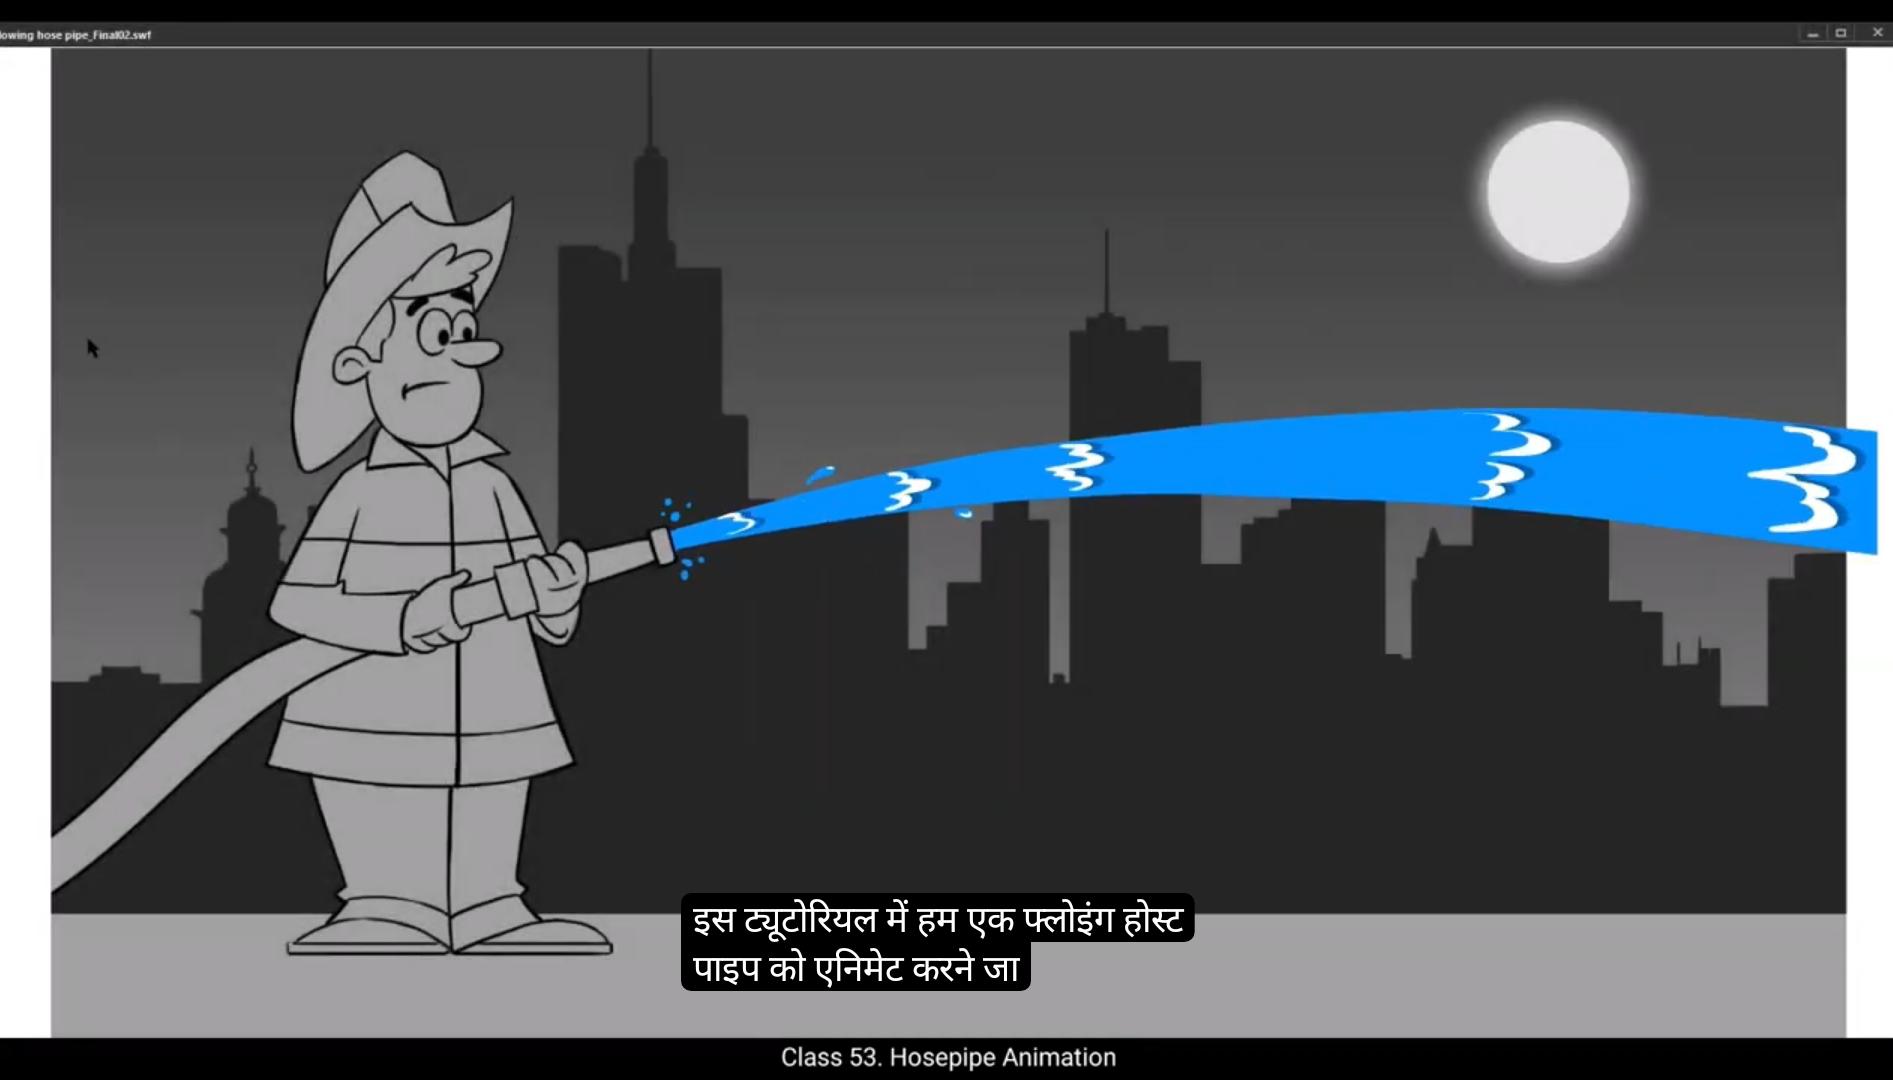
इस tutorial में हम एक flowing hose pipe को animate करने जा रहे हैं। हम इसे drawn keyframes के ज़रिए करेंगे, बिलकुल वैसे ही जैसे traditional animation में किया जाता है।
यहाँ हमारे पास तीन layers हैं — पहली है background layer, जिसमें city skyline है, इसलिए हमने इसका नाम BG रखा है। दूसरी layer है Overlay, जिसमें fireman बना हुआ है। तीसरी layer है Layer 2, जहाँ हम flowing water को animate करेंगे, तो चलिए इसे Animation नाम देते हैं।
अब हम brush tool जिसका shortcut हैं B, का इस्तेमाल करके अपने key drawings बनाना शुरू करेंगे। हम चाहते हैं कि हमारी हर drawing 2 frames तक दिखाई दे, मतलब हम हर alternate frame पर key drawing रखेंगे। Traditional animation में इसे कहा जाता है — "animating on twos"।
ड्रॉइंग शुरू करने से पहले, चलिए BG layer के ऊपर एक नई Layer 3 जोड़ते हैं। अब हम Line Tool, shortcut N से एक line draw करेंगे।
इसके बाद, हम इस line को modify करेंगे ताकि यह पानी के बहाव के लिए guide की तरह काम करे। हम line को थोड़ा मोटा करेंगे — इसके लिए Properties panel के दाईं ओर जाएँ, फिर Object, फिर Color and Style, फिर Strokes में जाकर stroke size को 9 पर सेट करें, जैसा वीडियो में दिखाया गया है।
अब Selection Tool, shortcut V का इस्तेमाल करके हम line को curve करेंगे, ताकि यह pipe से निकलते पानी के flow की shape के साथ match करे। कृपया वीडियो में दिखाए गए curve को ध्यान से follow करें।
अब हम Layer 3 को lock कर देते हैं ताकि गलती से उसमें कोई बदलाव न हो। फिर वापस Animation layer में जाकर हम Brush Tool, shortcut B से key drawings बनाना शुरू करते हैं।
ध्यान रखें कि आप वीडियो में दिखाए गए समान shade of blue color का ही उपयोग करें। और वीडियो में दिखाए गए key drawings को ध्यानपूर्वक follow करें।
अब हम onion skin चालू करते हैं ताकि हमें पिछली और अगली drawings की हल्की झलक दिखाई दे सके।
कृपया वीडियो में देखें कि onion skin switch कहाँ मौजूद है, ताकि आप उसे आसानी से ढूंढ सकें। साथ ही, वीडियो के साथ-साथ चलें ताकि आपको पता चले कि key drawings टाइमलाइन पर कहाँ रखी गई हैं। आप देखेंगे कि drawings में छोटे-छोटे details भी बनाए जा रहे हैं — कोशिश करें कि आप उन्हें जितना हो सके उतना सटीक मिलाएं, ताकि आपका final animation ज़्यादा smooth और natural दिखे।
जब पाँच key drawings पूरी हो जाती हैं, जैसा कि वीडियो में दिखाया गया है, तब हम इन key drawings को color करना शुरू करते हैं। Coloring पूरी होने के बाद, हम पानी पर highlights जोड़ते हैं, ताकि वह ज़्यादा realistic और interesting लगे। कृपया वीडियो को ध्यान से follow करें ताकि आप highlights के placement और details ठीक से समझ सकें।
अब हम एक नई layer बनाते हैं, जिसका नाम रखते हैं Reflection। इस layer पर हम पानी की आख़िरी दो key drawings के लिए reflection या highlights बनाएंगे। जैसे-जैसे tutorial आगे बढ़ेगा, आपको समझ आएगा कि हमने यह अलग layer क्यों बनाई है।
Highlights पूरी करने के बाद, हम एक नई Layer 5 बनाते हैं। फिर Rectangle Tool, shortcut R से एक rectangle draw करते हैं। इसके बाद rectangle को select करके F8 दबाकर उसे symbol में convert करते हैं, और उसका नाम रखते हैं Water Flow।
अब हम Animation layer और Reflection या highlight layer दोनों को select करते हैं, Shift key दबाकर रखते हुए। फिर किसी एक layer पर right-click करते हैं और Cut Layer option चुनते हैं।
अब हम Layer 5 पर बने symbol पर double-click करते हैं ताकि उसके अंदर जा सकें। वहाँ हम Layer 1 पर right-click करके Paste Layer option चुनते हैं, जिससे हमारी cut की हुई layers अंदर आ जाएँ।
इसके बाद हम Scene 1 tab पर क्लिक करके symbol से बाहर निकल आते हैं, जैसा वीडियो में दिखाया गया है। अब हम उस symbol को adjust करते हैं जिसमें हमारी water flow animation है, ताकि वह hose pipe के साथ ठीक से align हो जाए।
अब चलिए Control + Enter दबाकर SWF export करते हैं और preview देखते हैं। Preview देखने के बाद, हम वापस आते हैं और अब हम अपनी animation में कुछ और बदलाव करने वाले हैं ताकि result और बेहतर हो सके।
अब हम अपने Water Flow symbol के अंदर जाते हैं, और दो keyframes के बीच में F5 दबाकर frames जोड़ते हैं, जैसा कि वीडियो में दिखाया गया है। इसके बाद हम Reflection या Highlights layer को select करते हैं, और F7 दबाकर एक Blank Keyframe जोड़ते हैं। अब हम Timeline के ऊपर मौजूद Onion Skin option को चालू करते हैं। इस नए जोड़े गए Blank Keyframe पर हम पानी के reflections या highlights को बढ़ाते हैं, ताकि Water Flow ज़्यादा smooth तरीके से animate हो सके।
यहाँ हम Water Flow symbol के अंदर Highlights के in-betweens पर काम कर रहे हैं। हमने पहले जो आख़िरी दो Key Drawings के Highlights अलग layer पर जोड़े थे, अब हम उन्हें अलग से animate कर रहे हैं ताकि Control और Natural Flow बना रहे।
अब आप देख सकते हैं कि हमने Reflection या Highlight layer में कुल चार in-betweens जोड़े हैं। इसके अलावा हमने कुछ छोटे details भी जोड़े हैं, जैसे पानी की बूंदें गिरना और साइड में पानी का spray होना, जिससे हमारी animation और ज़्यादा realistic और dynamic लगती है। आप चाहें तो इन details के साथ experiment कर सकते हैं और उन्हें अपनी पसंद के अनुसार modify भी कर सकते हैं।
अब हमारा animation थोड़ा jerky या uneven लग रहा है। इसे ठीक करने के लिए हम फिर से Water Flow symbol के अंदर जाते हैं, और frame 7, 9, और 11 के key drawings को delete करते हैं, जैसा वीडियो में दिखाया गया है। फिर हम Keyframe 1 से drawing copy करते हैं और Control + Shift + V दबाकर उसे same position पर paste करते हैं।
अब हम अपने Reflections या Highlights को थोड़ा पतला करते हैं, इसके लिए Erase Tool, shortcut E का इस्तेमाल करते हैं। फिर हम Reflections या Highlights layer के नीचे एक नई layer बनाते हैं। अब हम Reflection layer के सभी Keyframes को Control + C से copy करते हैं, और नई layer में Control + Shift + V से paste in place करते हैं।
इसके बाद हम हर Keyframe पर pasted Reflection को select करते हैं Control + A से, और Paint Bucket Tool से उसे Dark Blue shade से fill करते हैं, जैसा कि वीडियो में दिखाया गया है। ऐसा सभी Keyframes के लिए करते हैं, और फिर Arrow Keys से इन Dark Blue Reflections को हल्का-सा दाईं ओर move करते हैं, ताकि Light Blue Reflections के साथ depth और contrast दिखे।
अंत में हम Control + Enter दबाकर SWF export करते हैं और देखते हैं कि हमारी animation अब कितनी smooth और realistic लग रही है। आशा है आपको यह tutorial useful और informative लगा होगा। Thanks for watching!