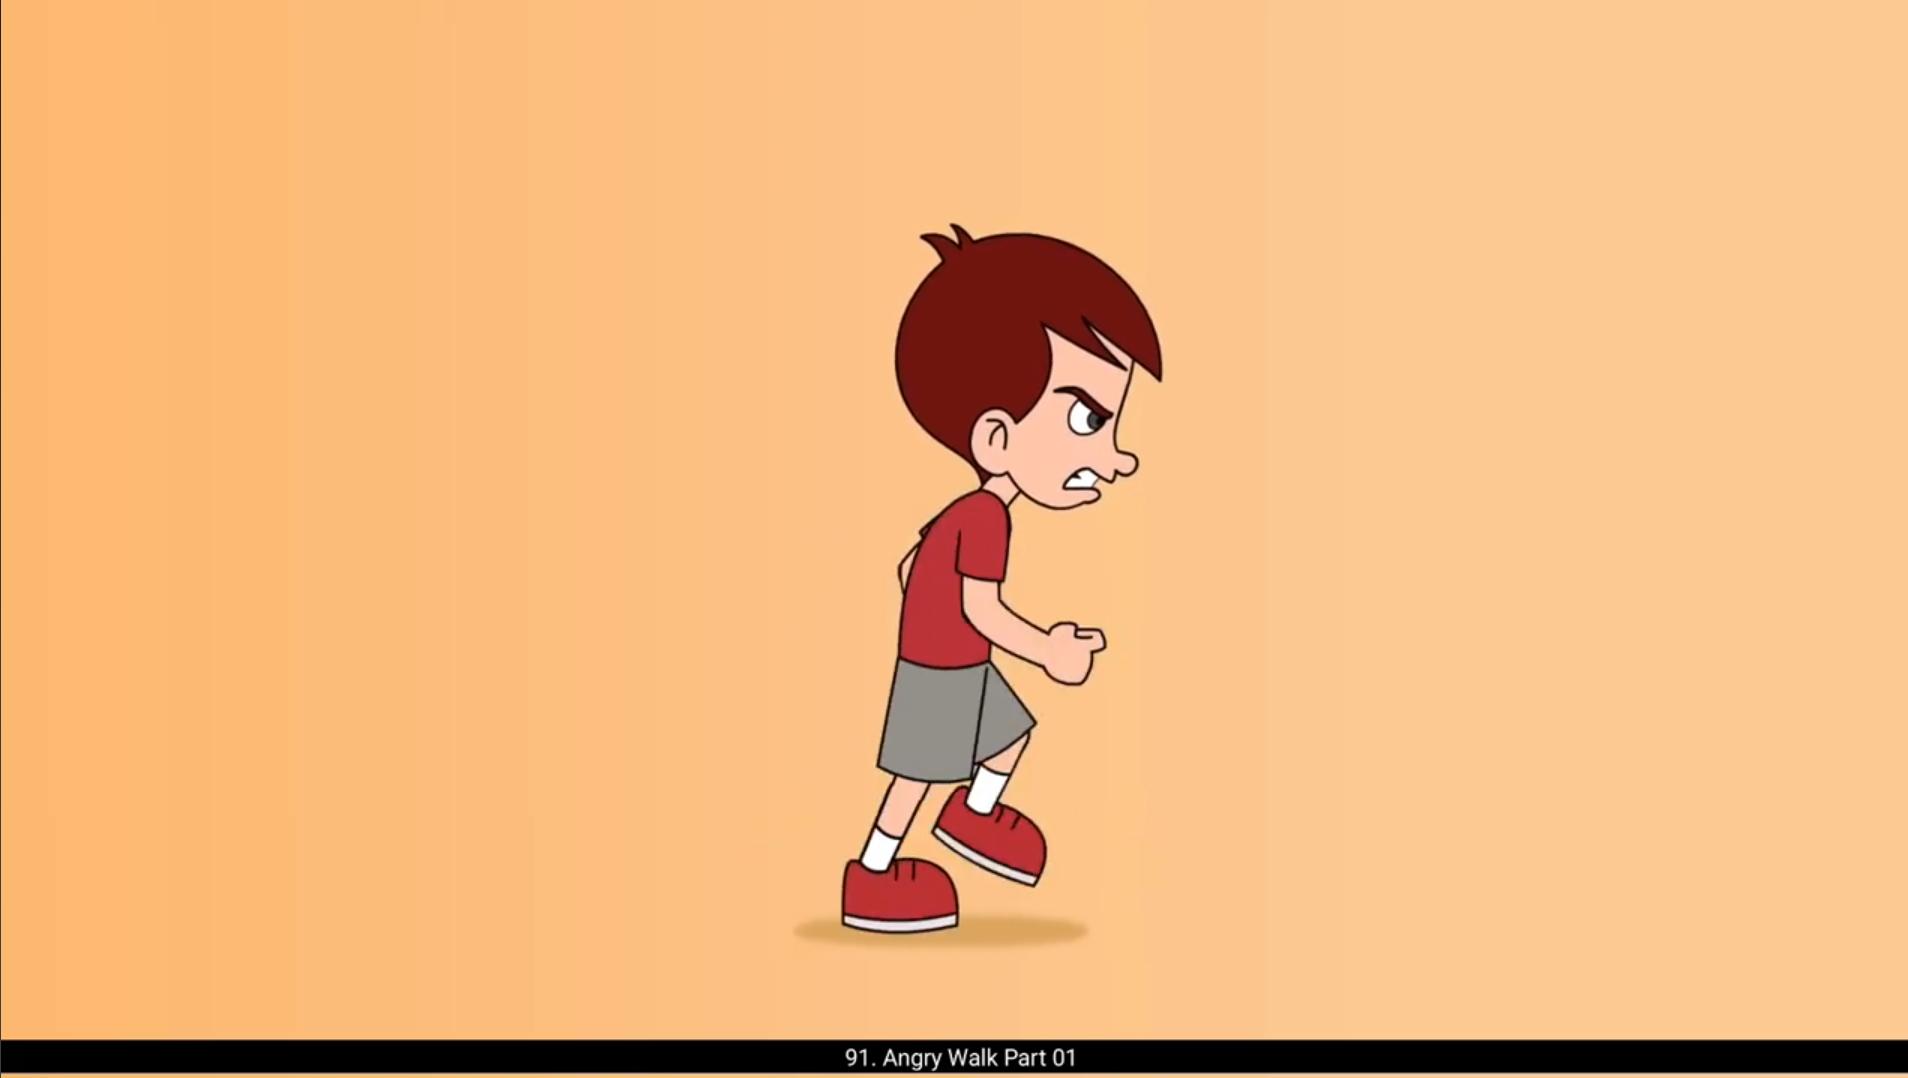
In this video, we are going to animate the angry walk in the same way we did the sad walk. Please follow the video. In the first part we are going to draw the rough key poses of the walk which will define the attitude. On the 1st keyframe of the layer two, we start drawing the main key pose of the walk. We adjust the head a bit by scaling it up to match the proportion of the body. After drawing the first pose, we add a blank keyframe on 13th frame. Using the F7 key on the keyboard, we turn on the onion skin and start drawing the second key pose. In this pose, the hands and the legs will be flipped. This means the left leg of the character will be at the front and the right leg will be at the back. The left hand will be at front and the right hand will be at the back. The position of the torso and head will remain the same. We can also Copy the head group and paste it in place of this keyframe. We now add a blank keyframe on frame 3 using F7. We copy the head group here and move it down slightly using the arrow keys.This pose is known as the contact pose.To bring out the impact of the angry attitude, we have kept only one frame in between the first key pose and the contact key pose. Please see the video on how we draw our contact position.Here the body and head is going down but the hands are going up. This can be defined the extreme position of the hands. We add a blank keyframe on frame 15 and we select the 3rd frame and by holding down the Alt key we copy the frame on frame 14 for reference. After we have traced the second contact position from the first contact, we will delete the drawing on 14th frame. The hands and the legs will be flipped again. Here the left leg will make the contact pose. We now add a blank keyframe on frame 7 and start drawing the passing pose of the walk cycle. Here the legs and the hands will pass each other. Here the height of the character will be the highest. Every work has some up and down movement. The up and down movement in the walk cycle shows us way. So while doing the walk cycle, it is important to show the up and down movement. Otherwise the character will look like it is walking in the air with no solid ground. We will do the passing position of the next step of the cycle. After this is done, we will draw another pose which can be a breakdown of the cycle.Please see the video carefully and follow. We have now completed the routh sketch of the Pose of our angry work cycle. Let's move on to the Part 2 to see how we can animate it in tween. 😘😘😘😘😘😘😘😘😘😘😘😘😘😘😘😘😘😘😘😘😘😘😘😘😘😘😘😘😘😘😘😘😘😘😘😘😘😘😘😘 इस वीडियो में, हम एंग्री वॉक को उसी तरह एनिमेट करने वाले हैं जैसे हमने सैड वॉक किया था। कृपया वीडियो को फॉलो करें। पहले पार्ट में हम वॉक के रफ की पोसेज़ ड्रॉ करेंगे जो एटीट्यूड को डिफाइन करेंगी। लेयर टू के 1st कीफ़्रेम पर, हम वॉक की मेन की पोस ड्रॉ करना शुरू करते हैं। हम हेड को थोड़ा सा एडजस्ट करते हैं, उसे स्केल अप करके ताकि वो बॉडी के प्रपोर्शन से मैच करे। पहली पोस ड्रॉ करने के बाद, हम 13th फ़्रेम पर एक ब्लैंक कीफ़्रेम ऐड करते हैं। कीबोर्ड पर F7 की का इस्तेमाल करके, हम ऑनियन स्किन ऑन करते हैं और दूसरी की पोस ड्रॉ करना शुरू करते हैं। इस पोस में, हाथ और पैर फ्लिप हो जाएंगे। इसका मतलब है कि कैरेक्टर की लेफ्ट लेग फ्रंट में होगी और राइट लेग बैक में होगी। लेफ्ट हैंड फ्रंट में होगा और राइट हैंड बैक में होगा। टॉर्सो और हेड की पोज़िशन सेम रहेगी। हम हेड ग्रुप को कॉपी भी कर सकते हैं और इस कीफ़्रेम की जगह पर पेस्ट कर सकते हैं। अब हम F7 का इस्तेमाल करके फ़्रेम 3 पर एक ब्लैंक कीफ़्रेम ऐड करते हैं। हम यहां हेड ग्रुप को कॉपी करते हैं और एरो कीज़ का इस्तेमाल करके उसे थोड़ा नीचे मूव करते हैं। इस पोस को कॉन्टैक्ट पोस कहा जाता है। एंग्री एटीट्यूड का इम्पैक्ट दिखाने के लिए, हमने पहली की पोस और कॉन्टैक्ट की पोस के बीच सिर्फ एक ही फ़्रेम रखा है। कृपया वीडियो देखें कि हम कॉन्टैक्ट पोज़िशन कैसे ड्रॉ करते हैं। यहां बॉडी और हेड नीचे जा रहे हैं लेकिन हाथ ऊपर जा रहे हैं। इसे हाथों की एक्सट्रीम पोज़िशन के रूप में डिफाइन किया जा सकता है। हम फ़्रेम 15 पर एक ब्लैंक कीफ़्रेम ऐड करते हैं और फ़्रेम 3 को सेलेक्ट करके Alt की को होल्ड करते हुए फ़्रेम 14 पर रेफरेंस के लिए कॉपी करते हैं। पहले कॉन्टैक्ट से सेकंड कॉन्टैक्ट पोज़िशन ट्रेस करने के बाद, हम 14th फ़्रेम पर की ड्रॉइंग डिलीट कर देंगे। हाथ और पैर फिर से फ्लिप हो जाएंगे। 😘 यहां लेफ्ट लेग कॉन्टैक्ट पोस बनाएगी। अब हम फ़्रेम 7 पर एक ब्लैंक कीफ़्रेम ऐड करते हैं और वॉक साइकल की पासिंग पोस ड्रॉ करना शुरू करते हैं। यहां पैर और हाथ एक-दूसरे को पास करेंगे। यहां कैरेक्टर की हाइट सबसे ज़्यादा होगी। हर मूवमेंट में थोड़ा सा अप और डाउन मूवमेंट होता है। वॉक साइकल में अप और डाउन मूवमेंट हमें वेट का एहसास दिलाता है। इसलिए वॉक साइकल करते समय अप और डाउन मूवमेंट दिखाना बहुत ज़रूरी होता है। वरना कैरेक्टर ऐसा लगेगा जैसे वो हवा में चल रहा है और ज़मीन से कोई कॉन्टैक्ट नहीं है। अब हम साइकल के नेक्स्ट स्टेप की पासिंग पोज़िशन बनाएंगे। इसके बाद हम एक और पोस ड्रॉ करेंगे जो साइकल का ब्रेकडाउन हो सकता है। कृपया वीडियो को ध्यान से देखें और उसे फॉलो करें। अब हमने अपनी एंग्री वॉक साइकल की पोसेज़ का रफ स्केच पूरा कर लिया है। अब चलिए पार्ट 2 की तरफ बढ़ते हैं और देखते हैं कि हम इसे ट्वीन में कैसे एनिमेट कर सकते हैं।