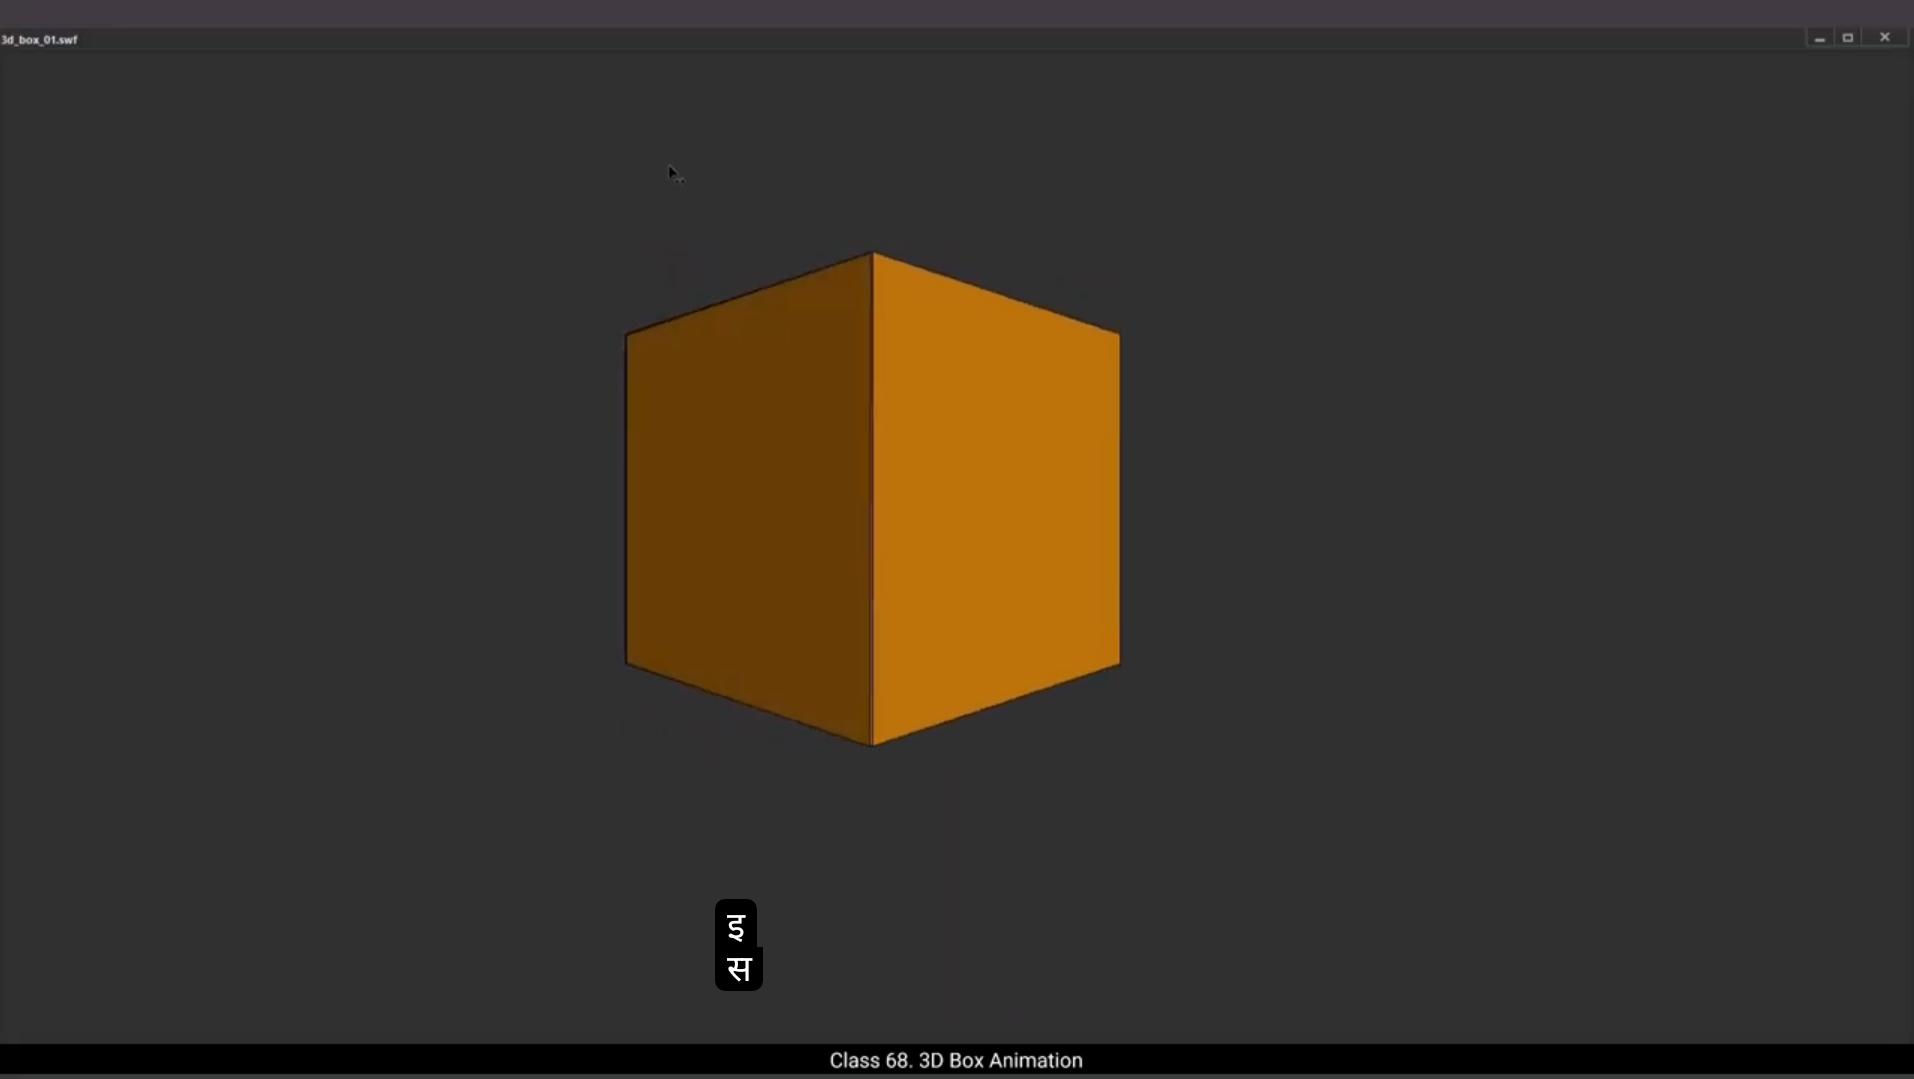
In this tutorial we are going to animate a 2D Box with the 3D field when animated.Let's start by drawing a square using the Rectangle tool. The shortcut is R You can see that we have a layer and we have already named it Animation.
We hold down the shift key as we draw the square so that we get a perfect square and not a rectangle. We want to keep the outlines. We select the square by using F8. We convert it into a symbol and call it 3D box. We then double click the square to enter the symbol and then select frame 35 and add frames till this frame using F5. We then go to the keyframe one, add frame one on the timeline and select the timeline just on the left side of the square, as seen in the video. We Copy it using Control C and on the layer 2 paste it in place using Control Shift V. We now hide layer 2 and add a keyframe at frame 35 on layer 1 using F6. Then we select some frames between the 1st and the last frame at random. Right click on anyone and choose Create Shape Tween from the drop down menu as seen in the video.We then go to keyframe 1 and using control shift H we add 2 shaped hints.And place them at the two left corners of the square, as seen in the video. Next We select the second keyframe at the last frame, place the same shape, hence on the two corners at the right of the square as seen in the video. A quick preview by pressing the enter key will show us a shape morphing into something and back. This means we are on the right track. We now unlock and unhide layer 2 where we pasted the outline and we turn layer 1 to wireframe mode by clicking the purple rectangle right next to the name of the layer.
😘
Please follow the video for Location. We then go to the last frame on layer 2 and add a keyframe there using F6. We Will notice that the part of the outline we had pasted on this layer is selected using the arrow keys. We move it to the right as seen in the video.
We move it to the right till Overlaps the side of the square as seen in the video. Then we Select some frames between the 1st and the last keys on this layer. Right click on anyone and choose Create Shape Tween from the drop down menu. We now click off the wireframe mode on layer 1A. Quick preview by pressing the enter key shows us a box turning a little anti clockwise. We then exit the symbol by clicking on the Scene 1 tab. We then select the square and convert it into a symbol again using F8 and we call it Main box.Next we enter the main box symbol by double clicking the box as seen in the video. We add a keyframe on layer 2, frame 2 using F6 and we draw a rectangle here using the rectangle tool. Shortcut is R Then we turn on the wire free mode on layer 2 and we start modifying the shape of the rectangle as seen in the video again.We then add a keyframe on frame 18 using F6 and please follow the video to match the shape of this newly created rectangle to the side of the box. You can switch on the Snap to object tool so that modifying the shape will be easier again. Please follow the video to locate this tool.Next.We go to the last frame and add a keyframe using F6 and we adjust the rectangle so that it becomes a perfect square like how it was when we started. Please make sure you follow the video to get the same result.Once the shape is matched to the square, we go to layer one and turn off the wireframe mode.
😘
We then select some frames in between the 1st and the last keyframes at random as seen in the video. Right click on anyone and choose Create Shape Tween from the dropdown menu. We then do a quick preview by pressing the Enter key. As always, we can see that our animation of the box is coming out well. We now create a new layer four and draw a rectangle using the Rectangle tool, the shortcut is R. We then select layer 3, right click on it and choose Cut Layers from the drop down menu. Next we select the square that we have drawn on layer 4, right click on it and choose Convert to symbol from the drop down menu and call it Tint. We enter the symbol by double clicking on the square, add a new layer 2 inside. We then right click on the new layer 2 and choose Paste layers from the drop down menu and then we delete layer one.Selecting it and pressing the delete key on the keyboard. We then exit the tint symbol by clicking on the main box on the top left corner of our work area as seen in the video. We then adjust the symbol and place it at the side of our VirtualBox as seen in the video.We add a keyframe on frame 18 using F6 and add another keyframe on frame 35 using F6. We then go to the symbol that we've pasted on keyframe one, select it and then go to tab at the right of our work area and go to Tint, which is in properties object Colour Effect tint. As you can see in the video, we set the tint at 70% by moving the slider as seen in the video. Then we go to frame 18, go back to the tin slider.Set the value at 45% and finally we select the last keyframe. Go back to the 10th slider and set the value to 0%. Once this is done, we select some frames in between the 1st and the last keyframe as seen in the video. Right click on the selection and choose Create Classic Tween from the drop down menu as seen in the video. We then exit the symbol by clicking the Scene 1 tab again as seen in the video.And you can see here that the tint has worked very nicely and it gives us a shadow feel to the side of the box and makes it look more 3 dimensional. Now let's export an SWF and see our preview. The animation works just fine. Hope you found this tutorial helpful. Thanks for watching.
इस ट्यूटोरियल में हम एक 2D बॉक्स को animate करने वाले हैं जिसमें animation के दौरान 3D फील आएगी। चलिए सबसे पहले Rectangle टूल का इस्तेमाल करके एक square ड्रॉ करते हैं। इसका शॉर्टकट R है। आप देख सकते हैं कि हमारे पास एक लेयर है और हमने पहले ही उसका नाम Animation रख दिया है।
हम shift की दबाकर square ड्रॉ करते हैं ताकि हमें perfect square मिले, rectangle नहीं। हम outlines को रखना चाहते हैं। हम square को F8 से select करते हैं। हम इसे एक symbol में convert करके उसका नाम 3D box रखते हैं। फिर हम square पर double click करके symbol के अंदर जाते हैं और frame 35 पर select करके F5 से उस frame तक frames add करते हैं। फिर हम keyframe 1 पर जाते हैं, timeline के frame 1 पर add करते हैं और square के बाएँ side के timeline को select करते हैं जैसा वीडियो में दिखाया गया है। हम इसे Control C से copy करते हैं और layer 2 पर Control Shift V से paste in place करते हैं। अब हम layer 2 को hide करते हैं और layer 1 पर frame 35 पर F6 से एक keyframe add करते हैं। फिर हम पहले और आख़िरी frame के बीच के कुछ random frames select करते हैं। किसी भी एक पर right click करके drop down menu में Create Shape Tween चुनते हैं जैसा वीडियो में दिखाया गया है।
अब हम keyframe 1 पर जाते हैं और Control Shift H से दो shape hints add करते हैं और उन्हें square के दो left corners पर रखते हैं जैसा वीडियो में है। इसके बाद हम आख़िरी frame के दूसरे keyframe को select करके वही shape hints square के दो right corners पर रखते हैं जैसा वीडियो में दिखाया गया है। Enter दबाकर quick preview लेने पर हमें एक shape morphing दिखेगी और वापस आती हुई, इसका मतलब हम सही दिशा में हैं। अब हम layer 2 को unhide और unlock करते हैं जहाँ हमने outline paste की थी और हम layer 1 को wireframe mode में करते हैं layer के नाम के बगल वाले purple rectangle पर क्लिक करके।
😘
कृपया वीडियो को लोकेशन के लिए फ़ॉलो करें। फिर हम लेयर 2 के आख़िरी फ्रेम पर जाते हैं और वहाँ F6 से एक कीफ्रेम जोड़ते हैं। हम नोटिस करेंगे कि इस लेयर पर paste किया हुआ outline का हिस्सा सिलेक्ट है। हम arrow keys का इस्तेमाल करके इसे दाईं तरफ़ मूव करते हैं जैसा वीडियो में दिखाया गया है।
हम इसे दाईं तरफ़ तब तक मूव करते हैं जब तक यह square की side के साथ overlap न करने लगे जैसा वीडियो में दिखाया गया है। फिर हम इस लेयर पर पहले और आख़िरी कीफ्रेम के बीच के कुछ फ्रेम सिलेक्ट करते हैं। किसी भी एक फ्रेम पर right click करके drop down menu में से Create Shape Tween चुनते हैं। अब हम layer 1A पर wireframe mode बंद कर देते हैं। Enter दबाकर quick preview लेने पर हमें box थोड़ा anti-clockwise घूमता हुआ दिखाई देगा। फिर हम Scene 1 टैब पर क्लिक करके symbol से बाहर आ जाते हैं। हम square को select करते हैं और F8 का इस्तेमाल करके इसे फिर से एक symbol में convert करते हैं और इसका नाम Main Box रखते हैं। अब हम वीडियो में दिखाए अनुसार box पर डबल क्लिक करके Main Box symbol में प्रवेश करते हैं।
हम layer 2, frame 2 पर F6 से एक कीफ्रेम जोड़ते हैं और rectangle tool का इस्तेमाल करके यहाँ एक rectangle ड्रॉ करते हैं। इसका shortcut R है। फिर हम layer 2 पर wireframe mode ऑन करते हैं और rectangle के shape को modify करना शुरू करते हैं जैसा वीडियो में फिर से दिखाया गया है। इसके बाद हम frame 18 पर F6 से एक कीफ्रेम add करते हैं और इस नए rectangle के shape को box के side से match करते हैं। आप Snap to object tool ऑन कर सकते हैं ताकि shape modify करना आसान हो जाए। कृपया वीडियो देख कर इस tool की location ध्यान से देखें।
अगला step, हम आख़िरी frame में जाते हैं और F6 से एक keyframe जोड़ते हैं और rectangle को adjust करते हैं ताकि यह वापस एक perfect square बन जाए, जैसे शुरुआत में था। कृपया वीडियो को ध्यान से फ़ॉलो करें ताकि बिल्कुल वही result मिले। जब shape square से match हो जाए, तब हम layer 1 पर जाते हैं और wireframe mode ऑफ कर देते हैं।
😘
फिर हम पहले और आख़िरी कीफ्रेम के बीच के कुछ फ्रेम्स को वीडियो में दिखाए अनुसार randomly सिलेक्ट करते हैं। किसी भी एक फ्रेम पर right click करते हैं और drop down menu से Create Shape Tween चुनते हैं। इसके बाद हम Enter प्रेस करके एक quick preview लेते हैं। हमेशा की तरह, हम देख सकते हैं कि हमारे box की animation अच्छी तरह से बन रही है। अब हम layer चार बनाते हैं और rectangle tool का इस्तेमाल करके एक rectangle बनाते हैं, जिसका shortcut R है। फिर हम layer 3 को select करते हैं, उस पर right click करते हैं और drop down मेनू से Cut Layers चुनते हैं। इसके बाद हम layer चार पर बनाए हुए square को select करते हैं, उस पर right click करते हैं और drop down मेनू से Convert to symbol चुनते हैं और इसका नाम Tint रखते हैं। हम square पर double click करके symbol में प्रवेश करते हैं, इसके अंदर नए layer दो को add करते हैं। फिर हम layer दो पर right click करते हैं और drop down मेनू से Paste layers चुनते हैं और उसके बाद layer एक को select करके keyboard पर delete key दबाकर delete कर देते हैं। इसके बाद हम Tint symbol से बाहर आते हैं और इसे main box के ऊपर बाईं तरफ दिख रहे नाम पर क्लिक करके exit करते हैं जैसा वीडियो में दिखाया गया है। अब हम symbol को adjust करते हैं और इसे वीडियो में दिखाए अनुसार box की side पर रखते हैं। हम frame 18 पर F6 से एक keyframe add करते हैं और फिर frame 35 पर भी F6 से एक keyframe add करते हैं। अब हम keyframe एक पर मौजूद symbol को select करते हैं और work area के दाईं तरफ मौजूद tab पर जाते हैं और properties object colour effect tint में जाते हैं। वीडियो के अनुसार हम tint को slider की मदद से 70% पर सेट करते हैं। फिर हम frame 18 पर जाते हैं और tint slider की मदद से value को 45% पर सेट करते हैं और आख़िरी keyframe select करके tint slider की मदद से value को 0% कर देते हैं। यह हो जाने के बाद हम वीडियो में दिखाए अनुसार पहले और आख़िरी keyframe के बीच के कुछ frames को select करते हैं और drop down मेनू से Create Classic Tween चुनते हैं। फिर हम Scene 1 टैब पर क्लिक करके symbol से बाहर आते हैं जैसा वीडियो में दिखाया गया है। और यहाँ आप देख सकते हैं कि tint बहुत अच्छे से काम कर रही है और यह box के side को shadow feel देती है और इसे ज़्यादा 3-dimensional बनाती है। अब हम एक SWF export करते हैं और preview देखते हैं। Animation बिल्कुल सही काम कर रही है। उम्मीद है आपको यह tutorial helpful लगा। धन्यवाद।