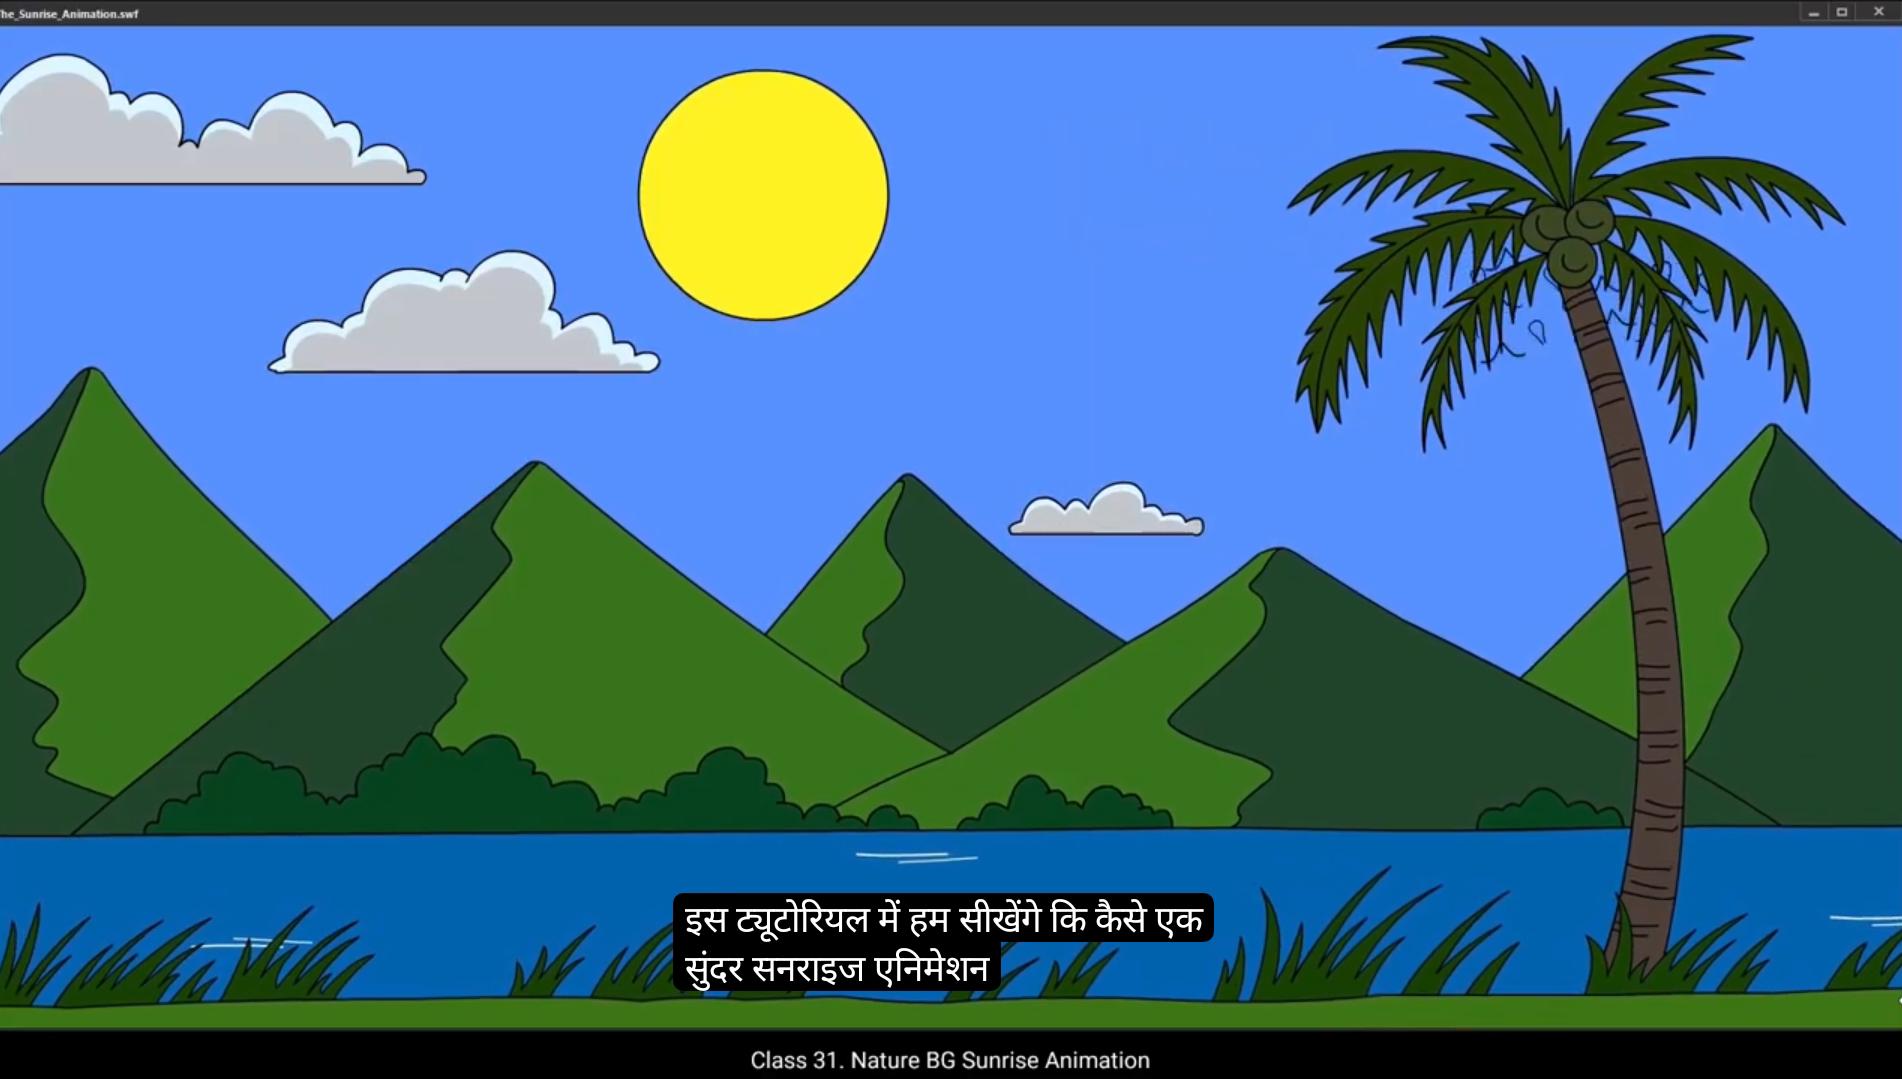
Students, welcome to the digital tutors. In this tutorial, we will learn how to create a beautiful sunrise animation step by step using the background we have traced in our earlier tutorial. By the end of this tutorial, you'll learn how to add a ripple effect to the river, animate the sun rising and changing color, add motion to clouds, use simple keyframe animation to animate birds.Add subtle movement to the grass and create a zoom effect for the entire.Hyacinth, let's start turning this static background into a vibrant and captivating animation.In this tutorial, we'll focus on breathing life into the scene by giving motion to all the symbols we've carefully created. This scene, as you might recall, was traced during our background tracing tutorial session. If you haven't checked that out yet, I recommend watching it first for a better understanding. Before we dive into the animation process, let's take a moment to ensure that all the layers in our file are properly named and well organized.To start, we'll prepare the main timeline for our animation. Since we're creating a 15 second animation and working with a frame rate of 30 frames per second, we'll need a total of 450 frames. Select frame #450 on the layer and press F5 to add frame.Next, on frame 450 add keyframe by pressing F6.To create a slight zoom effect for the entire scene, scale the scene up to 110% using the shortcut control Alt S.After scaling slightly, move the entire scene downward to ensure that key elements like the coconut tree stay within the visible area and are not cut off. ************ By applying this zoom effect, you'll create a cinematic touch that draws the viewer's eye deeper into the scene.Apply a classic tween between the first and last frames. This will create a gradual zoom effect.Now that the main timeline is set, we'll start animating the individual elements by working inside the main symbol.Double Click to enter the main symbol.I have already inserted frames up to frame 510 on all relevant layers. This is because we'll need additional frames beyond the visible animation duration that is framed 450 to ensure smooth transitions and proper motion easing. The animation will only play up to frame 450 in the final output as our animation duration is set to 15 seconds. Frames beyond 450 will act as a buffer or extra space for any easing or continuation effects.Now we will animate the sun to rise and change color as it moves through the sky.Select Sun Symbol In this animation, the sun is the primary light source. To create a realistic effect, we've carefully painted the scene to reflect how the sunlight interacts with its surroundings as it rises. As you can see, the side of the mountain facing the sun is brighter, while the side behind it is darker. This contrast helps to emphasize depth and create a realistic sense of light and shadow.The sun will rise between two mountains. To position it correctly, enable ruler mode.For that go to view on menu bar and select Ruler.Drag a vertical guideline from the ruler to mark the center between the two mountains.Adjust the sun symbol to align with this guideline. ********** Before starting, ensure that all layers other than Sun in the timeline are locked.This will prevent accidental repositioning of elements while working. The sunrise animation will span 4 seconds. The sun will begin hidden behind the mountains and gradually rise to its current visible position.On the sun layer, add a keyframe at frame 120. This marks the position of the sun after it has risen.On the 1st frame, drag the sun downwards until it is completely hidden behind the mountains using the shift down arrow keys.By frame 120 our sun has risen and from this point onward we will animate the other elements in the scene.To do this, unlock all layers and insert a keyframe at frame 120 for all layers by selecting them and pressing F6.Next, we'll use the tint color effect to adjust the appearance of specific elements. We will apply it on 1st frame. This way, if a tint effect is mistakenly applied to the first keyframe but not needed after the sunrise, it will be easy to locate and adjust on the backside. By keeping the tint confined to the initial keyframe, we won't need to remove it repeatedly during the animation process.Starting with the blue sky layer, select the blue sky symbol.In the Properties panel, go to the Color Effects section and choose Tint.Apply a dark Violet tint and set 90% intensity to the symbol on the first keyframe.Similarly, do the same for the cloud symbols. Select all the cloud symbols and apply the tint effect with 90% intensity.Next select Mountains and bushes and apply tint effect.Do the same for river, coconut, tree, ground and grass.We will animate birds later. ************** For now we hide and lock the bird layer.As you can see, we have applied the tint equally, but before dawn, the river, the ground layer, the grass and the bushes layer will be completely invisible without a light source. So I am increasing the tint slightly more on the bushes, the grass and the ground overlay, making them darker around 98%. Select the bushes layer, the river layer, the grass layer and ground layer and.Increase intensity up to 98%.This is the state of the scene before the sunrise.Next, lock all layers except the sun layer to focus only on the sun's animation.Since the sun is behind the mountains, hide the mountain layer to make sun visible.Select Sun layer.And add tint effect to sun as well, but we will change its color to red.Set intensity to 100%.Then go to Properties panel and under Frame tab find filter option.Here select Glow and change color to yellow.Set the quality high for better resolution.Increase the blur value to 50 for both axes.Apply a classic tween between the keyframes.Now unhide the mountain layer to check the animation so far. The sun rises over the next 4 seconds, smoothly transitioning from behind the mountains to its final position. The movement should look natural, with the sun gradually emerging and gaining brightness, creating the effect of a sunrise. Next, let's add classic tweens for the other layers to bring the entire scene to life. Unlock all layers and select the 1st frame of each layer and add Classic Tween. This will automatically create smooth animations between the keyframes, making all the elements animate gradually. ************** Notice that everything is brightening up in a uniform manner, which is not realistic because the distance from the sun varies for each object in the scene. We need to adjust this to make the animation more natural. For example, the ground and grass will become visible later, while the mountains and clouds will be visible earlier as they are closer to the sun. To adjust the timing for each element's visibility based on their distance from the sun, you need to reduce.Use the duration of the animation for objects closer to the sun, like the mountains, clouds, and sky, while increasing it for elements that are farther away, like the ground and grass. To start with the mountains layer, click on the last keyframe of the layer, hold down the mouse button and drag it 30 frames back on the timeline. This will make the mountains brighten earlier.The sky will brighten up earlier than the mountains, so let's set it to start brightening at around 1.5 seconds or close to 2 seconds.Similarly, Cloud one and Cloud 2 are closer to the sun, so drag both layers keyframes backward to frame 60.And since cloud 3 is comparatively farther from the sun, we will move its keyframe to frame 80.Now looking at the ground overlay and grass, if you observe at this point they should not visible because the sun is still behind the mountains, leaving them in darker shades. To address this I will remove the classic tween from these two layers.Next, add a keyframe at the point where the sun starts emerging from behind the mountains around the 31st frame. Select these two layers on frame 31, press F6 to add keyframes. *************** Then add a classic tween between the keyframes to ensure the grass and ground overlay gradually become visible much later in the sequence.Now we need to adjust the river layer as well. Since the river is filled with water, it reflects the sky, meaning it will brighten up along with the sky. If the sky is brightening by the 54th frame, the river should follow the same timing. Go to the river layer and drag the keyframe back to adjust its animation duration to match the blue Sky's timing. This ensures the river's brightness transition sinks naturally with the.Size lighting. Now let's preview the animation to make sure everything is working smoothly.Exit the main symbol and switch to the main timeline.Next set.Set a loop range, let's say up to 10 seconds to review the scene.Once that's done, play through the animation to check if all the transitions and movements are coming together as planned. So if you watch closely, the sun rises beautifully and then settles steadily in the sky. But to make this scene more dynamic and visually appealing, we'll add some subtle motion to a few key elements. Not everything, but many parts of the scene will have gentle movements to give it a lively and natural feel.Let's start with the sun.Go to the last frame frame #510 and add a keyframe by pressing F6. Once the keyframe is added slightly, move the sun upward to create a gentle motion. For this, use the up arrow key on the keyboard to shift the sun upwards. This subtle movement will give the sun a more dynamic and natural feel, as if it's continuing to rise ever so slightly even after it has settled. ******************* Now let's add some subtle movement to the clouds. Currently, the clouds are steady, so to make them feel more dynamic, we will add a gentle motion from left to right across the screen. First, go to the first keyframe and select all three clouds.Using the arrow keys, shift them slightly to the left side of the screen. This will give them a starting point for the animation.Then go to the last keyframe which is frame #510, and add a new keyframe using F6.Move the clouds to the right side of the screen using the right arrow keys.Then apply classic tween between the keyframes.Let's check the cloud animation to make sure there are no jerks in the motion.When we observe the animation, notice that the clouds move quickly from frame one to frame 60 and then their speed slows down drastically.To fix this inconsistency, we need to smooth out the motion. What I will do is remove the key frames at frame 60 for clouds one and two and at frame 80 for cloud three.Select the keyframes and delete them by pressing Shift F6.Once the keyframes are removed, you might notice that the clouds are now slightly darker due to the tint effect, but they will now move smoothly with no sudden changes in speed. Similarly, remove keyframe for cloud three. Now that the motion is smooth but we've lost the tint and brightness, we'll add keyframes to restore that.First on frame 60 for both Cloud One and Cloud two layers, press F6 to insert keyframes, Then select the Clouds 2 and go to Color Effects.You'll notice that the animate applied the advance effect automatically, so we'll remove it by selecting None.Similarly, select Cloud One, go to Color Effect and select None. ******************* Next, for cloud three on frame 80, we'll add a keyframe, then select the cloud and also change the color effect to None.Now the clouds are moving smoothly with no sudden changes in speed.Oops, it looks like we forgot to give motion to the sun. Let's quickly fix that.Select the sun layer and apply a classic tween.Now the sun is smoothly moving across the scene as intended. However, we notice that the sun is slightly higher than it should be on the last keyframe, so we'll move the sun slightly downward on the last keyframe.Now let's bring the coconut tree to life with some very subtle movements.First, we'll lock all the other layers and keep only the coconut tree layer unlocked to work on it. To make sure the tree's current position stays intact, add a keyframe at frame 330, select frame and press F6. Next, go back to frame 120 and introduce some movement.Using the free transform tool will slightly rotate the tree to the left.And add a small skew to mimic a natural swaying motion.Once that's done, apply a classic tween to ensure smooth animation.Now for balance, we'll add reverse motion at frame 480, add another keyframe.And rotate the tree slightly to the right using the free transform tool. Add a small skew as well.Again, apply a classic tween for this motion. To make the movement even smoother, we will add classic ease in, ease out.For that, select the key frames on the coconut tree layer.Go to the properties panel frames and find effect.Choose ease in, out and quad.This will give the tree a soft natural sway. ****************** Finally, let's add motion to the leaves, enter the coconut tree symbol and insert frames inside the symbol.Select all layers on frame 510 and add frames using F5.Since the trunk and coconuts won't move, we'll lock these layers and focus only on the leaves.Now select all layers on frame 150 and add a keyframe using F6.Then we'll rotate the leaves slightly in different directions.Select Leave one and rotate it slightly downwards.Similarly, we will rotate first four leaves slightly towards the left, while the other four will rotate towards the right.To ensure smooth movement without any jerks, set the pivot points to their respective corners, allowing natural rotation.Next, we'll add a classic tween to the layers, but instead of stopping at 5 seconds, we'll extend the motion across the entire animation duration.At frame 330, insert keyframes on all layers and bring the leaves back to their original positions. Apply another classic tween for seamless animation.Finally, at the last frame, frame 510 will add keyframes again.And rotate the leaves in the opposite direction. Apply a classic tween between the keyframes.Now let's check the animation from the 1st frame. We'll step out of the coconut tree symbol to preview it and ensure there are no jerks.There's a noticeable jerk in the tree leaves animation. The issue here is that the symbol isn't synchronized properly across the timeline. Let's fix this step by step. First, we'll demonstrate the problem. When I select the coconut tree symbol on the 1st frame and check the properties panel in the looping section, the 1st frame is set to 1. ********************* But when you go to frame 120, notice the 1st frame is set to 1. Ideally this should match the key frames on the timeline that is 120. I could manually adjust this by adding value 120, but then I have to adjust value for each keyframe, manually going to each keyframe and changing the 1st frame number in the properties panel.Like here on frame 330.It's 1.Similarly, on frame 480 it is again 1. Instead, we'll use the Sync Symbol option to synchronize the symbol. Select the entire coconut tree layer on the timeline, go to Modify Timeline and select Synchronize Symbol. The shortcut key is Shift S.Alternatively, we can select all keyframes on coconut tree layer.Then in the properties panel frames and in the tweening option, look for the Sync Symbols checkbox and simply enable it.One synchronized. Let's verify.On frame 330, the 1st frame is 330.On frame 120, the 1st frame is now correctly set to 120. Similarly, on frame one, the first frame is 11. This ensures the symbol is now synced across all keyframes. We'll rely on this symbol synchronization technique frequently during the animation process. It's a crucial step to ensure smooth transitions and eliminate any jerks.With the coconut tree layer now synchronized, the animation flows seamlessly.And we've successfully addressed the issue.Now let's add motion to the grass to enhance the effect of the wind blowing.First, we'll lock all layers and unlock the grass layer.We'll go inside the grass layer and make some directional changes to create the impression of wind flowing to the left of the screen. We'll first enter the group.Select the object and change its direction.Right click the object, go to Transform and select Flip Horizontal. **************** This ensures that all grass objects are now aligned and facing the same direction.We now have five sets of grass. To animate them individually, we'll convert each set into a symbol. Before doing so, we'll break the group apart. Shortcut key is Control B. Then select the first part of the grass, press F8 to make it a symbol and name it Grass One, ensuring the registration point is set to the bottom of the drawing.Drag pivot point to the bottom. This allows us to skew it effectively from the top.Up. We'll repeat this process for the remaining grass sets, naming them Grass 2, grass 3, and so on, while keeping the pivot points at the bottom of each drawing. Next, we'll distribute all the grass symbols across separate layers.Select All symbols, right click and choose Distribute to Layers.To ensure the animation spans the desired duration, insert frames till frame 510, that is 17 seconds by pressing F5.On the 1st frame, select all symbols and drag pivot point to the bottom.Then skew symbol slightly to show the wind blowing towards the left of the screen. This will be our initial position.At frame 90, add keyframes on all layers.And adjust the pivot points at the bottom.Then skew all symbols to the right slightly.At frame 105, add another keyframe.Move the pivot point to bottom and skew the grass slightly back to simulate the sway.Again on frame 180 we will add keyframe.Drag the pivot point at bottom and skew the grass towards right.Apply classic tweens between all keyframes to create a smooth motion.Let's check the animation so far by adding loop on the timeline.The movement is too slow between the keyframes 90 and 105 when the grass sways back. ****************** Will remove unnecessary frames using shift F5 to reduce the duration.We will also remove few frames between keyframes 1 and 90 and between 105 to 180 to make grass sway slightly faster.We removed 30 frames from the animation, now it looks fine.For further adjustments we will add a keyframe on frame 50.And drag and copy it to frame 160. This will make the return movement more natural. Remove the unnecessary classic tween and add classic tween between the required keyframes.We'll continue this pattern, extending the animation till 15 seconds by adding keyframes at intervals and adjusting the motion to reflect the winds flow. For that we will add another keyframe on frame 230 and drag the pivot point at the bottom, then skew the grass towards right side of screen.Apply classic tween.Again, add keyframe on frame 240, drag the pivot point to the bottom and skew the grass back towards left.On frame #310 add keyframe, adjust the pivot point and skew the grass to the right again.Again, apply classic tween between the keyframes.Repeat the same process for the remaining frames till 15 seconds.Once done, let's check the animation so far.Here the grass movement is too fast so we will two frames. Add two Frames between the keyframes using F5.Now, to avoid uniform movement which makes the grass appear like soldiers, marching will introduce slight variations. For example, we'll add 2 frames to the grass 5 layer for a delay.For grass three, remove 2 frames using shift F5.Then add 2 frames for grass one layer. This will ensure that each grass symbol moves at different time. **************** Finally, test the animation.By pressing enter.You'll notice a subtle natural variation in the grass's motion, perfectly mimicking the effect of wind.Now let's check the synchronization of the grass symbol. As you can see, it's not synced on frame #120 the 1st frame is still set to 1.To fix this, select the entire GRASS layer, go to the Modify menu, choose Timeline, and then click on Synchronize Symbol.One synchronized. You'll notice on frame #120 that the 1st frame is now properly set to 120.If you're unable to see the looping section after selecting the symbol, press Q on your keyboard to activate the free transform tool, which will also bring up the looping panel.Next, we'll lock the grass layer and unlock the river layer.Just like before, we'll check its synchronization. To do this, select the entire river layer, go to Modify Timeline and click Synchronize Symbol.Now let's work inside the river layer. Double Click to enter the river symbol.As you can see, there's a single group for the river.So we'll break this group apart using shortcut key Control B and rename the layer as Water Flow.To create a ripple effect, add a new layer and rename it Ripple.We'll select a few ripples from the river layer.Cut them and paste them into the same position on the ripple layer.Then go back to the water layer and delete those ripples to keep it clean.Next, extend the frames on both the water and ripple layers by inserting frames up to frame 510, ensuring the ripple effect will last throughout the animation.Lock the water layer and focus on the ripple layer.Go to the 1st frame on ripple layer. Here select the ripple lines and use the smooth tool to refine the shapes for a cleaner look. ******************* Select the line then go to side panel and click on smoothen icon.Now for the ripple effect. We'll group all the ripple lines into a single symbol by selecting them and pressing F8.Name this new symbol Ripple FX.Next, align the symbol to the center of the scene. Go to Align panel and align vertical and horizontal.To begin, pick the river watercolor using the eyedropper tool and set the stroke color to pure white for clarity. We're using the eyedropper tool to pick the exact color of the river because we're going to use a mask for this rectangle shape. Matching the color ensures the masked area blends perfectly with the river, creating a seamless and realistic effect in the animation. Then delete the existing stroke and draw a new rectangle using the rectangle tool at the center of the river.Go to Align panel and align vertical and horizontal.Stretch this rectangle using the free transform tool to ensure it covers the required area.For better precision, will also add a guideline.To improve visibility, right click the guideline guides, then click Edit Guide and change its color to a dark blue.Afterward, name this layer as wave.Right click the guide again, go to Guides and select Lock Guides to prevent accidental changes.Now start creating the wave effect.Holding down the Alt key, add vertex points along the outline.Adjust these points into a slight curve to form the wave shape.For finer adjustments use the sub selection tool.I will change the outline color to red, making it easier to see while editing. With the Alt key pressed, carefully adjust the vertex points ensuring the wave has the proper flow and length. ***************** To animate the wave will reduce its size on the 1st frame and move the vertex points to the left side of the screen, creating the initial wave motion.Since the animation duration is set to 15 seconds, but we will extend the frames to 20 seconds for a smoother ripple effect by pressing F5, insert frames up to frame 600.Then on frame 300, add a keyframe and adjust the vertex points of the ripple to move them toward the right side of the screen.Adjust their positions to create an opposing direction for the wave flow, ensuring smoother curves for a natural motion.Next on frame #600 insert another keyframe.And move the vertex points further to the right, making slight adjustments to their positions vertically up and down for added variation in the wave motion.To bring the animation to life, apply a shape tween across all keyframes.Starting from frame one to frame 300, select the frames and insert a shape tween.Unlock the guides by pressing Shift Control Alt G.Then move the guides out of stage area.This is how our wave animation looks so far. The motion is smooth, with the wave shifting naturally across the screen, creating a realistic ripple effect. The mask layer will add a polished finish, giving the animation a seamless and professional look.First lock wave layer and add new layer and name it mask. On this layer we'll draw a rectangle, but before that change the outline and fill color to default and then inverting them for clarity.Now on mask layer, draw a rectangle using Rectangle tool. Change its shape as shown in the video.Then delete the outline.Add a keyframe on the last frame of the mask layer and shift the rectangle mask to the right of the screen. ******************** After that, apply a shape tween to create a smooth transition.To mask the wave layer, right click on the mask layer and select the option Mask. Notice the change in the layer icons. The mask layer and the wave layer are now linked. Let's check the animation so far.It's starting to have a realistic wave effect.To enhance it, copy the wave symbol and paste it.Adjusted starting frame to create some variation. Go to properties panel and change 1st frame value.Also slightly scale it up for added diversity.Next, duplicate these symbols by selecting them, holding alt, and dragging to create copies.To introduce variety, flip the symbols vertically by right clicking on them, transform and selecting Flip Vertical.This adds more depth and movement to the river animation. Similarly, duplicate the wave symbol by holding alt and dragging it to create a copy.And place this new copy towards the right side of the screen, ensuring it continues to move off screen seamlessly. This technique adds continuity to the river animation, creating a natural flow where the waves extend beyond the screen's edge.Finally, ensure all wave symbols are synchronized by selecting the entire river layer, right clicking and choosing Synchronize symbols. Let's check the animation.It seems the two waves at the bottom of the river aren't visible. To fix this, enter the river symbol by double clicking it.Select the waves that are positioned lower and push them slightly upwards.Now let's play the animation again and see how it looks.At the end of the scene, as you can see, there's a jerk in the grass layer.To remove this, enter the grass layer and add few frames at the end. ***************** Now let's lock all the layers and move on to the bird animation.Unlock the bird's layer.Then position the birds properly. They should appear on the screen right after the sun rises, flying from the top left to the middle right. Before exiting the scene, first scale up the bird symbol slightly.Then move them just outside the top left corner of the screen.Next, go to the last frame on the birds layer and add a keyframe.Here, position the birds to the middle right of the screen and scale them down slightly to create perspective.Now add a classic tween to check the motion, ensuring their movement feels smooth. I noticed that they're appearing after the sun has already risen, which isn't what I want. I want them to appear on the screen when the sun is at this position. To fix this, first we will add Classic Ease Out to the motion. Go to Properties panel frame and increase intensity 100 to select Classic Ease Out.Then reposition the birds on the frame 30, move it to right just a little.Also we will reposition the birds on last keyframe, go to the last keyframe and move it slightly down and towards left.After this, move first keyframe to frame 10, so the animation will start on frame 10, ensuring the birds appear as the sun reaches a specific position.Then we'll tweak the ending so the birds exit the screen slightly earlier, around frame 480.Finally, right click the birds layer and select Synchronize symbol to align their motion perfectly.Now let's add some animation to wings of birds with simple keyframe effect. Enter the bird symbol and add a new layer and name it Birds flying. From the existing group, select a single bird, copy it and paste it into the birds flying layer at the same position. ***************** Then lock the original layer and rename it as reference position to keep things organized.Right click the layer and choose guide so it will act as guide and doesn't appear on the screen.Select the bird and press F8 to make symbol naming it flying bird.Make sure the pivot point is set to the center of the bird so it moves smoothly.Next, we'll animate the bird using a simple keyframe technique.First extend the timeline and insert frames until frame 27.Now we'll add 3 extreme poses and then draw the in between. So this is our first extreme pose on frame one. Then on frame 7, add a keyframe and shape the wings into V position. On frame 13, add another keyframe shaping the wings into a W.At frame 19, add another keyframe and change the shape of the wings into upside down U letter showing the full downward swing. Keep onion skin on for reference position on previous frame. Now we'll focus on the in between frames. To smooth out the movement, add a keyframe at frame 3.Keep onion skin on till next keyframe.Change the wing position slightly upward.Then add keyframe on frame 5 and adjust the wing position slightly up again.On frame 9, add keyframe, set onion skin frame from frame 9. Now we'll widen the V shape of the wings to make the movement more dynamic.Finally, on frame 11, we'll expand the wings further for a smooth and natural swing.Now on frame 15 I will add another keyframe and adjust the wings to bring them closer together, creating a more compact shape like the letter W.On frame 17, add keyframe and continue to tweak the shape of the wings, making them resemble the letter A. ******************* Add keyframe on frame 21 where we will shape the wings like the letter M.On frame 23, add a keyframe adjusting the shape again. On frame 25 Add another keyframe and tweak the shape.Finally, remove the last keyframe and keep the animation up to frame 26.Check the animation so far.On frame 21 I will bring the wings closer to the previous position, making them straighter. Then by frame 23 Open the wings wider. And by frame 25 Bring them back to complete the cycle. After creating this fluid movement, recheck it for smoothness.Looks great.Exit the symbol now. We will begin by making a copy of the bird symbol. To do this, make the reference position visible and keep it in outline mode for better clarity.Next, select the bird symbol, press Alt on the keyboard and make a copy of it.Adjust the shape using free transform tool.While doing this, also change its first frame to 26 to introduce some variation and avoid a robotic feel. This way the birds will fly alternately, creating a more natural movement.Continue holding the Alt key and making multiple copies, ensuring that the birds are not perfectly synchronized. This will make the animation feel more dynamic and organic.After copying, check if they are moving equally but still with a slight difference in timing to add variety.Let's preview the animation by pressing control Enter.The sun is coming up but then just stops. To fix this we will add a classic tween effect to the sun symbol.To achieve a smooth transition, select the sun layer.Go to the Tweening tab in Properties panel and apply the classic Ease out effect. ****************** This will allow the sun to move smoothly from frame 120 till the end of animation.Next, if we look at the grass, it's moving a bit too robotic. To fix this, double click and enter the grass symbol.Here select all keyframes across all layers within the grass symbol.Instead of a regular tween, we'll apply a different kind of effect in the tweening options. Choose the Ease in Out option and Bounce effect, which gives the grass a more natural, subtle movement. Apply this effect to each keyframe on layer to create a smooth, organic bounce effect.Once done tweaking the grass movement, return to the main scene, save the file and test the animation by pressing Control Enter.This is how our sunrise background animation looks now. From the subtle movements of the grass to the smooth transition of the sun and the gentle flight of the birds, we've created a dynamic and visually appealing scene. This process demonstrates how small tweaks like easing effects and careful keyframe adjustments can bring life to your animations.Thank you for joining me on this creative journey. Keep experimenting, keep animating and see you in the next tutorial. Happy animating.