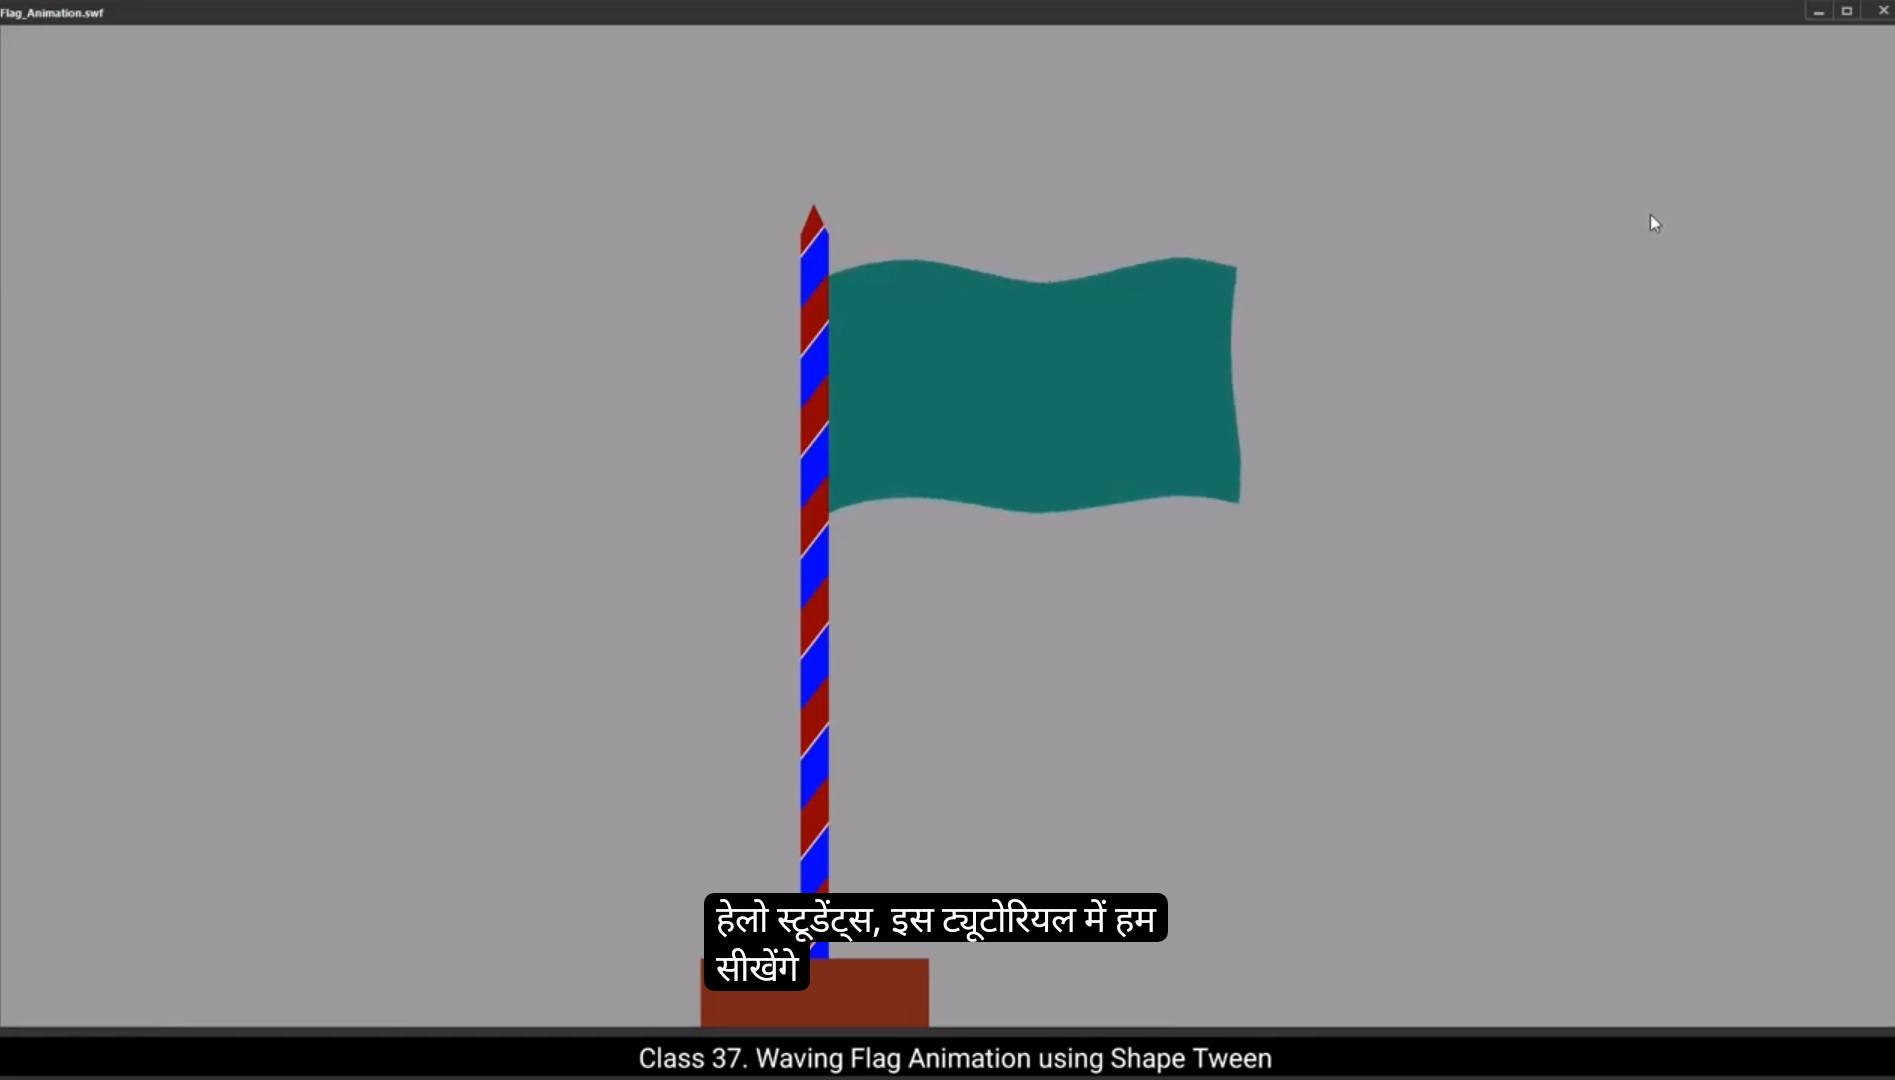
hello students, in this tutorial we are going to learn how to animate a flag using a shape tween. So let's get started.I've already prepared a pole design as a symbol.First lock the pole layer to keep it secure and then create a new layer for the flag. This new layer will be placed below the pole layer and renamed to flag for better organization.On the flag layer, draw a rectangle using the Rectangle tool. Shortcut key is R We'll make this rectangle slightly longer. You'll soon understand why this is necessary.Next, switch on the outline mode for the pole layer and keep the pole layer locked. This will allow me to start editing the shape of the flag layer independently. Now we will make the flag shape curved by pressing the alt key, break the line and then use the selection tool to add curve.Use sub selection tool to refine the curves. More precisely. Select the points on the rectangle and press the Alt key to move both handles equally.Similarly, we create a curved shape to the bottom part of the flag.You can also use the arrow keys on the keyboard to move the nodes up, down, left or right.Once the shape is ready, delete the outlines by double clicking only on the outlines and pressing delete.Next, extend the frames up to frame 35 on both layers by pressing F5 on the keyboard.Also add a keyframe to the last frame which is frame 35 on flag layer by pressing F6.Then right click on frame one of flag layer and select Create Shape tween. At this point both keyframes are the same so no animation is visible on the stage.Now we will add shape hints to our flag. To do this, select Frame one, go to Modify Shape and select Add shape hint or use the shortcut control Shift H.You will see a red circle with the letter A appear in the center of the flag.Drag it to the top left corner of the flag. This process is similar to the 3D box animation we covered in the previous tutorial.Next we will add another shape hint.Which will appear as letter B and drag it to the bottom left corner of the flag.We will continue this process to add shape hints C&D using shortcut control Shift H and dragging them to their respective corners. This setup is done on frame one on flag layer.Next, go to frame 35. You'll notice that the D hint is already visible, but the rest hints ABC are stacked behind it.We will reposition these hints so that D goes to the bottom right corner.C goes to the top right corner, B goes to the bottom left corner, and A goes to the top left corner.Still there is no animation. Moving ahead on 1st frame, we will add two extra shape hints, that is E&F. Hint E will be placed on the curve near hint A.Hint F will be placed on the curve near hint B.Then on frame 35.Place hint F on the curve near hint D.And place hint E on the curve near hint C This will create a WAVY effect for the flag. To avoid these kind of undesirable shapes we will adjust the positions of the hints for a smoother animation.To further refine, we will add a new layer and rename it as mask.Lock the flag layer and select frame one on the mask layer.Change the fill color to white, then draw a vertical rectangle.By pressing Alt on the keyboard, break the line from the center and add curves using selection tool.Refine the center curve using the sub selection tool, ensuring the curves are smooth.Using the selection tool, select the outlines of the mask rectangle and delete them.If shape hints cannot be added, it is likely because a shape tween has not been created.To enable shape hints, insert a keyframe at the last frame and at frame one right click on the mask layer to create a shape tween. Shape hints work only when a shape tween exists. Now we will add 4 shape hints ABCD and drag them to the corners of the shape.Then on the last frame, drag them accordingly to the 1st frame.When hints are placed correctly, they will turn green. If they are not aligned properly, they will remain red. Hints need to be placed carefully.Next we will add another shape hint on frame one hint E and place it near hint C.And on the last frame we will place hint E closer to hint D This setup will create the desired animation effect.To finalize the result, we need to mask the layer. For this, right click on the mask layer and select the mask option. Once applied, you'll notice the changes on the stage. You will notice the flag is now masked and only the relevant portion is visible.Switch off outline mode of pole layer and press control enter to preview the animation.If the flag animation still appears uneven or some uneven waves appears, readjust the shape of the flag. Select 1st frame on flag layer to improve the shape and achieve A smoother result. Reducing the number of nodes is essential.For that, use the Delete anchor point tool and remove extra nodes.Next, using the sub selection tool will fine tune the position of the nodes. Select the nodes at the top and bottom of the flag and using the arrow keys, gently move them slightly to the right.While making these adjustments on frame one, we will ensure frame one and frame 35 looks similar. To achieve this delete the last frame.Then copy frame one and paste in place it onto frame 35.Finally, adjust hints E&F on the 1st frame and on the last frame.Once done, save the file and press Control Enter to preview the result. We've successfully animated the flag using a shape tween, adding and adjusting shape hints to create a smooth waving effect. And that's how you create a simple yet effective flag animation in Adobe Animate. Thank you for following along and see you in the next video. हेलो स्टूडेंट्स, इस ट्यूटोरियल में हम सीखेंगे कि कैसे Shape Tween का इस्तेमाल करके एक Flag को एनिमेट किया जाता है। तो चलिए शुरू करते हैं। मैंने पहले से ही एक Pole Design को Symbol के रूप में तैयार किया हुआ है। सबसे पहले, Pole Layer को Lock कर दीजिए ताकि वह सुरक्षित रहे। फिर एक नई Layer बनाइए और उसे Flag नाम दीजिए ताकि ऑर्गनाइज़ेशन बेहतर रहे। यह नई Flag Layer, Pole Layer के नीचे रखी जाएगी। अब Rectangle Tool, Shortcut Key R चुनिए और एक Rectangle ड्रॉ कीजिए। इसे थोड़ा लंबा बनाइए — आगे आपको समझ आएगा कि ऐसा क्यों किया गया है। इसके बाद, Pole Layer का Outline Mode ऑन कर दीजिए और Pole Layer को Locked ही रहने दें। इससे आप Flag Layer के शेप को स्वतंत्र रूप से एडिट कर पाएँगे। अब हम Flag के शेप को Curved बनाएँगे। इसके लिए Alt Key दबाकर लाइन को ब्रेक करें और फिर Selection Tool से उसमें Curve जोड़ें। अब Sub Selection Tool का इस्तेमाल करके Curves को और Refine करें। किसी भी पॉइंट को सिलेक्ट करें और Alt Key दबाकर दोनों हैंडल्स को बराबर मूव करें ताकि कर्व स्मूथ बने। इसी तरह, Flag के नीचे वाले हिस्से में भी एक Curved Shape बना दीजिए। आप Arrow Keys का उपयोग करके नोड्स को ऊपर, नीचे, बाएँ या दाएँ मूव कर सकते हैं। जब Shape तैयार हो जाए, तो Outlines को Delete कर दीजिए। इसके लिए सिर्फ Outlines पर डबल क्लिक करें और Delete Key दबाएँ। अब दोनों लेयर्स, Pole और Flag पर Frame 35 तक फ्रेम्स को Extend करें, F5 Key दबाकर। फिर Flag Layer के Frame 35 पर एक F6 से Keyframe ऐड करें। अब Flag Layer के Frame 1 पर राइट क्लिक करें और Create Shape Tween चुनें। अभी दोनों Keyframes एक जैसे हैं, इसलिए स्टेज पर कोई एनिमेशन दिखाई नहीं देगा। अब हम Shape Hints जोड़ेंगे। इसके लिए Frame 1 पर जाएँ, फिर Modify मे जाओ , फिर Shape मे जाओ, फिर Add Shape Hint चुनें। Shortcut key, (Ctrl + Shift + H). अब Flag के सेंटर में एक लाल रंग का छोटा Circle दिखाई देगा, जिस पर A लिखा होगा। इसे Flag के Top Left Corner पर ड्रैग करें। यह प्रोसेस बिल्कुल वैसा ही है जैसा हमने 3D Box Animation वाले पिछले ट्यूटोरियल में किया था। अब एक और Shape Hint ऐड करें — यह Letter B के रूप में दिखेगा। इसे Flag के Bottom Left Corner पर ड्रैग करें। इसी तरह, Ctrl + Shift + H दबाकर दो और Shape Hints C और D जोड़ें, और उन्हें उनके कोनों पर रखें। यह सारी सेटिंग Frame 1 पर Flag Layer में करनी है। अब Frame 35 पर जाएँ। आप देखेंगे कि D Hint तो पहले से दिख रही है, लेकिन बाकी A, B, C उसके पीछे छिपी हुई हैं। अब इन Hints को सही जगह पर रिपोज़िशन करें — D Hint को Bottom Right Corner पर, C Hint को Top Right Corner पर, B Hint को Bottom Left Corner पर, और A Hint को Top Left Corner पर रखें। अब भी एनिमेशन नहीं दिखेगा, इसलिए हम दो Extra Shape Hints – E और F ऐड करेंगे। Frame 1 पर, Hint E को Hint A के पास Curve पर रखें, और Hint F को Hint B के पास Curve पर रखें। अब Frame 35 पर जाएँ — Hint F को Hint D के पास वाले Curve पर रखें, और Hint E को Hint C के पास वाले Curve पर रखें। बस! अब आपका Flag एक लहराता हुआ Effect दिखाने लगेगा। इस तरह आप Shape Tween और Shape Hints की मदद से एक Realistic Flag Animation बना सकते हैं Adobe Animate में। ऐसे अवांछित शेप्स से बचने के लिए हम Shape Hints की पोज़िशन को एडजस्ट करेंगे ताकि एनिमेशन और स्मूथ दिखे। एनिमेशन को और बेहतर बनाने के लिए एक नई लेयर बनाएँ और उसका नाम Mask रखें। अब Flag Layer को लॉक करें और Mask Layer के Frame 1 को सिलेक्ट करें। Fill Color को White में बदलें, फिर एक Vertical Rectangle ड्रॉ करें। अब कीबोर्ड पर Alt Key दबाकर इस लाइन को सेंटर से ब्रेक करें और Selection Tool की मदद से उसमें कर्व जोड़ें। Sub Selection Tool का उपयोग करके सेंटर कर्व को Refine करें ताकि कर्व्स स्मूथ और नेचुरल लगें। इसके बाद Selection Tool से Mask Rectangle की Outlines को सिलेक्ट करें और Delete करें। अगर Shape Hints ऐड नहीं हो रहे हैं, तो इसका कारण यह हो सकता है कि आपने Shape Tween नहीं बनाया है। Shape Hints तभी काम करते हैं जब लेयर पर Shape Tween लागू हो। इसे एक्टिव करने के लिए Mask Layer पर Frame 1 और आखिरी Frame पर Keyframe जोड़ें और फिर Mask Layer पर राइट क्लिक करके Create Shape Tween चुनें। अब चार Shape Hints — A, B, C, D ऐड करें और उन्हें शेप के चारों कोनों पर रखें। फिर आखिरी Frame पर जाएँ और इन Hints को पहले Frame की पोज़िशन के अनुसार ड्रैग करें। जब Hints सही जगह पर लगाए जाते हैं, तो वे Green रंग में दिखेंगे। अगर गलत जगह हैं तो वे Red रहेंगे। इसलिए इन्हें ध्यान से लगाना ज़रूरी है। अब एक और Shape Hint जोड़ें — Frame 1 पर Hint E, जिसे Hint C के पास वाले Curve पर रखें। फिर आखिरी Frame पर जाएँ और Hint E को Hint D के पास रख दें। यह सेटअप Flag में वांछित एनिमेशन इफेक्ट बनाएगा। अब हम Mask अप्लाई करेंगे। इसके लिए Mask Layer पर राइट क्लिक करें और Mask Option चुनें। ऐसा करने के बाद स्टेज पर बदलाव दिखेगा — अब Flag Mask हो गया है और केवल उसका आवश्यक हिस्सा ही दिखाई देगा। इसके बाद Pole Layer का Outline Mode ऑफ कर दें और Ctrl + Enter दबाकर एनिमेशन का प्रीव्यू देखें। अगर Flag Animation अभी भी थोड़ा Uneven लग रहा है या लहरें सही नहीं दिख रही हैं, तो Flag के शेप को थोड़ा एडजस्ट करें। इसके लिए Flag Layer के Frame 1 को सिलेक्ट करें और शेप को सुधारें ताकि मूवमेंट स्मूथ लगे। शेप को स्मूथ बनाने के लिए अनावश्यक Nodes को कम करना ज़रूरी है। इसके लिए Delete Anchor Point Tool का इस्तेमाल करें और Extra Nodes हटा दें। फिर Sub Selection Tool की मदद से नोड्स की पोज़िशन को Fine Tune करें। Flag के ऊपर और नीचे के नोड्स को सिलेक्ट करें और Arrow Keys से हल्के से दाईं ओर मूव करें। ये एडजस्टमेंट करते समय ध्यान दें कि Frame 1 और Frame 35 का शेप एक जैसा दिखे। इसके लिए पहले आखिरी Frame को Delete करें, फिर Frame 1 को Copy करें और Paste in Place करके Frame 35 पर लगा दें। इसके बाद Hints E और F को Frame 1 और Frame 35 दोनों पर सही पोज़िशन में एडजस्ट करें। सब कुछ तैयार होने के बाद, फाइल को Save करें और Ctrl + Enter दबाकर Final Animation का प्रीव्यू देखें। हमने सफलतापूर्वक Flag को Shape Tween और Shape Hints की मदद से Animate किया है, जिससे एक Smooth और Realistic Waving Effect बनता है। यही है तरीका एक Simple लेकिन Effective Flag Animation बनाने का Adobe Animate में।