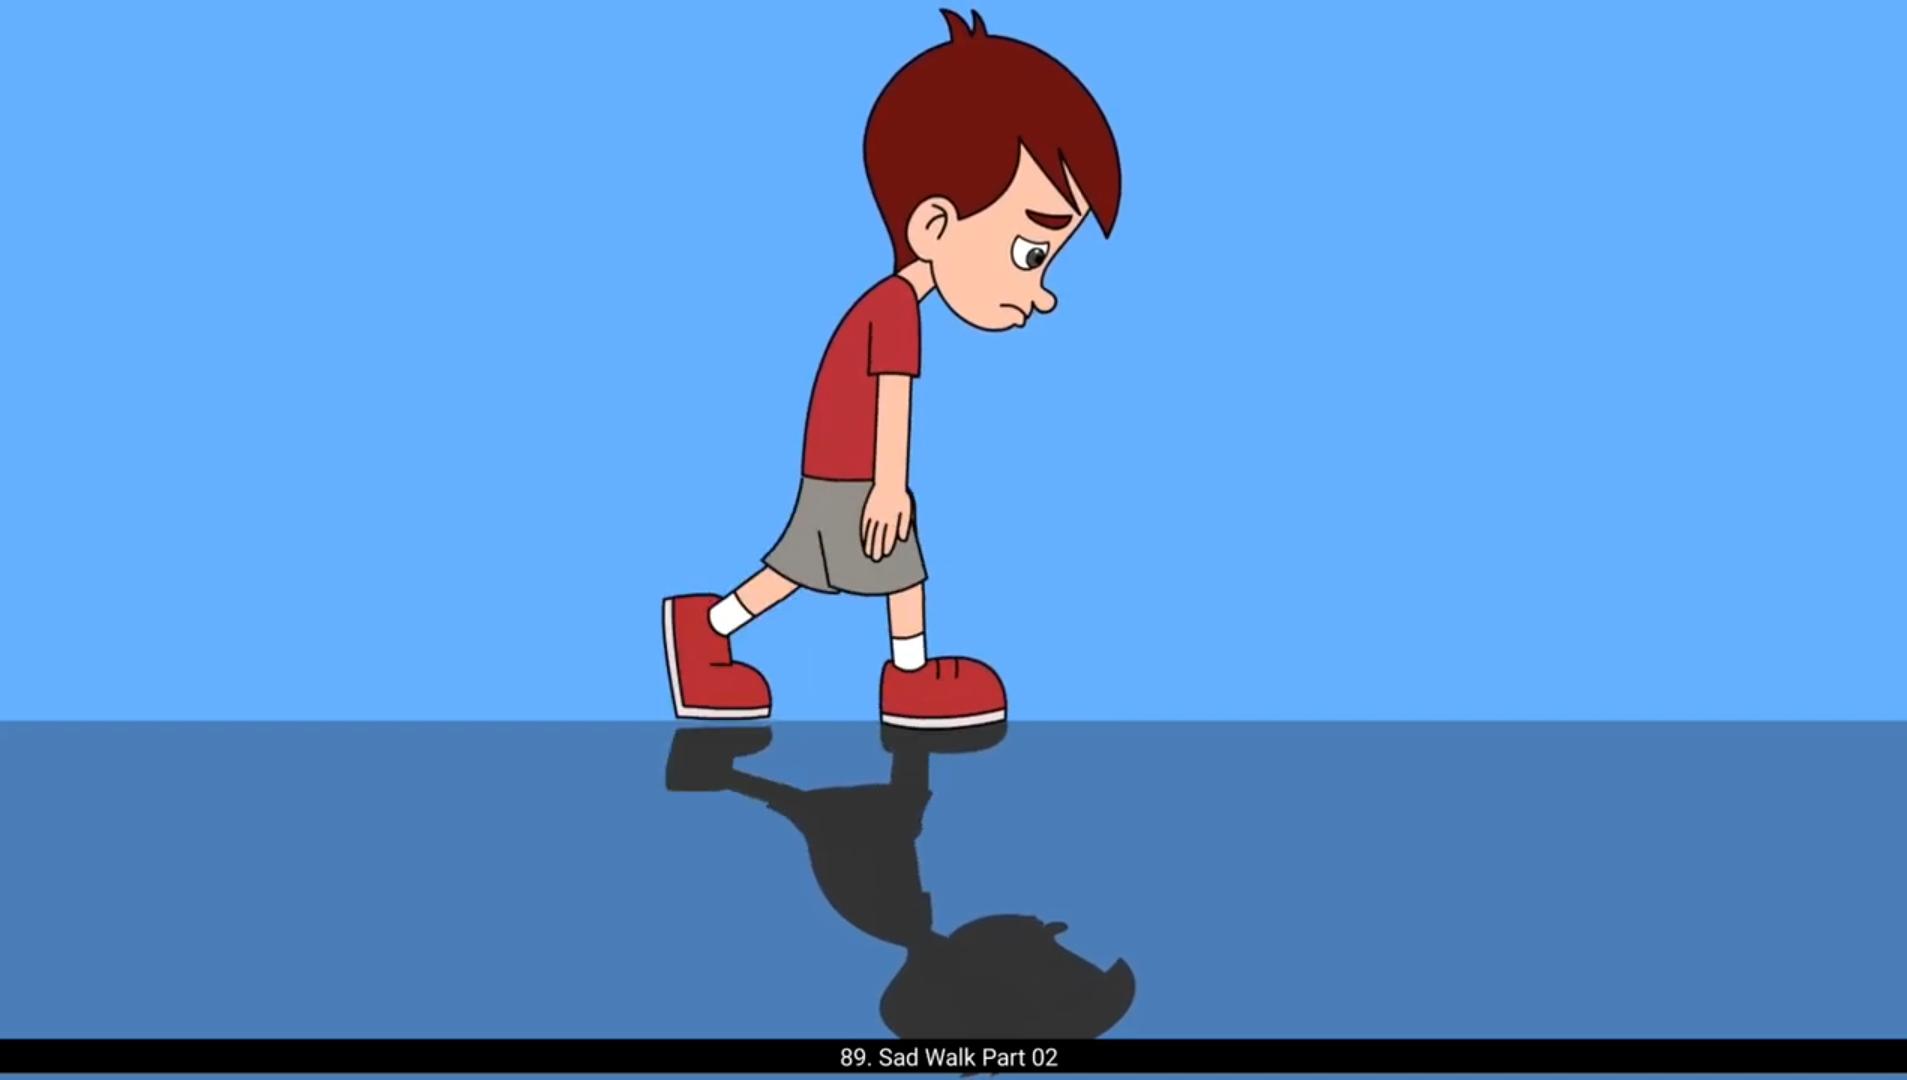
We will now start animating our work. We have our rigged character here. As we can see, we have already changed the expression of our character to SAD. We have already learned how to draw the expression in our expression tutorial. We move our rigged character on the drawing and enter by double clicking it. We zoom it a bit on a screen and match the head and the neck to pose that we had drawn in Part 1.After matching the head and the neck, we match the torso. We enter the torso symbol and we delete the skin color fill and join the lines as seen in the video. We select all the lines and in the properties tab we click on the straighten button to make the line straight. We now trace the torso drawing.We are going to use the shape tween for the animation. For shape tween to work properly we need each part of the shape on separate layer. We select the line and press control X to cut it and add a new layer and paste it in the place using control Shift V. We do this for all the line. Please see the video and follow. We now have 5 layers here, one for the fill and four layers for the four outlines of the shape we add a keyframe on.All the layers on frame 49 using the F6 key. This is because we want our walk cycle to animate back to the first frame to make it a seamless loop. We now start tracing the leg. We bring our left leg symbol and place it as seen in the video. We enter the symbol and increase the frames till frame 50 on the timeline. We enter the upper leg symbol and select the leg group as seen and press central X to cut it. We add a new layer and press Control plus Shift plus V to paste it in place. We break the shorts group using the control plus B and trace the drawing. We again separate the elements of the shape to individual layers. 😘 Please remember shape tween will not work if the outlines and fills are not separated on a single layer. For each part we move the layers to the folder.We now do the same with the leg shape. We trace it and separate them by layers.We'll make a new folder for the leg shape. We come out and trace the leg as seen in the video. We enter the lower leg symbol, increase the frames till frame 50 and separate the outlines and fills to individual layers. We come out of the symbol and place the shoe symbol as seen in the video.We now come out and trace the right leg in the same way we did the left leg.Please see the video and follow.Please remember again to separate all the lines and fills of the shape on the different layers for the shape between to work properly. Please follow the video on how we change the shape of the shoe using the selection tool. We come out of the leg symbol and enter the hand symbol and increase the frames till frame 50. We are not going to separate the outlines and shapes here because there is no hand movement in this walk cycle. We come out of the frame And move the timeline sneaker to frame 25 and enter the symbol again to trace the next key pose. We add the keyframe on frame 49 so that the animation will loop back to the first frame. We add keyframe on frame 25 on all the layers using F6 key. We rotate the left leg and enter it and add a keyframe on frame 25 and start tracing the drawing. Please remember to add a keyframe before changing the drawing otherwise the drawing will be changed on the previous keyframe. Please see the video and follow.We enter the upper leg symbol and start matching the shot shape. We hide the fill layer for now and match outlines first. 😘 We now turn the line layer into the outline mode and unhide the fill and using the sub selection tool and using the sub selection tool we match the fill to the outline as seen in the video.The shortcut for the sub selection tool is A. We do the same for the leg shape.We come out of the symbol and start matching the remaining leg symbols. Please see the video. We come out of the left leg and start matching the right leg. We move ahead and trace the torso. We have adjusted the hand, the head, And neck. We now trace all the poses by adding the keyframes in each symbol and changing the shape on the keyframes. Please see the video and follow. We will apply tween at the last. So we Fast forward the video a bit as we trace the poses. Now we have traced all the poses as seen in the video. We now select all the frames between 1st and the 7th keyframe, Right click and select Create Classic Tween as seen in the video. We now enter the left leg symbol and again add Classic Tween between 1st and 7th keyframe. We enter the upper leg symbol, select the frames between 1st and 7th keyframe, right click and select Create Shape Tween. We can see our short shape smoothly morphs into the 7th keyframe. we do the same for the leg shape also by adding the shape tween, we come out of the left leg symbol and enter the right leg and add classic tween between the 1st and the 7th keyframe. We enter the upper right leg symbol and add shape tween as we did in the left leg. Please see the video and follow. After adding the shape tween on the leg shape, we can see that it gets distorted. We need to fix this distortion to make it into a smooth morphing. We select the left line as seen and press Control plus Shift H on the keyboard to add a shape hint. 😘 We can see the shape hint in a small yellow circle is added.We select the hint A and drag on the top end of the line we have selected. We now go to the frame 7 and we place the same hint on the top end of the line. The shape hint turns green here, which shows that the shape hint is placed properly. We can see that after adding the shape hint, the line is not distorting.We now do the same for the other line as well. We can see that the fill is also getting distorted so we fix it by adding the shape hints. But for the fill we need to add more than one shape hints. We first had the int and place it on the left top corner of the fill as seen and go to the 7th keyframe and place the hint on the same corner. We go back to the first keyframe and add another hint B using the shortcut control shift H, And place it on the right corner and do the same on the 7th keyframe. Both hint should turn green On the 7th keyframe.We now add the shape tween to the short shape and fix the distortion by adding the shape hints. Please see the video and follow. We come out of the leg symbol and enter the torso and add shape between here as well. Please remember that shape tween will not work on symbols. It works only on the shapes inside the symbols. We can now see the animation between 1st and the 7th keyframe. There are some tweaks in the shoe as we can see that the shoe at the back is coming below the ground level.On the 2nd frame we double click the left leg symbol and enter it and again enter the shoe symbol. We add a keyframe and by using the selection tool we modify the shape of the shoes so that it does not go below the ground level.We come out of the symbol and on the frame three we again go inside the shoe symbol and add a keyframe and tweak the shape. 😘 We will do the same for all the frames till 7th keyframe. We now go Ahead and start add shape tween between the keyframe 7 and 13 we will enter the leg symbol and again add classic tween as seen and go inside to add the shape tween to the upper leg. We Will fix any distortion in the shape tweening using the shape hints.Please see the video and follow.We will now perform the same process to add the classic and the shape tween.We have now fast forwarded the video a bit.Please follow the video carefully. We have now added the tween to all the keyframes both inside and outside.We play the animation and see how it looks like. We can see that there are some breaks in the animation. We fix these breaks in the torso and legs by adding the keyframes and adjusting them. Please see the video and follow. On frame 20, we select the right leg and add a keyframe using F6 and move the leg up using the arrow keys as seen in the video. We enter this leg symbol and select the shoe Symbol on frame 20, add a keyframe and rotate it a bit using the transform tool.We come out, go to frame 21 and add keyframe. Adjust the leg go inside the symbol and adjust the shoe by modifying the shape inside the symbol.Do not forget to add the keyframe here.We do the same for the frames where the leg is distorting. Using the same process of adding the keyframes and changing the shape inside the symbol, we fix all the tweaks of our walk cycle animation. After fixing the tweaks, we can see that our walk looks good. Now we have given the head and hands a slight movement to bring the character to life. Hope you found this helpful, thanks for watching. 😘😘😘😘😘😘😘😘😘😘😘😘😘😘😘😘😘😘😘😘😘😘😘😘😘😘😘😘😘😘😘😘😘😘😘😘😘😘😘😘 हम अब अपना काम animate करना शुरू करेंगे। हमारे पास यहाँ हमारा rigged character है। जैसा कि हम देख सकते हैं, हमने पहले ही अपने character का expression SAD में बदल दिया है। हम पहले ही सीख चुके हैं कि expression tutorial में expression कैसे draw किया जाता है। हम अपने rigged character को drawing पर move करते हैं और उस पर double click करके enter करते हैं। हम इसे screen पर थोड़ा zoom करते हैं और head और neck को उस pose से match करते हैं जो हमने Part 1 में draw किया था। Head और neck match करने के बाद, हम torso को match करते हैं। हम torso symbol में enter करते हैं और skin color fill को delete करते हैं और lines को video में दिखाए अनुसार join करते हैं। हम सारी lines select करते हैं और properties tab में जाकर straighten button पर click करते हैं ताकि lines straight हो जाएँ। अब हम torso drawing को trace करते हैं। हम animation के लिए shape tween का use करने वाले हैं। Shape tween को सही से काम करने के लिए shape के हर part को अलग-अलग layer पर होना ज़रूरी है। हम line को select करते हैं और Control X press करके cut करते हैं, फिर एक नई layer add करते हैं और Control Shift V से उसी जगह paste करते हैं। हम यह process सारी lines के लिए करते हैं। कृपया video देखें और follow करें। अब हमारे पास यहाँ 5 layers हैं, एक fill के लिए और चार layers shape की चार outlines के लिए। हम frame 49 पर सभी layers में keyframe add करते हैं, F6 key का use करके। यह इसलिए है क्योंकि हम चाहते हैं कि हमारा walk cycle वापस first frame पर animate हो जाए ताकि loop seamless बने। अब हम leg tracing शुरू करते हैं। हम left leg symbol लाते हैं और उसे video में दिखाए अनुसार place करते हैं। हम symbol में enter करते हैं और timeline पर frames को frame 50 तक increase करते हैं। हम upper leg symbol में enter करते हैं और दिखाई गई तरह leg group select करके Control X press करके cut करते हैं। हम एक नई layer add करते हैं और Control Shift V press करके उसे उसी जगह paste करते हैं। हम Control B का use करके shorts group को break करते हैं और drawing को trace करते हैं। फिर से हम shape के elements को अलग-अलग individual layers में separate करते हैं। 😘 कृपया याद रखें, shape tween काम नहीं करेगा अगर outlines और fills एक ही layer पर separate नहीं होंगे। हर part के लिए हम layers को folder में move करते हैं। अब हम यही process leg shape के साथ भी करते हैं। हम इसे trace करते हैं और layers के हिसाब से separate करते हैं। हम leg shape के लिए एक नया folder बनाएँगे। हम बाहर आते हैं और video में दिखाए अनुसार leg को trace करते हैं। हम lower leg symbol में enter करते हैं, frames को frame 50 तक increase करते हैं और outlines और fills को अलग-अलग individual layers में separate करते हैं। हम symbol से बाहर आते हैं और shoe symbol को video में दिखाए अनुसार place करते हैं। अब हम बाहर आते हैं और right leg को उसी तरह trace करते हैं जैसे हमने left leg के साथ किया था। कृपया video देखें और follow करें। फिर से याद रखें, shape tween को सही से काम करने के लिए shape की सारी lines और fills को अलग-अलग layers पर separate करना ज़रूरी है। कृपया video follow करें जिसमें selection tool का use करके shoe की shape change करना दिखाया गया है। हम leg symbol से बाहर आते हैं और hand symbol में enter करते हैं और frames को frame 50 तक increase करते हैं। हम यहाँ outlines और shapes को separate नहीं करेंगे क्योंकि इस walk cycle में hand movement नहीं है। हम frame से बाहर आते हैं और timeline sneaker को frame 25 पर move करते हैं और फिर से symbol में enter करते हैं ताकि next key pose trace कर सकें। हम frame 49 पर keyframe add करते हैं ताकि animation वापस first frame पर loop हो जाए। हम F6 key का use करके frame 25 पर सभी layers में keyframe add करते हैं। हम left leg को rotate करते हैं, उसमें enter करते हैं, frame 25 पर keyframe add करते हैं और drawing को trace करना शुरू करते हैं। कृपया याद रखें, drawing change करने से पहले keyframe add करना ज़रूरी है, वरना drawing previous keyframe पर change हो जाएगी। कृपया video देखें और follow करें। हम upper leg symbol में enter करते हैं और shorts shape को match करना शुरू करते हैं। अभी के लिए हम fill layer को hide करते हैं और पहले outlines को match करते हैं। 😘 अब हम line layer को outline mode में turn करते हैं और fill को unhide करते हैं, और sub selection tool का use करके fill को outline से match करते हैं, जैसा कि video में दिखाया गया है। Sub selection tool का shortcut A है। हम यही process leg shape के लिए भी करते हैं। हम symbol से बाहर आते हैं और बाकी बचे leg symbols को match करना शुरू करते हैं। कृपया video देखें। हम left leg से बाहर आते हैं और right leg को match करना शुरू करते हैं। हम आगे बढ़ते हैं और torso को trace करते हैं। हमने hand, head और neck को adjust कर लिया है। अब हम हर symbol में keyframes add करके और keyframes पर shape change करके सारे poses को trace करते हैं। कृपया video देखें और follow करें। हम tween सबसे अंत में apply करेंगे। इसलिए poses trace करते समय हम video को थोड़ा fast forward कर देते हैं। अब हमने video में दिखाए अनुसार सारे poses trace कर लिए हैं। अब हम 1st और 7th keyframe के बीच के सारे frames select करते हैं, right click करते हैं और Create Classic Tween select करते हैं, जैसा कि video में दिखाया गया है। अब हम left leg symbol में enter करते हैं और फिर से 1st और 7th keyframe के बीच Classic Tween add करते हैं। हम upper leg symbol में enter करते हैं, 1st और 7th keyframe के बीच के frames select करते हैं, right click करते हैं और Create Shape Tween select करते हैं। हम देख सकते हैं कि shorts shape smoothly 7th keyframe में morph हो जाती है। हम यही process leg shape के लिए भी करते हैं, shape tween add करके। हम left leg symbol से बाहर आते हैं और right leg symbol में enter करते हैं और 1st और 7th keyframe के बीच Classic Tween add करते हैं। हम upper right leg symbol में enter करते हैं और shape tween add करते हैं, जैसे हमने left leg में किया था। कृपया video देखें और follow करें। Leg shape पर shape tween add करने के बाद हम देख सकते हैं कि shape distorted हो जाती है। इस distortion को fix करना ज़रूरी है ताकि morphing smooth बने। हम video में दिखाए अनुसार left line को select करते हैं और keyboard पर Control + Shift + H press करके shape hint add करते हैं। 😘 हम देख सकते हैं कि एक छोटा सा yellow circle में shape hint add हो गया है। हम hint A को select करते हैं और जिस line को हमने select किया है उसके top end पर drag करते हैं। अब हम frame 7 पर जाते हैं और उसी hint को line के top end पर place करते हैं। यहाँ shape hint green हो जाता है, जो दिखाता है कि shape hint सही तरह से place हुआ है। हम देख सकते हैं कि shape hint add करने के बाद line distort नहीं हो रही है। अब हम यही process दूसरी line के लिए भी करते हैं। हम देख सकते हैं कि fill भी distort हो रहा है, तो हम उसे भी shape hints add करके fix करते हैं। लेकिन fill के लिए हमें एक से ज़्यादा shape hints add करने पड़ते हैं। सबसे पहले हम hint A को select करते हैं और उसे fill के left top corner पर place करते हैं, जैसा कि दिखाया गया है, और फिर 7th keyframe पर जाकर उसी corner पर hint place करते हैं। हम वापस first keyframe पर जाते हैं और Control + Shift + H shortcut का use करके दूसरा hint B add करते हैं। हम hint B को right corner पर place करते हैं और यही process 7th keyframe पर भी करते हैं। 7th keyframe पर दोनों hints green हो जाने चाहिए। अब हम short shape पर shape tween add करते हैं और shape hints add करके distortion fix करते हैं। कृपया video देखें और follow करें। हम leg symbol से बाहर आते हैं और torso symbol में enter करते हैं और यहाँ भी shape tween add करते हैं। कृपया याद रखें, shape tween symbols पर काम नहीं करता है। यह सिर्फ symbols के अंदर मौजूद shapes पर ही काम करता है। अब हम 1st और 7th keyframe के बीच animation देख सकते हैं। जैसा कि हम देख सकते हैं, shoe में थोड़े tweaks की ज़रूरत है क्योंकि back वाला shoe ground level से नीचे जा रहा है। 2nd frame पर हम left leg symbol पर double click करते हैं और उसमें enter करते हैं, और फिर shoe symbol में enter करते हैं। हम एक keyframe add करते हैं और selection tool का use करके shoe की shape modify करते हैं ताकि वह ground level से नीचे न जाए। हम symbol से बाहर आते हैं और frame 3 पर फिर से shoe symbol के अंदर जाते हैं, एक keyframe add करते हैं और shape को tweak करते हैं। 😘 हम यही process सभी frames के लिए 7th keyframe तक करेंगे। अब हम आगे बढ़ते हैं और keyframe 7 और 13 के बीच shape tween add करना शुरू करते हैं। हम leg symbol में enter करेंगे और video में दिखाए अनुसार फिर से classic tween add करेंगे, और उसके अंदर जाकर upper leg पर shape tween add करेंगे। Shape tweening में आने वाली किसी भी distortion को हम shape hints का use करके fix करेंगे। कृपया video देखें और follow करें। अब हम classic tween और shape tween add करने के लिए वही process फिर से perform करेंगे। अब हमने video को थोड़ा fast forward कर दिया है। कृपया video को ध्यान से follow करें। अब हमने सभी keyframes पर, अंदर और बाहर दोनों जगह tween add कर दिए हैं। अब हम animation play करते हैं और देखते हैं कि यह कैसा लग रहा है। हम देख सकते हैं कि animation में कुछ breaks आ रहे हैं। हम इन breaks को torso और legs में keyframes add करके और उन्हें adjust करके fix करते हैं। कृपया video देखें और follow करें। Frame 20 पर हम right leg को select करते हैं और F6 का use करके keyframe add करते हैं, और video में दिखाए अनुसार arrow keys का use करके leg को ऊपर move करते हैं। हम इस leg symbol में enter करते हैं और frame 20 पर shoe symbol को select करते हैं, एक keyframe add करते हैं और transform tool का use करके उसे थोड़ा rotate करते हैं। हम बाहर आते हैं, frame 21 पर जाते हैं और keyframe add करते हैं। Leg को adjust करते हैं, symbol के अंदर जाते हैं और shoe की shape को symbol के अंदर modify करते हैं। यहाँ keyframe add करना भूलें नहीं। हम यही process उन frames के लिए भी करते हैं जहाँ leg distort हो रही है। Keyframes add करने और symbol के अंदर shape change करने की इसी process का use करके हम अपनी walk cycle animation के सारे tweaks fix कर लेते हैं। Tweaks fix करने के बाद हम देख सकते हैं कि हमारी walk अब अच्छी लग रही है। अब हमने character को ज़्यादा lively बनाने के लिए head और hands में हल्की movement दी है। उम्मीद है आपको यह helpful लगा होगा, देखने के लिए धन्यवाद।