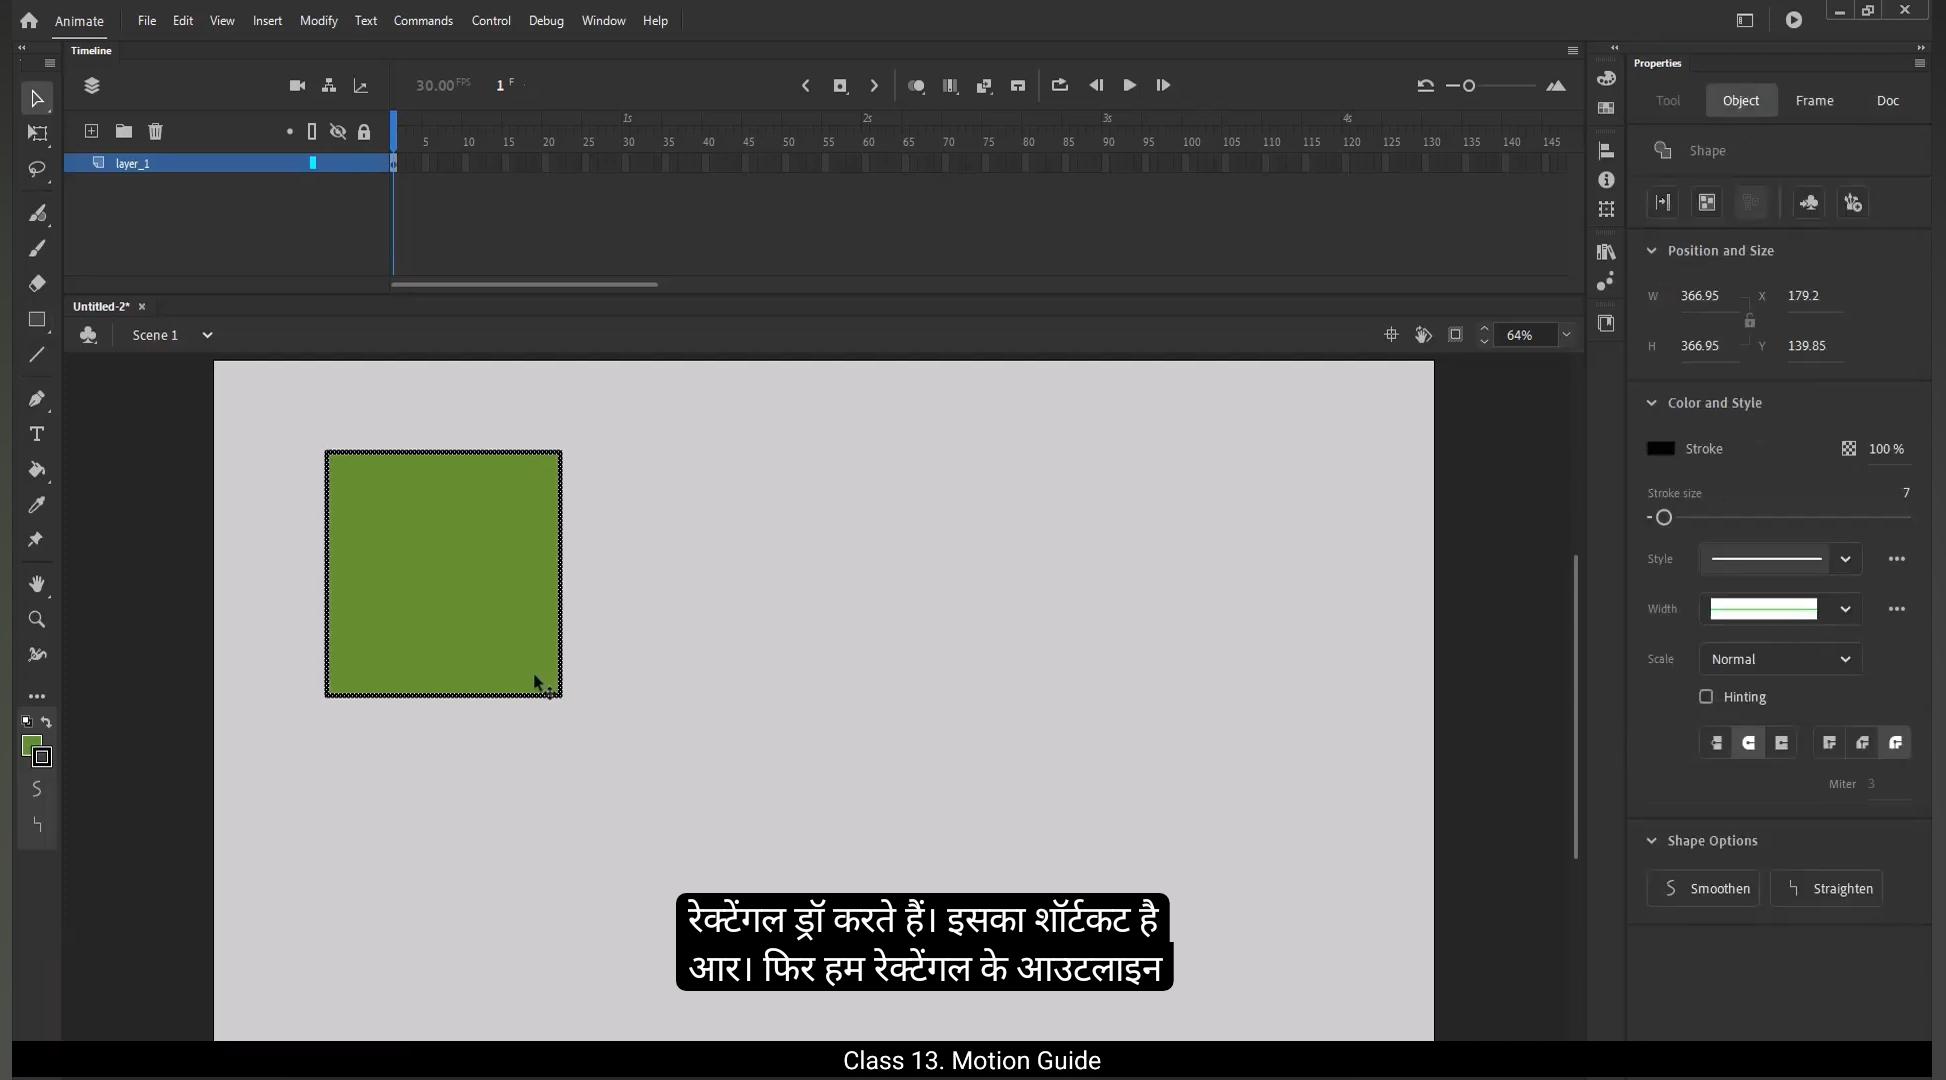
In this tutorial we are going to learn about motion guides and when to use them.Let's draw a rectangle using the Rectangle tool. The shortcut is R.We then select the outlines of a rectangle and delete them.We also scale it down a little using the free transform tool, the shortcut for which is Q. Now the layer that we've.Drawn a rectangle on, let's call it object.We increase the frames up to 60 using F5.Next, we right click on the object layer and select the Classic Motion Guide from the menu.This adds a new layer above the object layer which is called guide object. This will serve as a guide for our object when we set it in motion.Let's lock the object layer.Let's draw a line using the line tool, the shortcut for which is N.We then curve the line using the selection tool, the shortcut for which is V.And adjust the line or the path on which we want our object to move.We select the shape and press F8 to convert it into a symbol and call it object.Please make sure that the snap to object option is on. This will help us place our object on the path which we've defined for it. Now we select the object or the rectangle here and drag it closer to the line and you will notice that the rectangle snaps to the line. This is because the snap option is on.Next we right click on frame 50 and choose Insert Frame from the menu or you can press F6 to add keyframes. We move our object to the end of the line and the object again snaps to the line. You will not be able to experience this looking at the video. The snap features is something you can only experience when you're working hands on.Then we select random frames in between and select the Create Classic Tween option from the menu.Now, if you press the Enter key, you'll notice that our object moves exactly over the line that we've defined for it.We can even add keyframes in between using the F6 key.And rotate and scale the object. You can experiment and add new effects from the properties tab to make this more interesting and also more informative for you.Hope you found this tutorial helpful. Thank you.
इस ट्यूटोरियल में हम motion guides के बारे में सीखने वाले हैं और ये कब यूज़ होते हैं। सबसे पहले हम Rectangle टूल से एक rectangle ड्रॉ करते हैं। इसका शॉर्टकट है R। फिर हम rectangle के outlines सेलेक्ट करके उन्हें डिलीट कर देते हैं। इसके बाद हम Free Transform टूल (शॉर्टकट Q) से rectangle को थोड़ा scale down करते हैं। जिस लेयर पर हमने rectangle बनाया है, उसे हम “object” नाम देते हैं।
हम F5 दबाकर frames को 60 तक बढ़ाते हैं। अब हम object लेयर पर राइट क्लिक करते हैं और मेन्यू से Classic Motion Guide सेलेक्ट करते हैं। इससे object लेयर के ऊपर एक नई लेयर बन जाती है, जिसका नाम होता है guide object। ये हमारी object के लिए motion का guide बनेगा। अब हम object लेयर को लॉक कर देते हैं। इसके बाद Line टूल (शॉर्टकट N) से एक line ड्रॉ करते हैं। फिर Selection टूल (शॉर्टकट V) से उस line को curve करते हैं और उसे उस path के हिसाब से एडजस्ट करते हैं, जिस पर हमें object को मूव कराना है।
अब हम rectangle को सेलेक्ट करके F8 दबाते हैं और उसे symbol में convert करके “object” नाम देते हैं। ध्यान रखें कि Snap to Object ऑप्शन ऑन होना चाहिए। ये हमें object को path पर सही जगह रखने में मदद करेगा। अब हम rectangle को line के पास ड्रैग करते हैं और देखेंगे कि वो अपने आप line से snap हो जाता है। ये snap फीचर तभी महसूस होगा जब आप खुद काम करेंगे, वीडियो में नहीं।
अब हम frame 50 पर राइट क्लिक करके Insert Frame सेलेक्ट करते हैं या F6 दबाकर keyframe ऐड करते हैं। हम object को line के end पर मूव करते हैं, और object फिर से line से snap हो जाएगा। उसके बाद हम बीच के random frames सेलेक्ट करके मेन्यू से Create Classic Tween का ऑप्शन चुनते हैं। अब Enter दबाने पर आप देखेंगे कि object बिलकुल उसी path पर मूव करता है, जिसे हमने define किया था।
हम बीच में और भी keyframes F6 से डाल सकते हैं, object को rotate या scale कर सकते हैं। आप properties tab से नए effects ऐड करके इसको और interesting और informative बना सकते हैं। उम्मीद है आपको ये ट्यूटोरियल helpful लगा होगा। धन्यवाद।