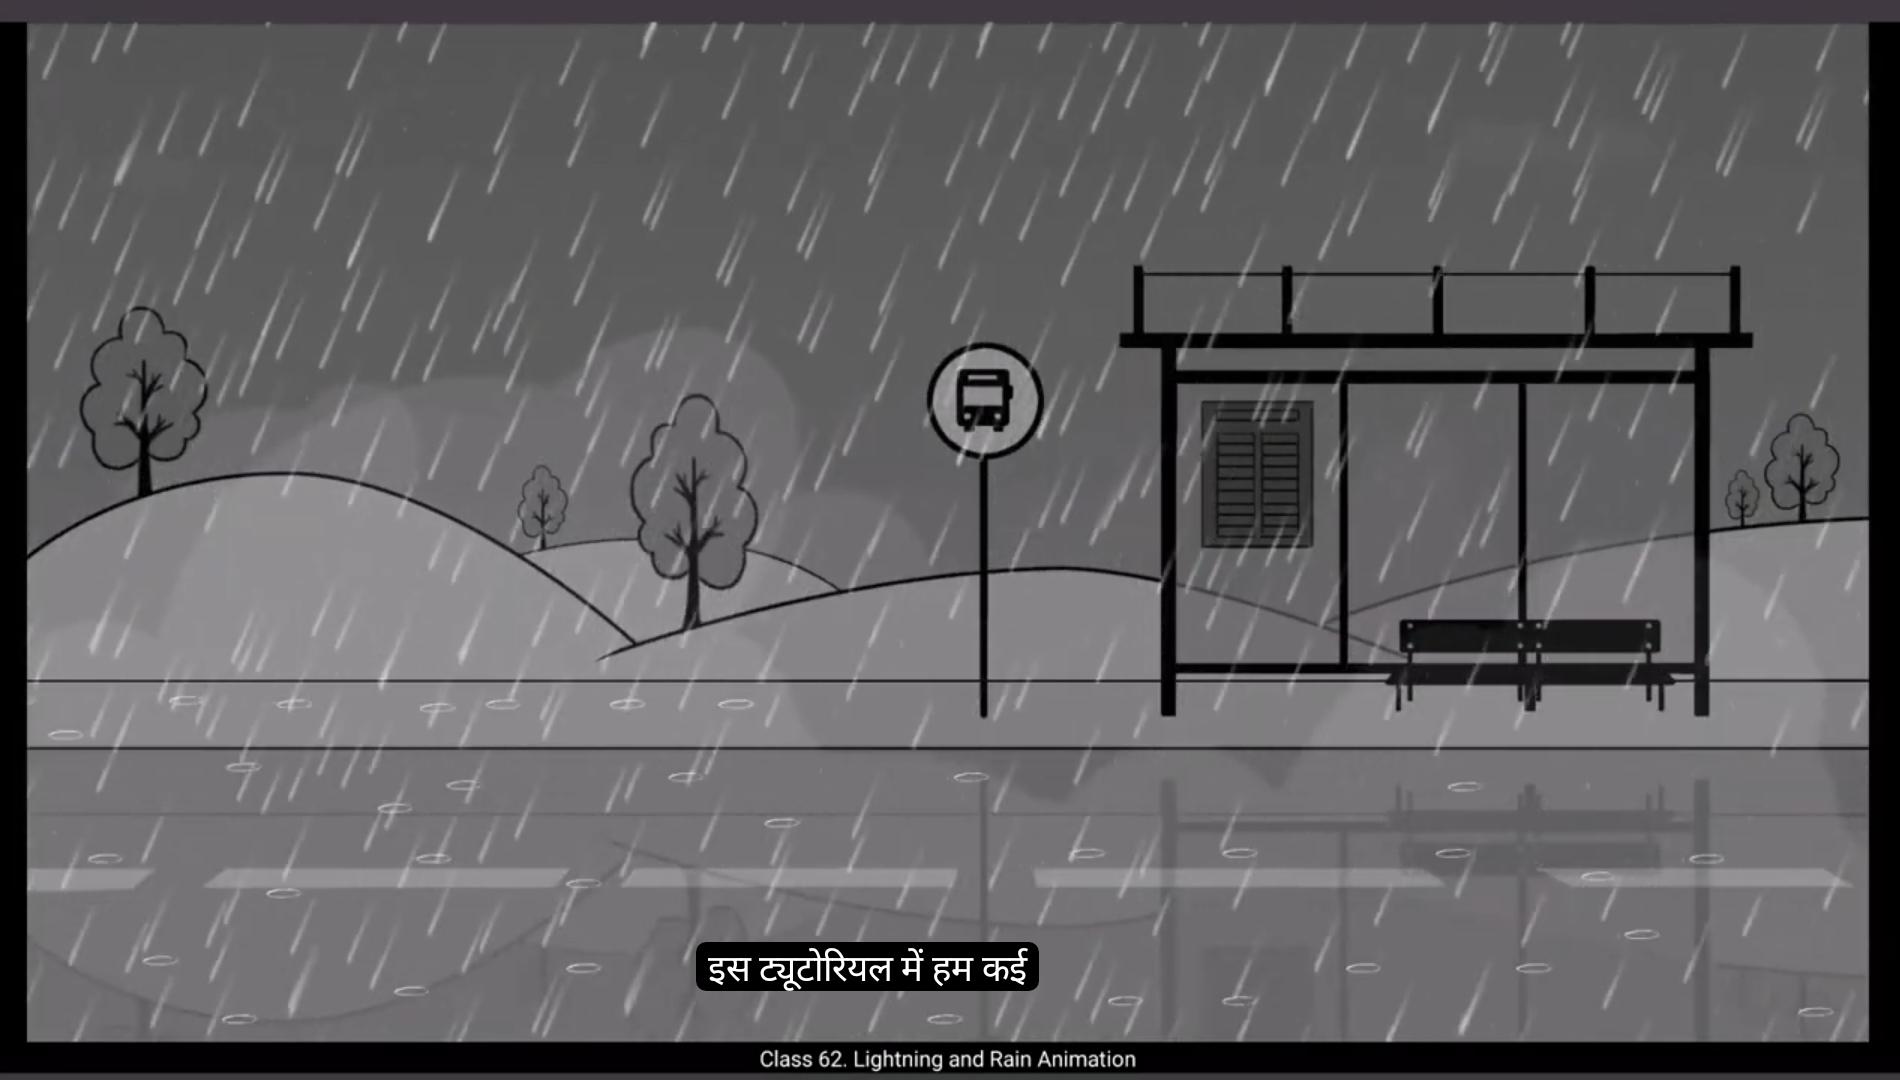
In this tutorial we are going to animate several effects that will create a rainy environment. We have two layers here, an overlay and an underlay. We now add another layer and name it reflection.We unlock the overlay and select the symbol and copy it using Control C We then go to the reflection layer and paste the symbol in place using Control Shift V We now lock and hide the overlay layer using the free transforming tool, the shortcut for which is Q. We rotate the symbol that's on the reflection layer as seen in the video.
Then using the arrow keys on the keyboard, we move the symbol down and unhide the overlay layer. We then adjust the reflection symbol as seen in the video.We right click on the symbol and choose Duplicate Symbol from the drop down menu and we call it Reflection. We right click on the symbol again and go to transform in the main menu and choose Flip Horizontal. This will flip our reflection symbol As you can see in the video. We now double click and enter the symbol and break the symbol to modify it. The shortcut we use for that is Control B.We keep using control B under the entire symbol is selected as seen in the video.Now we it is some parts of the background using the eraser tool. Please see the video for which parts to erase.We come out of the symbol by clicking the Scene 1 tab and adjust the reflection symbol as seen in the video. We now select the symbol and go to Color Effects which is in Properties object we click None option and from the drop down menu we select Alpha. We set the alpha at 16%. By reducing the alpha value, the reflection looks much more natural.
😘
We are now going to animate raindrops hitting hard surface. So we call them rain hits. We add a layer and call it rain hit. Now using the brush tool we draw an Oval on the road scene in the background.We select our drawing and convert It into a symbol using F8 and we name it rain hit.We enter the symbol by double clicking it. We select the drawing and scale it down using the scale and rotate tool. The shortcut is Control Alt S.We scale it down to 80%. We now add a blank keyframe on frame 2 using F7 and we turn on the onion skin switch. Please see the video to locate the switch. Then using the brush tool, we draw another Oval but a bigger one on this keyframe. We add another blank keyframe using F7 and Justice. Like we did before. We draw keys for the rain head to disappearing.We've added five drawings and 1 is a blank keyframe on frame 6 to end our animation. We've also extended our timeline till frame 25 using F5. We exit the symbol and we select our rainhead symbol and convert it into a symbol again and we name it multiple hits.We double click the symbol to enter it. Here we extend our timeline till frame 25 by selecting it and adding frames by using F5. We now copy our symbol using control C, add a new layer and paste the symbol on this layer using control V We lock layer one and move the new symbol to see it clearly.We right click on this new symbol, choose duplicate symbol from the drop down menu and we name it Rain Hit one.We now use the same process to create more symbols. We copy and paste the symbols on a new layer and duplicate them.We are now done creating 5 symbols on five layers. A quick preview shows us that all the symbols play at the same time.
😘
So we need to change the timing of the four symbols so that they don't play at the same time and they seem to play randomly. So we select the symbol on layer 6, double Click to enter it, select all the frames as seen in the video and drag them to the right so that the first keyframe will be placed on frame 5. please follow the video for this, we then exit the symbol and lock the layer 6. Next we enter the symbol on layer 7. We select all the frames here and drag them to frame 10 so that the animation here will play from the 10th frame using the same process. We do this with the remaining 2 symbols and make them play from frame 15 and 20 as seen in the video.
Now we select all the symbols and drag them outside the staging area as seen in the video.Replace them one below the other.We now copy the first symbol and paste it on the work area using Control V as seen in the video. Now holding down the Alt key, we make copies of this symbol and place them at random on the road scene, in the background and on the pavement as seen in the video.In the same way, we do this with the other symbols as well. We place some of these symbols on the roof of the bus stop seen in the background.
Once this is done, we exit the symbol and by pressing the enter key we can see that the rain hits are playing at random.We add a new layer and using the brush tool we draw a foggy shape as seen in the video. Then using the line tool, we make sure that the outline of the shape is totally closed so we can use the bucket to fill it. Then using the shortcut key K, we fill this shape with white as seen in the video. After filling the shape, we delete the outlines.We convert this shape into a symbol by using F8 key and name it Fog.
😘
We scale our symbol up to 200% using the Scale and Rotate tool. The shortcut is Control Alt S.We move it to the right of the screen so that the left side of the symbol matches with the edge of the screen as seen in the video. We now go to alpha option. It's in properties, objects, colour effects. We set the alpha at 13%. We also add a bit blur to the fog symbol. We make some changes to the alpha and increase it a bit. We again convert this to a symbol using F8. We name it Fog one.We enter the symbol and extend our timeline to frame 300 by selecting it and using F5 to add frames, we add a keyframe on frame 300 using F6 and using the arrow keys we move the fork symbol to the left. Select some frames in between as seen in the video and choose Create Classic Tween from the drop down menu.
We now add a layer under the overlay and copy our fog symbol to this layer. We then scale it down to add some depth of feel to our environment. Looking back, we added three elements to this environment reflection, rain hits and fog.You can go ahead and experiment with more elements you can think of and add them to your environment.We have also added rain and lightning animation to this environment. We have taken the same animation that we had done in earlier tutorials and reused them here. Let's look at our animated environment now.All the elements add up nicely. Hope you found this tutorial helpful. Thanks for watching.
इस ट्यूटोरियल में हम कई इफेक्ट्स को ऐनिमेट करने वाले हैं जो एक बारिश वाला माहौल तैयार करेंगे। हमारे पास यहाँ दो लेयर्स हैं, एक ओवरले और एक अंडरले। अब हम एक और लेयर जोड़ते हैं और उसका नाम रिफ्लेक्शन रखते हैं। हम ओवरले को अनलॉक करते हैं और सिंबल को सेलेक्ट करके Control C से कॉपी करते हैं। फिर हम रिफ्लेक्शन लेयर पर जाते हैं और Control Shift V से सिंबल को उसी जगह पेस्ट करते हैं। अब हम ओवरले लेयर को लॉक और हाइड कर देते हैं। फ्री ट्रांसफॉर्मिंग टूल का इस्तेमाल करते हुए, जिसका शॉर्टकट Q है, हम रिफ्लेक्शन लेयर पर मौजूद सिंबल को वीडियो में दिखाए गए अनुसार रोटेट करते हैं। फिर कीबोर्ड की एरो कीज़ से सिंबल को नीचे की ओर मूव करते हैं और ओवरले लेयर को अनहाइड करते हैं। फिर हम वीडियो में दिखाए अनुसार रिफ्लेक्शन सिंबल को एडजस्ट करते हैं। हम सिंबल पर राइट क्लिक करके ड्रॉप डाउन मेनू से Duplicate Symbol चुनते हैं और उसे Reflection कहते हैं। फिर हम सिंबल पर दोबारा राइट क्लिक करते हैं और मेन मेन्यू में जाकर Transform चुनते हैं और Flip Horizontal ऑप्शन सिलेक्ट करते हैं। इससे हमारा रिफ्लेक्शन सिंबल फ्लिप हो जाता है जैसा कि वीडियो में दिखाया गया है। अब हम सिंबल पर डबल क्लिक करके अंदर जाते हैं और उसे ब्रेक करने के लिए Control B शॉर्टकट का इस्तेमाल करते हैं। हम Control B तब तक इस्तेमाल करते हैं जब तक पूरा सिंबल सेलेक्ट न हो जाए जैसा कि वीडियो में दिखाया गया है। अब हम इरेज़र टूल का इस्तेमाल करके बैकग्राउंड के कुछ हिस्से मिटाते हैं। कृपया वीडियो देखें कि कौन से हिस्से मिटाने हैं। फिर हम Scene 1 टैब पर क्लिक करके सिंबल से बाहर आते हैं और वीडियो में दिखाए अनुसार रिफ्लेक्शन सिंबल को एडजस्ट करते हैं। अब हम सिंबल को सेलेक्ट करते हैं और Properties में जाकर Color Effects में Object चुनते हैं। हम None ऑप्शन पर क्लिक करके ड्रॉप डाउन मेनू से Alpha चुनते हैं। हम Alpha को 16% पर सेट करते हैं। Alpha वैल्यू कम करने से रिफ्लेक्शन और भी प्राकृतिक लगता है।
😘
हम अब बारिश की बूंदों को सख़्त सतह पर गिरते हुए ऐनिमेट करने जा रहे हैं, तो हम इन्हें रेन हिट्स कहते हैं। हम एक लेयर ऐड करते हैं और उसका नाम रेन हिट रखते हैं। अब ब्रश टूल का इस्तेमाल करके हम बैकग्राउंड में रोड सीन पर एक ओवल ड्रॉ करते हैं। हम अपनी ड्रॉइंग को सेलेक्ट करके F8 का इस्तेमाल करते हुए उसे एक सिंबल में कन्वर्ट करते हैं और उसका नाम रेन हिट रखते हैं। हम सिंबल में एंटर करने के लिए उस पर डबल क्लिक करते हैं। हम ड्रॉइंग को सेलेक्ट करते हैं और स्केल एंड रोटेट टूल का इस्तेमाल करते हुए, जिसका शॉर्टकट Control Alt S है, स्केल को 80% तक कम करते हैं। अब हम फ्रेम 2 पर F7 का इस्तेमाल करके एक ब्लैंक कीफ्रेम ऐड करते हैं और अनियन स्किन स्विच को ऑन करते हैं। कृपया वीडियो में देखें कि स्विच कहाँ है। फिर ब्रश टूल का इस्तेमाल करके हम इस कीफ्रेम पर एक और ओवल ड्रॉ करते हैं लेकिन थोड़ा बड़ा। फिर हम F7 का इस्तेमाल करके एक और ब्लैंक कीफ्रेम ऐड करते हैं और पहले की तरह ही रेन हिट के गायब होने के कीज़ ड्रॉ करते हैं। हमने पाँच ड्रॉइंग्स ऐड कर ली हैं और फ्रेम 6 पर एक ब्लैंक कीफ्रेम ऐड किया है ताकि ऐनिमेशन ख़त्म हो सके। हमने अपनी टाइमलाइन को फ्रेम 25 तक F5 का इस्तेमाल करके बढ़ा दिया है। हम सिंबल से बाहर आते हैं और अपने रेन हिट सिंबल को सेलेक्ट करके उसे दोबारा एक सिंबल में कन्वर्ट करते हैं और उसका नाम मल्टीपल हिट्स रखते हैं। हम सिंबल में डबल क्लिक करके एंटर करते हैं। यहाँ हम टाइमलाइन को फ्रेम 25 तक सेलेक्ट करके और F5 का इस्तेमाल करके फ्रेम्स ऐड करके बढ़ाते हैं। अब हम अपने सिंबल को Control C से कॉपी करके एक नई लेयर ऐड करते हैं और Control V से नए सिंबल को इस लेयर पर पेस्ट करते हैं। हम लेयर वन को लॉक करते हैं और नए सिंबल को साफ़ दिखाने के लिए मूव करते हैं। हम इस नए सिंबल पर राइट क्लिक करते हैं, ड्रॉप डाउन मेनू से डुप्लिकेट सिंबल चुनते हैं और इसका नाम रेन हिट वन रखते हैं। अब हम इसी प्रोसेस का इस्तेमाल करते हुए और सिंबल्स बनाते हैं। हम सिंबल्स को नई लेयर पर कॉपी और पेस्ट करके डुप्लिकेट करते हैं। अब हम पाँच सिंबल्स पाँच लेयर्स पर बना चुके हैं। एक जल्दी से प्रीव्यू हमें दिखाता है कि सारे सिंबल्स एक ही समय पर प्ले हो रहे हैं।
😘
सो हमें चार symbols की timing बदलनी होगी ताकि ये एक ही time पर play ना हों और randomly चलें। तो हम layer 6 वाले symbol को select करते हैं, उस पर double click करके enter करते हैं, video में दिखाए अनुसार सारे frames select करते हैं और उन्हें right तरफ drag करते हैं ताकि पहला keyframe frame 5 पर आ जाए। फिर हम symbol से exit करते हैं और layer 6 को lock कर देते हैं। अगला step, हम layer 7 वाले symbol में enter होते हैं। यहाँ भी हम सारे frames select करके उन्हें frame 10 पर drag कर देते हैं ताकि ये animation frame 10 से play हो। इसी process का इस्तेमाल करते हुए हम बाकी 2 symbols को भी adjust करते हैं और उन्हें video में दिखाए अनुसार frame 15 और frame 20 से play करने के लिए set करते हैं। अब हम सारे symbols को select करके उन्हें staging area के बाहर drag करते हैं जैसा video में दिखाया गया है। उन्हें एक के नीचे एक replace कर देते हैं। अब हम पहले symbol को copy करके Control V से work area पर paste करते हैं जैसा video में दिखाया गया है। Alt key दबाए रखते हुए हम इस symbol की copies बनाते हैं और उन्हें road scene, background और pavement पर randomly arrange करते हैं जैसा video में दिखाया गया है। इसी तरह हम दूसरे symbols के साथ भी करते हैं। हम इन symbols को background में दिख रहे bus stop की छत पर भी रखते हैं। ये सब होने के बाद, हम symbol से बाहर आते हैं और Enter दबाकर देखते हैं तो rain hits randomly play होते नज़र आते हैं। हम एक नई layer add करते हैं और brush tool से video में दिखाए अनुसार एक foggy shape draw करते हैं। फिर line tool से ensure करते हैं कि shape की outline पूरी तरह बंद हो ताकि हम bucket का इस्तेमाल कर सकें। Shortcut key K का इस्तेमाल करके हम इस shape को white रंग से fill करते हैं जैसा video में दिखाया गया है। Fill करने के बाद हम outlines delete कर देते हैं। हम इस shape को F8 key का इस्तेमाल करते हुए एक symbol में convert करते हैं और इसका नाम Fog रखते हैं।
😘
हम अपने symbol को Scale and Rotate tool से 200% तक scale करते हैं। इसका shortcut Control Alt S है। हम इसे स्क्रीन के right side पर ले जाते हैं ताकि symbol का left side स्क्रीन के edge से match हो जैसा वीडियो में दिखाया गया है। अब हम alpha option पर जाते हैं। ये Properties → Object → Colour Effects में होता है। हम alpha को 13% पर set करते हैं। हम fog symbol पर थोड़ा blur भी add करते हैं। फिर हम alpha में थोड़ा बदलाव करते हैं और इसे थोड़ा बढ़ा देते हैं। हम इसे फिर से symbol में convert करते हैं F8 की मदद से और इसे Fog one नाम देते हैं। हम symbol में enter करते हैं और timeline को frame 300 तक extend करते हैं frame select करके और F5 दबाकर। हम frame 300 पर एक keyframe add करते हैं F6 का इस्तेमाल करके और arrow keys से fog symbol को left तरफ move करते हैं। वीडियो में दिखाए अनुसार कुछ बीच के frames select करके drop down menu से Create Classic Tween चुनते हैं। अब हम overlay के नीचे एक layer add करते हैं और अपने fog symbol को इस layer पर copy करते हैं। फिर हम इसे scale down करते हैं ताकि environment में depth of field का effect आए। अब तक हमने environment में तीन elements add किए — reflection, rain hits और fog। आप चाहें तो और elements experiment करके environment में जोड़ सकते हैं। हमने इस environment में rain और lightning animation भी add की है। ये पहले tutorials में बनी animations हैं जिन्हें हमने यहां reuse किया है। अब चलिए अपने animated environment को देखते हैं। सारे elements मिलकर बहुत अच्छा look दे रहे हैं। उम्मीद है आपको ये tutorial helpful लगा होगा। Thanks for watching.