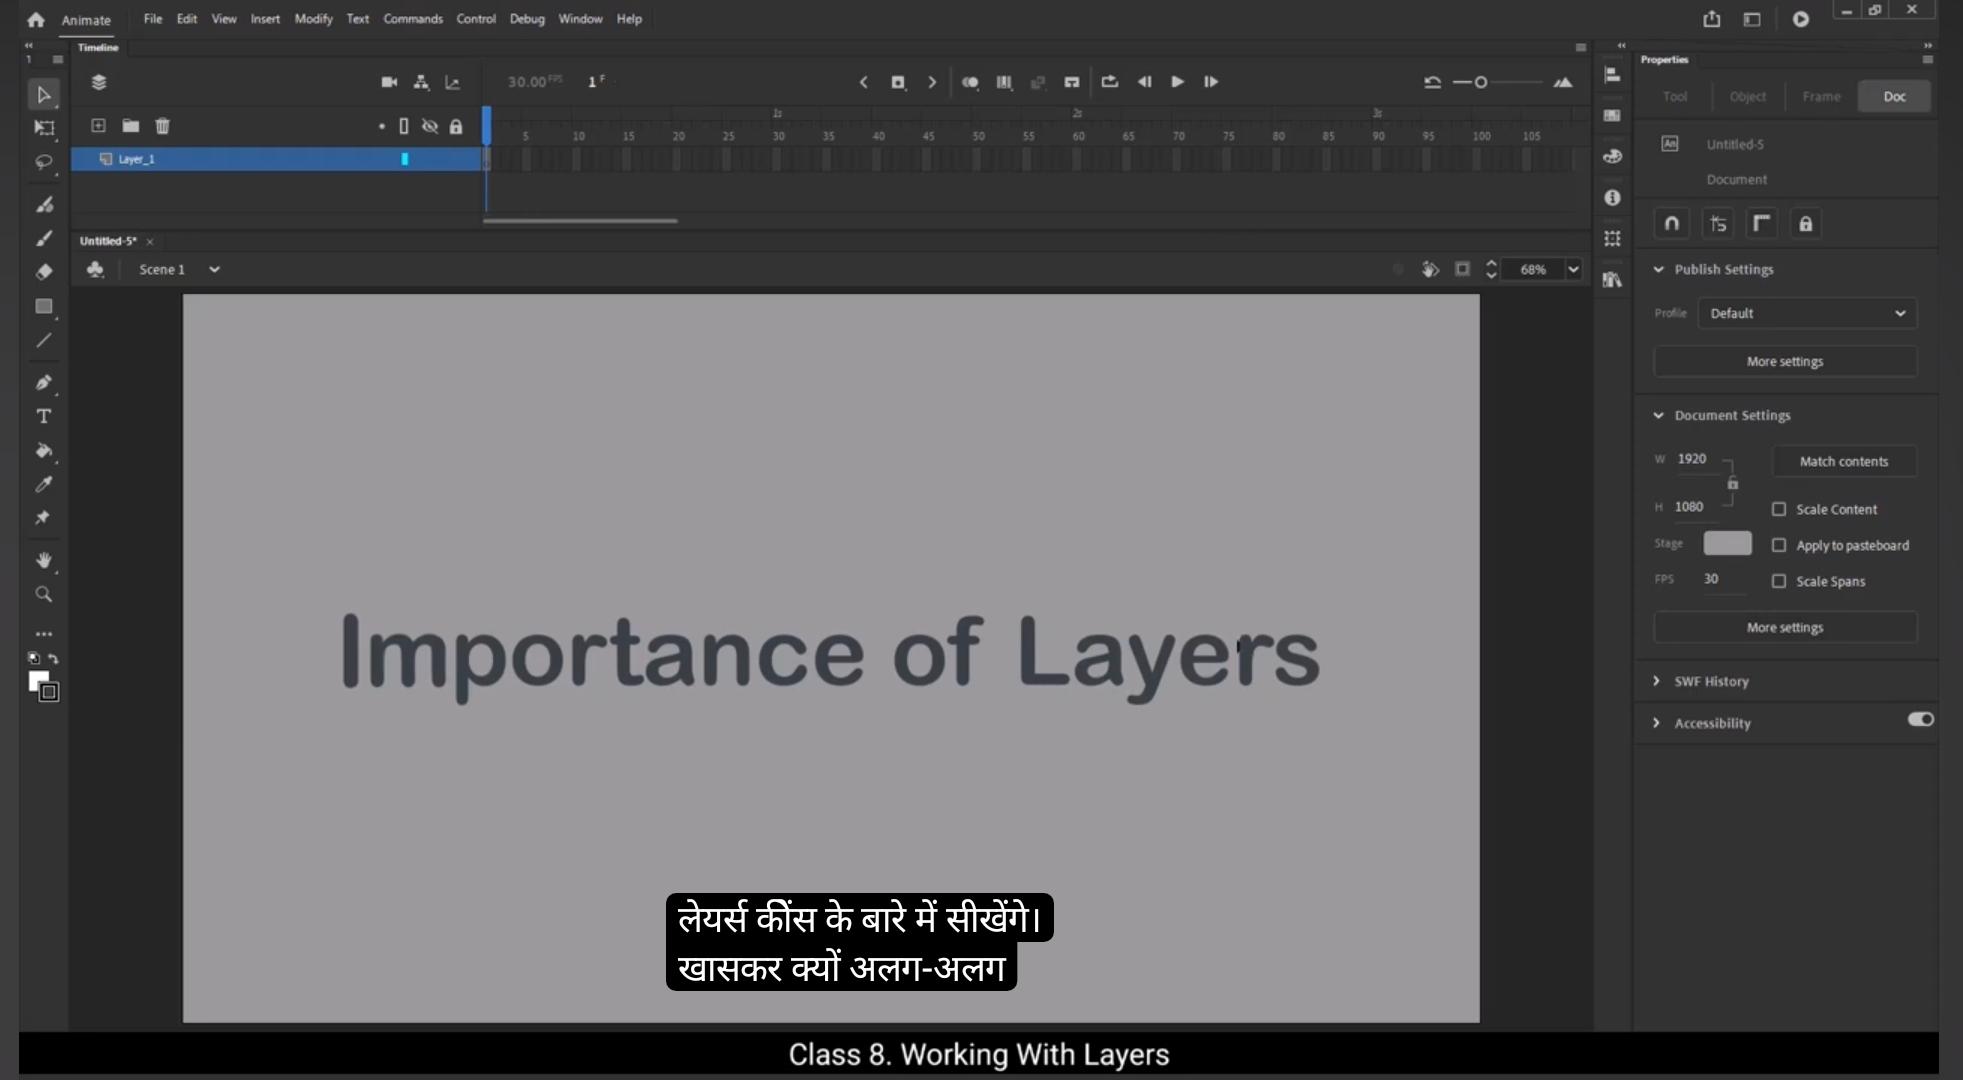
Hello students. In this tutorial we'll learn about the importance of layers, specifically why it's essential to use separate layers for different shapes and objects in Adobe Animate. Usually when we start a new file and begin drawing, everything automatically gets created on layer one by default. Let me show you an example. I'll take the rectangle tool and start drawing on layer one.As you can see, the blank frame on the timeline converts into a keyframe the moment I Draw Something.If I press Control Z to undo, notice how the frame goes back to being a blank frame with a hollow circle. When I draw with the rectangle tool or any drawing tool, the software automatically converts this blank frame into a keyframe because it registers a change or new object being created on the timeline.Now I'll draw four different shapes on layer one to show you what happens when we keep everything on the same layer. Here's a line, a circle, an rectangle, and a Pentagon.As long as these shapes are not overlapping, it's easy to select them individually.I can double click on each shape or drag a selection box around them to select them. Once selected, I can move or edit the shapes freely. Each object is still separate and independent so they won't interfere with one another. But what happens if these shapes overlap? I'll use the rectangle tool again to draw a new rectangle that overlaps with the shapes I've already created. When I try to move this new rectangle, notice how it breaks apart the shapes it intersects with. For instance, the circle and rectangle are now distorted because they were on the same layer and moving 1 shape affects the others.To further demonstrate the problem, I'll use the line tool and draw over one of the existing shapes. When I try to move the line using the selection tool, it only selects a part of the line.The other parts of the line and the overlapping shapes get distorted, making it hard to manage each object independently. To solve this problem, it's best to use separate layers for each shape.Let me show you how. 1st I'll select all the shapes and press delete on the keyboard to clear the canvas.Let's start over on layer one. I'll draw a line.This will be the first shape and I'll rename layer one to line to keep things organized. Renaming layers is important because it helps you quickly identify objects in your timeline and makes it easier to navigate your project. Now I'll create a new layer for the rectangle. To do this, I'll click the plus icon in the timeline to create layer 2. I'll rename this new layer rectangle so I know exactly which shape belongs to which layer.I'll then use the Rectangle tool to draw the rectangle shape.Next, I'll create another layer for the circle. Once again, I'll click the plus icon to create a new layer and I'll rename it to Circle.Then I'll select the Oval tool and hold the shift key to create a perfect circle on this layer. Similarly, I'll create a new layer for the Polygon. I'll name this layer Polygon and use the Polystar tool to draw the Polygon. Now we have 4 separate layers, each holding a different shape.Now that each shape is on its own layer, I'll show you how much easier it is to manipulate them. Let's take all the shapes and overlap them on top of each other.Now, if I select only the circle layer and move it, it moves without affecting the rectangle or the line. This is one of the key benefits of working with separate layers. Each object can be moved, edited, or repositioned without disturbing others. The shapes remain independent and unaffected by each other, even if they overlap. So if I want to move the line over the other shapes or move the rectangle, I can do so without breaking anything. Notice that the Polygon is currently the topmost shape, so it appears in front of the other shapes.The circle is behind it, the rectangle is behind that, and the line is the bottom most shape. If I want to bring the line to the front, I just need to select the line layer and drag it upwards in the layer list towards the top of the timeline. Now the line appears in front of all the other shapes.You can rearrange the layers at any time. For example, if I want the rectangle to be on top of the Polygon, I can simply select the rectangle layer and drag it above the Polygon. Similarly, I can do the same with the other shapes as well. Also, instead of selecting the shape on the stage, you can select the layer and use the selection tool to easily move the shape as well.So to summarize, using separate layers for different shapes or objects is critical for keeping your designs organized and ensuring that each element stays intact even when overlapping.It also gives you more control over how each object is positioned and edited in your animation or project. I hope you now have a better understanding of how layers work. In the next tutorial we will learn the importance of groups.Thanks . and see you in the next tutorial.