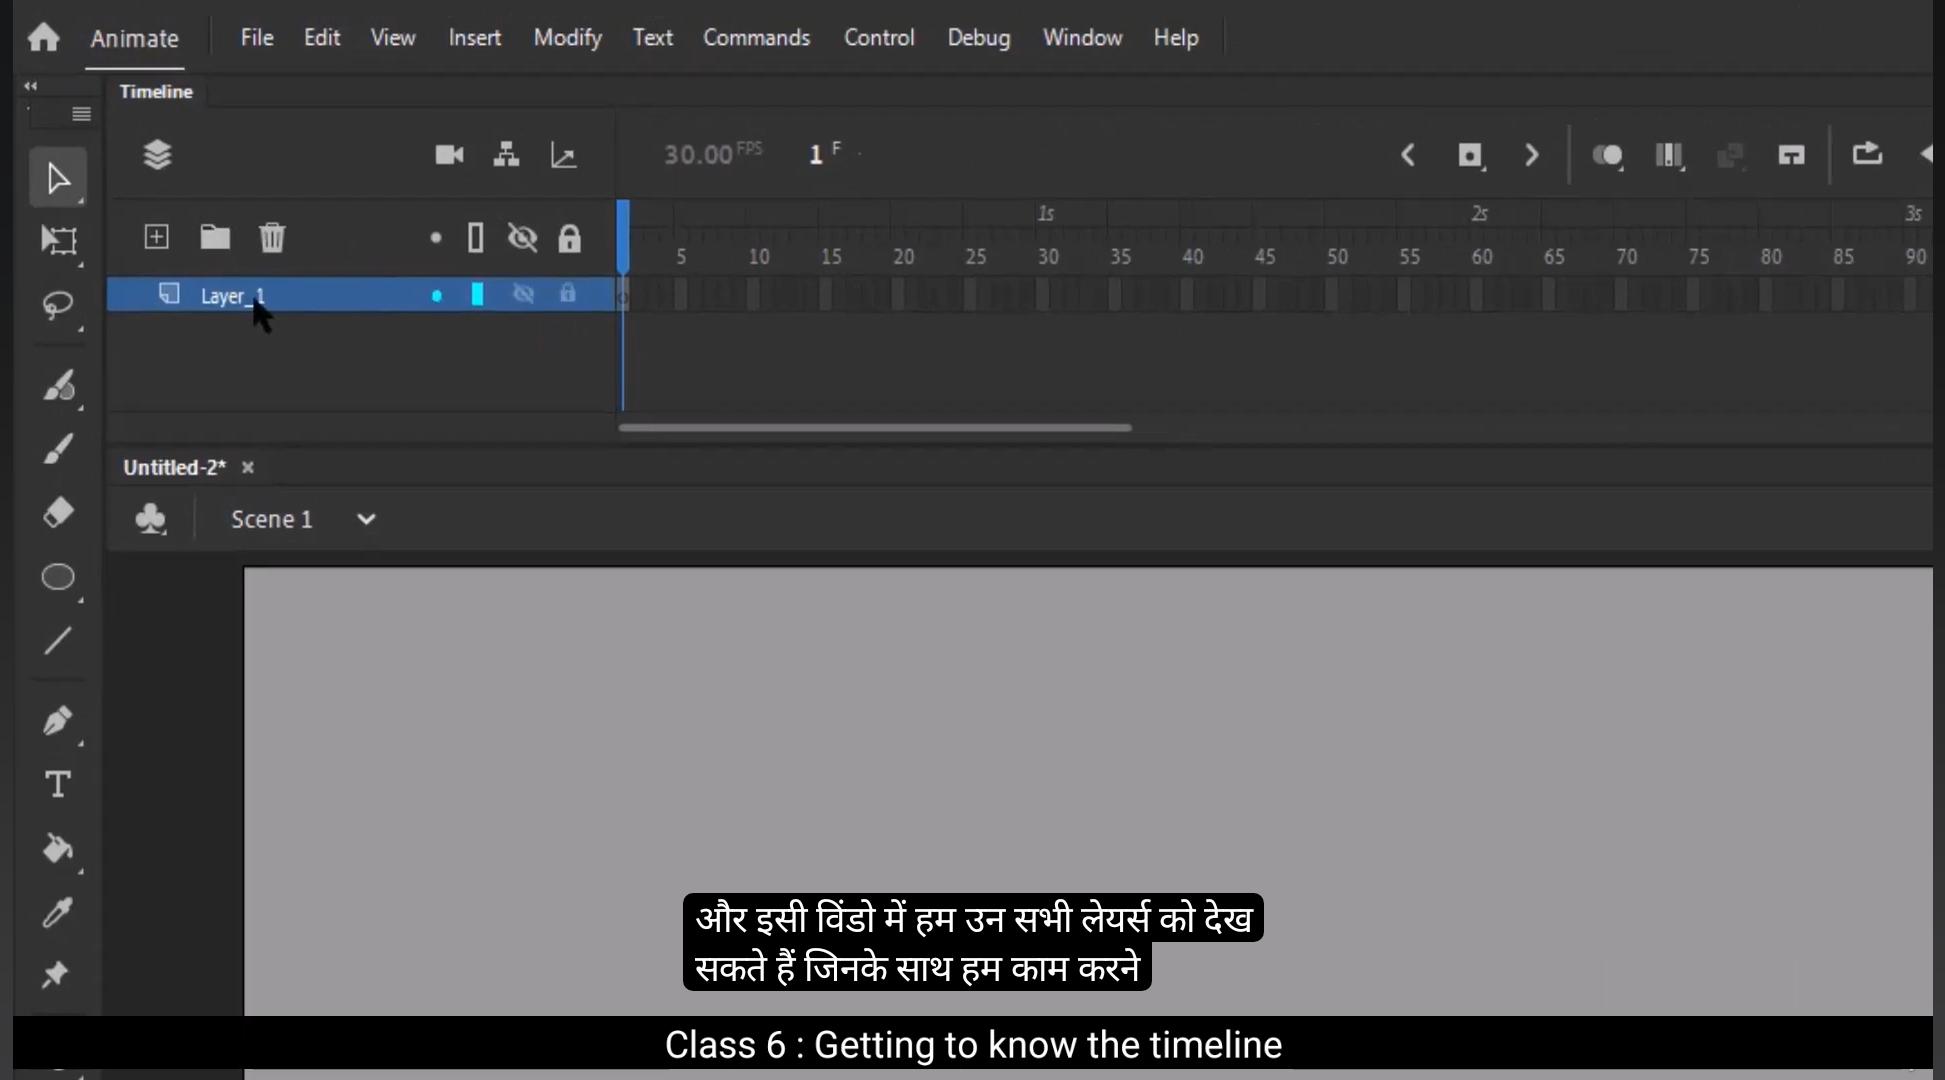
In this video, we are going to study the timeline in Adobe Animate, which is undoubtedly one of the most important aspects of animation in genre.The timeline is located at the top of our staging area. It shows us frame numbers and frame rate.The frame rate means how many frames run in one second.We can change our frame rate at the time we create a new document. We can access the timeline by going to Windows and clicking on the Timeline option from the drop down menu. Let's look at the Layer tab first on the left side of the timeline. And window we can see all the layers that we are going to work with on this tab.If we double click on the name of the layer, it shows us a dialog box that blinks, which means we can rename the layer. If you want to add a new layer to the timeline, we can press the Add New Layer button just above the layer tab marked in the plus icon.There's a button called Create folder just next to the Add New Layer tab. This button creates a new folder and we can classify layers and group them into folders for easy search and access.Then there is a delete layer button marked with a pin icon which when pressed deletes the layers and folders. Now if we move to the right side of the layer, we can see three buttons. The first button is the outline mode, which shows our objects on that layer as outlines only. Let's draw an Oval on this layer and switch on the outline mode just to get a clear understanding. The second button shows or hides the layers.The third button is a lock button, which locks all the layers. Of course, we have an option to lock the layers separately as well. Let's zoom in on the timeline. We can see a train of rectangles. These are called frames. There are numbers marked on the frames.We can add frames here by right clicking on the previous frame and clicking on the Insert Frame option from the drop down menu. We can also use the shortcut F5 to add a single frame. Next, if we want to add a keyframe, we can right click on the particular frame to converge to a keyframe and choose Insert keyframe options. The shortcut to add a keyframe is F6. Now if you want to change the Oval drawing on the 10th frame, we can add a keyframe there and we will modify the Oval shape using the free transform tool.Now if we move the slider on the timeline, we can see that the drawing changes on the 10th frame. Please remember that if we do not add a keyframe there and then change the drawing, our drawing will be changed from the 1st frame. If we want to end the animation on a particular frame, we can add a blank keyframe. We can right click on the particular frame and choose Insert Blank Keyframe from the drop down menu or simply press F7 which is a shortcut.There are some buttons above the frame panel from where we can navigate through the timeline. We can step forward or backward on the frames.The onion skin button helps us to see the previous few and the next few frames on our timeline. We can choose how many we like to see. Then there is an Edit Multiple Frames button next to the onion skin which helps us modify or move multiple frames at the same time.And the next button applies tweens between the two keyframes. We'll cover the tween feature in another tutorial.And last of all, there is a play and loop button in the timeline at the end. Hope you found this tutorial useful. Thanks.