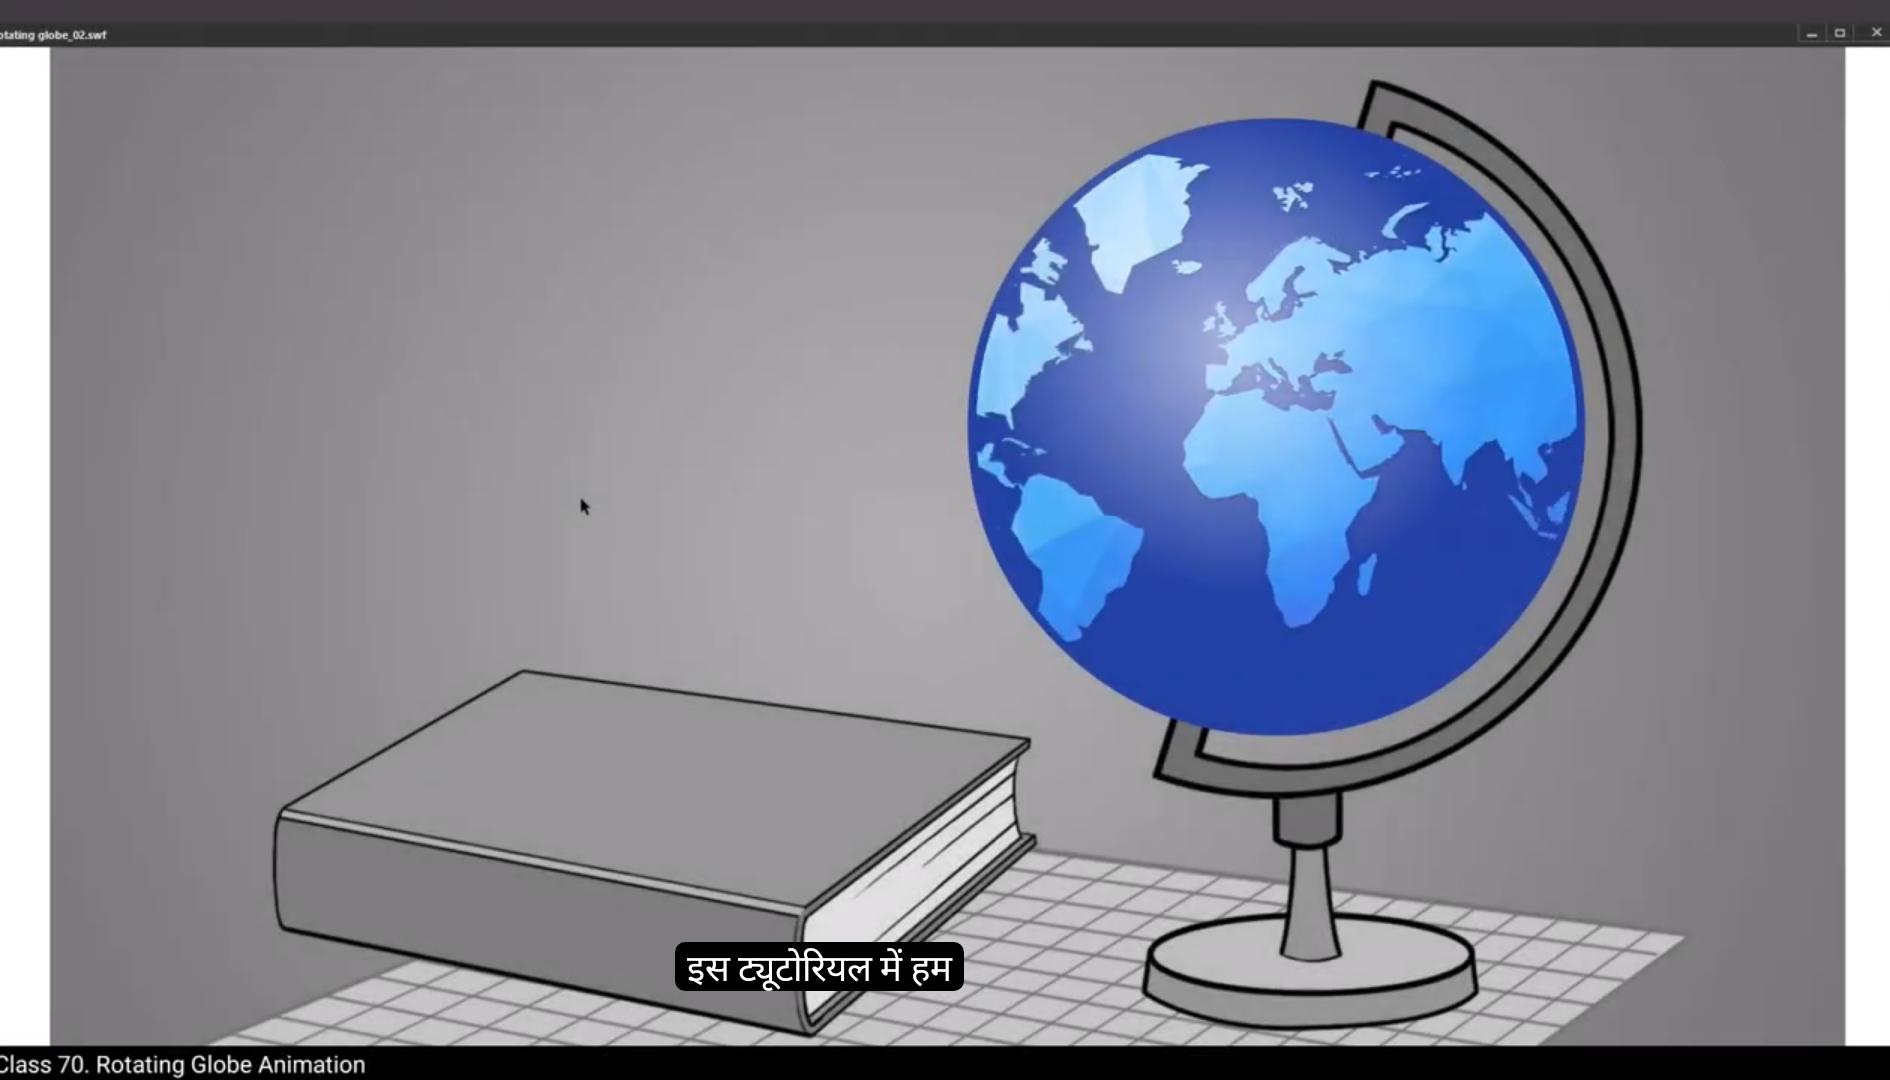
In this tutorial we are going to animate a rotating globe. We have two layers here, the background layer which has a globe stand and a book sitting on a table, and the map layer which has a map on the globe. We've extended the timeline up to 90 frames by selecting frame 90 and using the F5 keys as we always do. We've locked our background layer already as we need to work on the map layer for now.
We select our map and press F8 to convert it into a symbol and we name it Map. We double Click to enter the symbol and then we copy our symbol using Control C and paste it in place on the same layer using Control Shift V. We then move the map to the right using the arrow keys. We now have two maps as seen in the video. We place the second map just beside the right edge of the first map as seen in the video.Now we exit the symbol and convert our map symbol into a new one again by using F8 and rename it main map. We enter the main map symbol and we extend our frames in this symbol by clicking on frame 90 and pressing F5. We exit the symbol and using the arrow keys we adjust our map symbol according to the globe drawing on the background. Please follow the video carefully to match the position.Now we enter the main map symbol and click on View on the menu as seen in the video and select the Rulers option. We can see the rulers on the screen. Now you can also use the shortcut control Alt plus Shift plus R to access the ruler. Now we click on the ruler to our left and drag the ruler onto the screen as seen in the video. We place the ruler on the map. This will help us animate the map in a seamless loop.
😘
We go to frame 90 and add a keyframe Using F6, we now move our map to the left. On this keyframe. we now Try to match the position of the map with the help of the ruler that we've added.We then select some frames at random in between the 1st and the last keyframe. Right click on anyone and select Create Classic Tween. We can now see our map moving. Next, we exit the symbol by clicking on the Scene 1 tab. As seen in the video. We add a new layer above the map layer and then we hide the map Now by using the Oval tool, the shortcut for which is O. We draw a circle holding down the shift key. As seen in the video. We delete the outlines of The circle we can change the color of the circle by going to the color palette which is found to be right of our work area. In properties object color and style. we Scale up our circle using the Scale and rotate tool. We scale it up by 130%. We can switch the outline mode on. We need to match the size of the circle with our globe background. We scale it down by 95%. We scale it up by 101% again.We now switch off the outline mode and unhide the map layer. We now right click on the layer 3 and select Mask from the drop down menu.We can press the enter key to see a preview. You will notice that because of the mask shape, the map is animating inside the area of the globe. We now unlock the mask and map layer to do some adjustments here. You can do this until you get the desired results. We can experiment by moving the mask shape using the arrow keys and scale it up if necessary. We need to make sure that the map animates as if it is wrapped on the globe. We now add a new lyar above mask Claire. As seen in the video, we hide the mask and the map layers for now by using the Oval tool.
😘
Shortcut for which is oh. We draw a circle holding down the shift key. We click on the fill inside the circle and delete it by pressing the delete key on the keyboard. We scale up the circle using the Scale rotate tool. The shortcut is Control Alt S We scale it up by 150%. It looks like we scaled it up a bit too much, so we scale it down to 95% and try to match it with the background outline behind.Now we unhide the layers. We now select the outline and go to the stroke option to the right of our work area. It's in properties, object, colour and style. We click on the colour box and using the dropper tool we select the colour of our map. We lock all the layers and press enter to see what our animation looks like.We add a new layer and draw a circle again using the Oval tool, the shortcut for which is O. We select the outline and delete it. We use the Scale and Rotate tool to match the circle with the size of the globe. The shortcut is Control Alt S We select the newly created circle and click on the color palette to our right. Please see the video. To locate the switch, we click on the Solid Color option and change it to Radial Gradient from the drop down menu.We select the left Swatch and choose white on it and keep the alpha at 60%. Then we select the right Swatch and keep the alpha value at zero. We now adjust the gradient using Gradient Transform tool, the shortcut for which is F. We moved the gradient slightly to the left, as seen in the video. We lock all the layers now and export an AWF using control enter. Our globe seems to be spinning nicely. Hope you found this tutorial helpful. Thanks for watching.
इस ट्यूटोरियल में हम एक घूमती हुई ग्लोब को animate करने जा रहे हैं। हमारे पास यहाँ दो लेयर्स हैं — एक background layer जिसमें एक globe stand और एक किताब मेज़ पर रखी हुई है, और दूसरी map layer जिसमें globe पर एक नक्शा है। हमने timeline को frame 90 तक बढ़ा लिया है, frame 90 को select करके और F5 key दबाकर, जैसा कि हम हमेशा करते हैं। हमने अपनी background layer को पहले ही लॉक कर दिया है क्योंकि अभी हमें map layer पर काम करना है।
हम अपने map को select करते हैं और F8 दबाकर उसे एक symbol में convert करते हैं और उसका नाम रखते हैं “Map”। फिर हम double click करके symbol के अंदर जाते हैं और Control C से symbol को copy करते हैं और उसी layer पर Control Shift V से paste करते हैं। अब हम arrow keys का इस्तेमाल करके map को दाईं ओर move करते हैं। अब हमारे पास दो maps हैं जैसा कि वीडियो में दिखाया गया है। हम दूसरे map को पहले map के दाईं किनारे के बिलकुल बगल में रखते हैं जैसा कि वीडियो में दिखाया गया है। अब हम symbol से बाहर निकलते हैं और अपने map symbol को फिर से F8 दबाकर एक नए symbol में convert करते हैं और इसका नाम रखते हैं “Main Map”।
हम main map symbol के अंदर जाते हैं और इस symbol में frame 90 तक frames extend करते हैं, frame 90 को select करके और F5 दबाकर। अब हम symbol से बाहर निकलते हैं और arrow keys की मदद से अपने map symbol की position को background पर बने globe के अनुसार adjust करते हैं। कृपया वीडियो को ध्यान से follow करें ताकि position बिल्कुल match हो सके।
अब हम main map symbol के अंदर जाते हैं और मेन्यू में “View” पर क्लिक करते हैं जैसा कि वीडियो में दिखाया गया है, और “Rulers” option select करते हैं। अब हमें स्क्रीन पर rulers दिखाई देंगे। आप shortcut Control + Alt + Shift + R का भी इस्तेमाल कर सकते हैं rulers access करने के लिए। अब हम बाईं तरफ वाले ruler पर क्लिक करते हैं और उसे स्क्रीन पर खींचकर लाते हैं जैसा कि वीडियो में दिखाया गया है। हम ruler को map पर place करते हैं। यह हमें map को एक seamless loop में animate करने में मदद करेगा।
😘
हम frame 90 पर जाते हैं और F6 दबाकर एक keyframe जोड़ते हैं। अब हम इस keyframe पर अपने map को बाईं ओर move करते हैं। यहाँ हम उस ruler की मदद से map की position को match करने की कोशिश करते हैं जिसे हमने पहले जोड़ा था। फिर हम पहले और आखिरी keyframe के बीच कुछ random frames select करते हैं। किसी एक पर right click करके “Create Classic Tween” चुनते हैं। अब हम देख सकते हैं कि हमारा map move कर रहा है।
अब हम Scene 1 tab पर क्लिक करके symbol से बाहर निकलते हैं जैसा कि वीडियो में दिखाया गया है। हम map layer के ऊपर एक नई layer जोड़ते हैं और फिर map को hide कर देते हैं। अब हम Oval tool का इस्तेमाल करते हैं, जिसका shortcut है O। Shift key को दबाकर हम एक circle बनाते हैं जैसा कि वीडियो में दिखाया गया है। हम circle की outlines को delete कर देते हैं। अब हम circle का रंग बदल सकते हैं — इसके लिए हम अपने work area के दाईं ओर मौजूद color palette में जाते हैं, जो Properties → Object → Color and Style के अंदर होती है।
अब हम अपने circle को Scale and Rotate tool की मदद से बड़ा करते हैं। हम इसे 130% तक scale up करते हैं। Outline mode को ऑन करके हम circle के आकार को अपने globe background के साथ match करते हैं। अब हम इसे 95% तक scale down करते हैं, और फिर 101% तक scale up करते हैं ताकि यह बिल्कुल सही आकार में आ जाए। अब हम outline mode को off करते हैं और map layer को unhide करते हैं।
अब हम layer 3 पर right click करते हैं और drop-down menu से Mask चुनते हैं। Enter key दबाकर हम एक preview देख सकते हैं। आप देखेंगे कि mask shape की वजह से map अब globe के अंदर animate हो रहा है। अब हम mask और map layers को unlock करते हैं ताकि कुछ adjustments कर सकें। आप arrow keys से mask shape को move करके और ज़रूरत पड़ने पर scale करके adjustments कर सकते हैं, ताकि map ऐसा लगे जैसे वह globe पर लिपटा हुआ घूम रहा हो।
अब हम mask layer के ऊपर एक नई layer जोड़ते हैं जैसा कि वीडियो में दिखाया गया है। फिलहाल हम mask और map layers को hide कर देते हैं और Oval tool का इस्तेमाल करते हैं।
😘
जिसका shortcut “O” है। हम Shift key दबाकर एक circle बनाते हैं। अब हम circle के अंदर की fill पर क्लिक करते हैं और keyboard से Delete key दबाकर उसे delete कर देते हैं। अब हम circle को Scale Rotate Tool की मदद से बड़ा करते हैं। इसका shortcut है Control + Alt + S। हम इसे 150% तक scale up करते हैं। ऐसा लग रहा है कि हमने इसे थोड़ा ज़्यादा बड़ा कर दिया है, तो हम इसे 95% तक scale down करते हैं और पीछे के background outline से match करने की कोशिश करते हैं।
अब हम layers को unhide करते हैं। अब हम outline select करते हैं और अपने work area के दाईं तरफ मौजूद Stroke option में जाते हैं। यह Properties → Object → Colour and Style के अंदर होता है। अब हम color box पर क्लिक करते हैं और Dropper Tool का इस्तेमाल करके अपने map का रंग चुनते हैं। अब हम सभी layers को lock करते हैं और Enter दबाकर देखते हैं कि हमारी animation कैसी लग रही है।
अब हम एक नई layer जोड़ते हैं और फिर से Oval Tool का इस्तेमाल करके एक circle बनाते हैं, जिसका shortcut है O। हम outline को select करते हैं और delete कर देते हैं। फिर हम Scale and Rotate Tool का इस्तेमाल करके circle को globe के size के साथ match करते हैं। इसका shortcut है Control + Alt + S।
अब हम नए बनाए गए circle को select करते हैं और अपने work area के दाईं ओर color palette में जाते हैं। कृपया वीडियो में देखें कि switch कहाँ है। अब हम Solid Color option पर क्लिक करते हैं और drop down menu से इसे Radial Gradient में बदलते हैं। अब हम बाईं तरफ वाले Swatch को select करते हैं और उस पर white color चुनते हैं तथा alpha value 60% रखते हैं। फिर हम दाईं तरफ वाले Swatch को select करते हैं और उसकी alpha value 0% रखते हैं।
अब हम gradient को adjust करते हैं Gradient Transform Tool की मदद से, जिसका shortcut है F। हम gradient को थोड़ा बाईं ओर move करते हैं जैसा कि वीडियो में दिखाया गया है। अब हम सभी layers को lock करते हैं और Control + Enter दबाकर एक SWF export करते हैं। हमारा globe बहुत ही सुंदर तरीके से घूमता हुआ दिखाई दे रहा है। उम्मीद है कि आपको यह tutorial पसंद आया होगा। धन्यवाद।