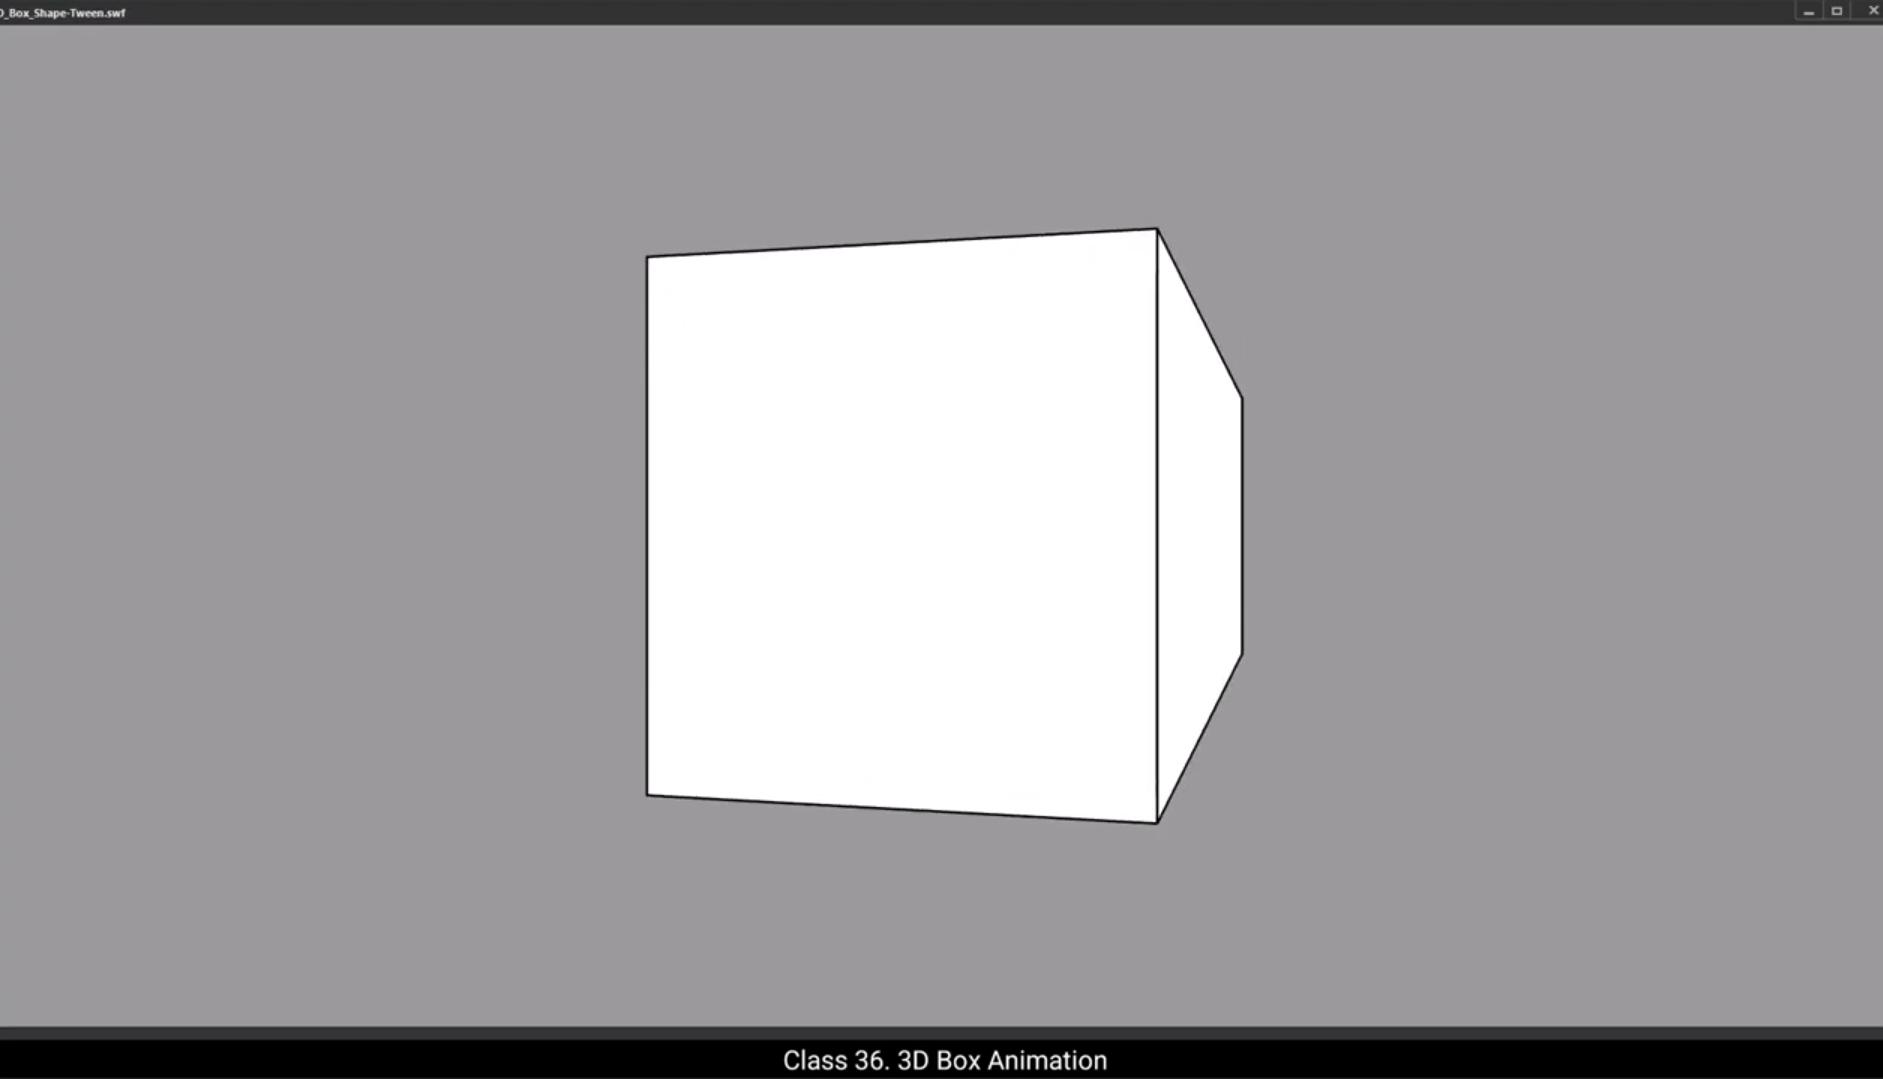
Hello students, in this tutorial we will learn how to animate a box into a 3D shape using a shape tween.To start, select the Rectangle tool shortcut key R and draw a square by holding the Shift key to ensure it is a perfect square. Next, select the Selection tool. Double click on the box to select the entire shape and go to the Align panel on the right side. Make sure the Align to Stage option is enabled. Align the square horizontally and vertically to the center of the stage.Let's name the layer box.Now create a new layer and name it Line.Select the left side line of the box, copy it going to Edit, Click copy and go to the first blank keyframe of the line layer.Use the paste in place option to paste the line exactly in the same position.Now we have 2 layers. The box layer contains the square.The line layer contains a simple line. You'll understand why we've separated this line soon.Next, go to frame 35 on both layers and insert frames by pressing F5 at frame 35. Also insert a keyframe on both layers.Then select the first keyframes of the box and line layers, right click and create a shape tween.If you play the animation now, you'll notice nothing happens yet. To create the 3D rotating effect, we need to use shape hints.First hide the line layer for better visibility. Then on the 1st frame of box layer, we will use shape hints. To add shape hints, go to Modify shape and select Add Shape hint shortcut Control Shift H.You'll see a tiny red dot appear in the center of the square with the letter A. If zoom in, you might spot it.We need 4 shapes for the four corners of the square. Let's go step by step.First drag this red dot to the top left corner of the square. This is shape hint.Now again go to modify and add another shape hint.Next drag it again to the bottom left corner. This is shape hint B.Now at frame 35, you'll notice the shape hint B is reset to the center of the square.Drag it to the bottom right corner. This is hint B.Notice the red hint is now hint a.Drag it to the top right corner. This is hint A. This ensures the box will rotate correctly. If you play the animation, you'll notice that the box appears to move in 3D, but the connecting line is missing. To complete the 3D effect, we need to animate this line. That's why we created the line layer earlier. Now let's animate the line to enhance the 3D effect.Lock the box layer and go to the line layer switch to outline.Mode for the box layer.On frame one position the line is on the left side of the box. At frame 35 we will move the line to the right side of the box. For that, select frame 35 online layer and using the shift key and arrow keys move line to the right.Zoom in to ensure the line aligns perfectly with the box. Also check by turning on outline mode for line layer.The line is now perfect align with the square.Turn off the outline mode for both layer and let's preview the animation. This is our 3D box animation created using a shape tween.If you want to slow down the animation, click on the timeline and extend the frames by pressing F5. Adding more frames will make the animation play slower.And that's how you create a 3D box effect using a shape tween in Adobe Animate. I hope you found this tutorial helpful. Keep practicing and you'll master shape tweens in no time. Thank you for watching and see you in the next tutorial.