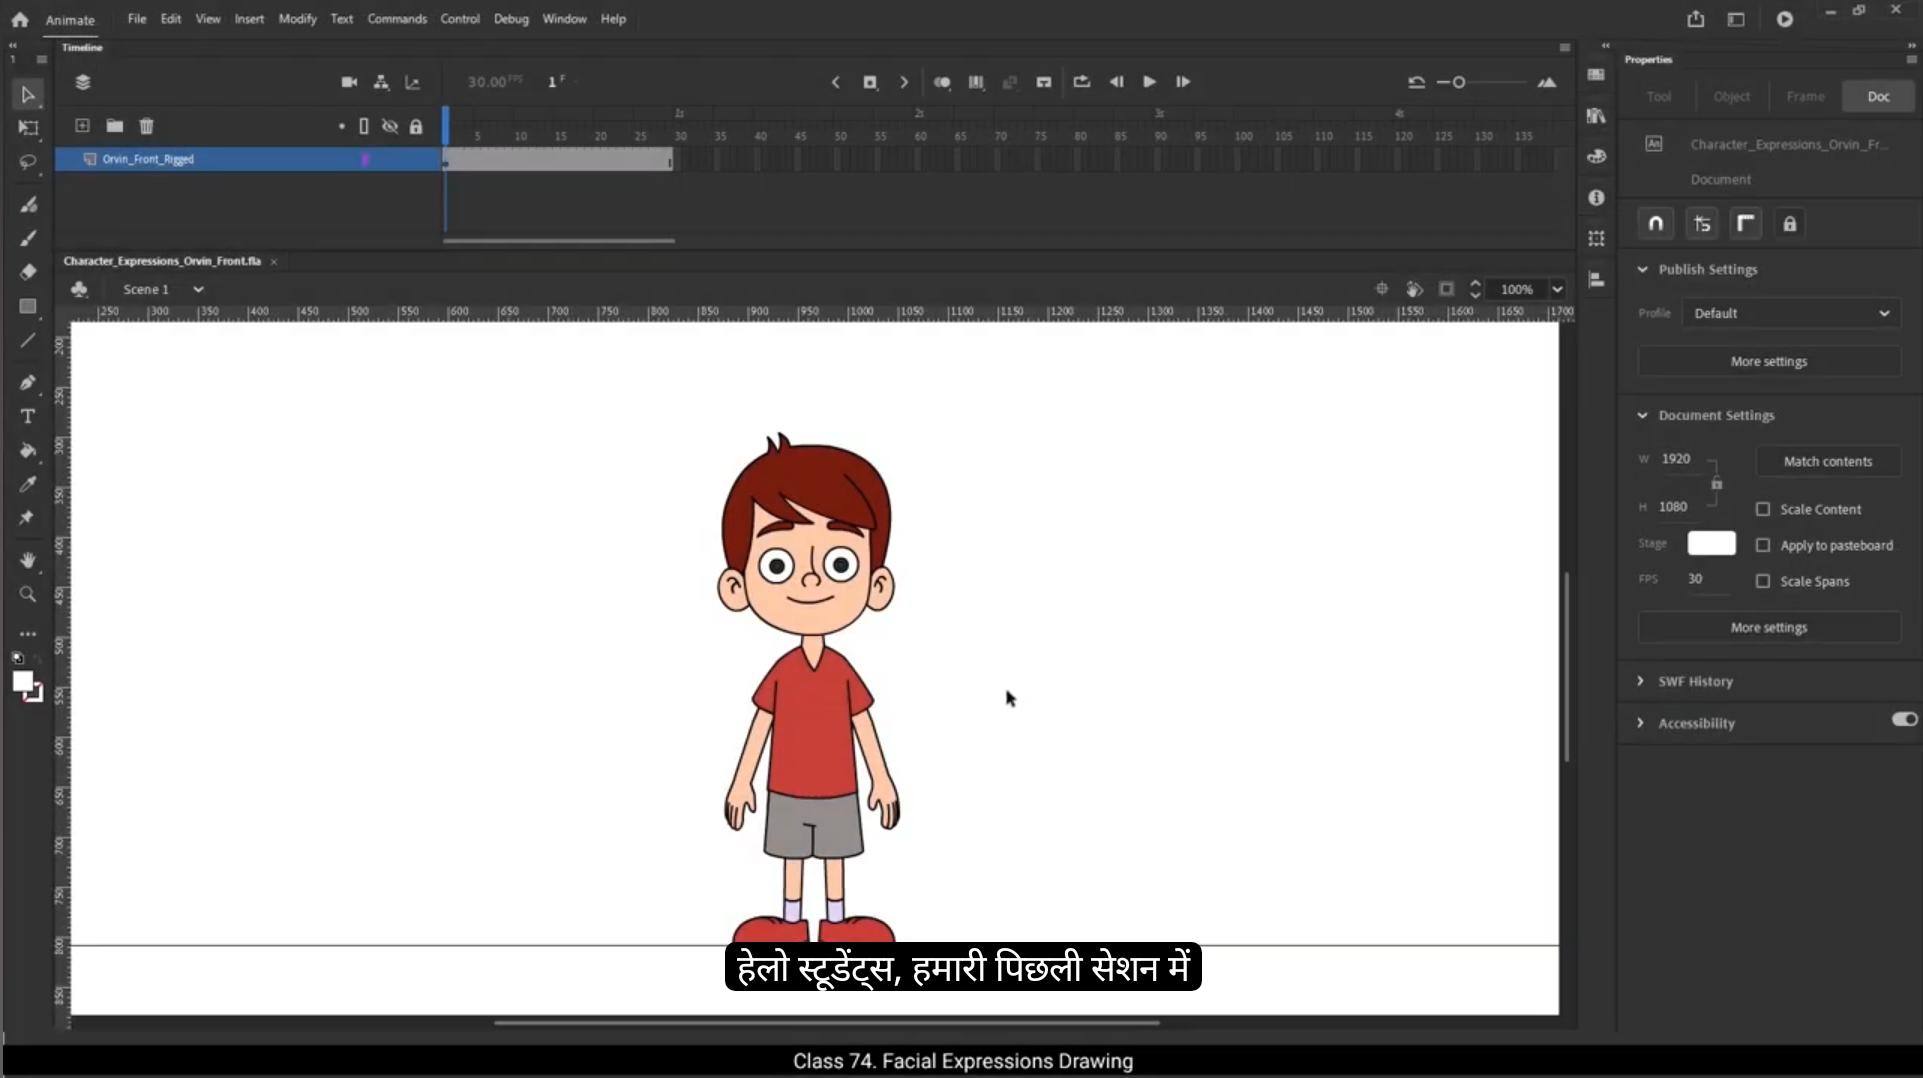
Hello students. In our last session, we focused on drawing lips for our character Orvin. With those lips, Orvin finally got the ability to talk. Now we're going to take it a step further. To truly bring a character to life, we need to show how they feel, and that's what we'll be learning in this tutorial. Today we're going to explore how to draw different expressions for Orvin.A character's face is like a canvas of emotions, and with just a few tweaks to elements like the eyebrows, eyes, mouth, lips, and jaw, you can completely change what they're feeling. In this tutorial, we'll be creating 8 different expressions. Happy, sad, angry, curious, annoyed, scheming, surprised, and scared. These are some of the most commonly used expressions in character animation.And mastering them will make your characters so much more believable and relatable. We'll be following the same process we used for the lips drawing exercise. First, we'll create rough sketches of each expression. These rough drawings help us quickly explore the pose and mood without worrying about neatness. It's all about capturing the right feeling.Once we're happy with the rough sketches, we'll move on to the clean up stage where we either trace over our rough drawings to create clean, clear lines or adjust the existing symbols we already have.And when it comes to coloring, if the expression needs a color change, we'll take care of that too. If not, we'll simply adjust the shapes and positions of the facial elements. Let's dive into the world of character expressions together. First, I'll go inside the character symbol. Now, to set up our timeline properly, I'll insert frames till frame 120 for all the layers inside this character symbol. 😘 This way we have enough timeline Space to work with our expressions smoothly. Next I will enter the head symbol.I'll insert frames till frame 120 by pressing F5. Now we need to extend the timeline for every individual facial element. So let's start with the lips and jaw.If you remember, we've already created the lips drawings in our earlier tutorial. We'll simply keep these existing drawings as they are and extend frames up to frame 120 moving ahead. Elements like the nose, ears and hair won't move during our animation. These will stay static, so no extra work is needed for them. We can just leave them as they are. Now we'll go inside both eyebrow symbols left and right.And extend their frames up to frame 120.After that I'll do the same for both I symbols just like before, extend their frames till frame 120. Now that our timeline is set, we'll start working on the actual expression, beginning with the happy expression. For this, I'll add a new layer for rough drawings.Then at frame #105 I'll add a blank keyframe. This is where I'll sketch the rough pose for the happy face.To keep things organized, I'll create a new group by pressing Control G Then using the shortcut key B, I'll select the brush tool for rough drawing.I'll also change its fill color to blue so it stands out against our existing artwork.Make sure to keep object drawing mode turned on. This helps keep your brush strokes as separate, manageable objects, making it easier to adjust or erase later.And now it's time to start drawing the rough, happy expression.1st I'm going to start by drawing the lips of the character for the happy expression.A cheerful, curved smile will instantly set the mood. 😘 After that, we'll draw a new jaw line to match this smiling look.Next, I'll add a curved line near the eye, just below it. This is a little patch under the eye, something we often see when characters smile. It makes the face feel more lively and expressive. Now, moving up, we'll draw the eyebrow.I'll slightly rotate it and move it upwards to enhance that happy lifted look on the face.To keep both sides balanced, I'll simply make a copy of this eyebrow for the left side and place it properly in position, mirroring the same angle and height.And just like that, our rough, happy expression drawing is ready. You'll see Orvin starting to come to life with this cheerful face.Now let's move to the next emotion, the sad expression.On the next frame I'll add a blank keyframe to start fresh.I'll create a new group and once again pick up the brush tool to start our rough drawing.For a sad look, the first thing I'll do is draw a curved line for the iPad, but this time it will be at the top side of the eye.This slight change instantly shifts the mood from happy to sad. To deepen this expression, I'll draw the pupil at the bottom of the eye base. When the pupil drops down, it gives that heavy downcast look that's perfect for sadness.Next, we'll move to the lips. I'll draw them in a subtle downward curve, avoiding too much exaggeration, but just enough to show that Orvin isn't feeling great.Then for the eyebrows, I'll draw them and move them slightly downwards.This adds tension and weight to the face, completing the sad expression.Finally, I'll draw a jawline just above the reference line. This keeps the face shape consistent while adjusting it slightly to reflect the drooping mood.And there you have it, a rough, sad expression ready. 😘 Now I'll move to the next frame. Here I'll create a new group to keep our rough drawings organized. The next emotion we're going to draw is the angry expression for this one. First I'll draw the lips, giving them a sharp, tight shape to show tension inside the mouth. I'll draw the teeth clenched together to really show that angry, frustrated look.Next I'll draw the eyebrows, placing them just above the eyes.Lastly, I'll draw a jaw line, but this time it will be slightly stretched and pulled downwards to emphasize the force and tightness in the face.Once our angry face is done, I'll move on.On the next frame, I'll add a blank keyframe and create a new group. Now we'll draw a curious expression.For this, I'll start with the lips, giving them a soft neutral shape, slightly open. As if Alvin is thinking or about to ask a question.Then I'll draw the eyebrows, but this time I'll place them a little offbeat. One raised, the other lower. That uneven positioning helps capture that sense of curiosity, like Orvin is wondering or puzzled.Next up on the following frame, we'll make an annoyed expression.I'll add a blank keyframe and create a new group.I'll start with the lips slightly curved down, shape showing irritation.Next I'll draw the eyebrows, placing them just above the eyes.Now for the eyes, I'll change the position of the pupil and place it at the top left of the eye, as if Orvin is looking to the corner of his eyes, annoyed by something happening off screen.That sideways glance works perfectly for this mood.Now we move to the scheming expression.I'll add another blank keyframe and create a new group.This expression will be somewhat similar to Happy, but with a little twist like Orvin is up to something or making a secret plan. 😘 Draw a Crescent moon like shape for the lips, curving upwards, giving it a smart, slightly mischievous feel.Draw the teeth inside, giving a cheeky grin.For the eyes, I'll position the pupils at the corners like he's glancing sideways, which makes him look like he's plotting something.Finally, draw the eyebrows, one raised slightly higher than the other to add to that clever scheming vibe.And there you have it. Our scheming expression is ready.On the next frame I'll add a blank keyframe and then create a new group for our rough drawing.This time, we're going to draw a surprised expression.I'll start by drawing the lips.Since Orvin is surprised, his mouth will be wide open.Inside the mouth I'll draw the teeth and add a tongue as well to give it more depth and detail.Then I'll drop down the jawline making it lower to match the open mouth surprise.Finally, I'll draw the eyebrows slightly raised. Raised eyebrows help emphasize that shocked, unexpected emotion on the face.Now let's move on to the final expression. Scared Orvin? I'll go to the next frame, add a blank keyframe, and create a new group for the rough drawing.I'll start by drawing the lips. This time I'll make them rounded and stretched, as if Orvin is gasping in fear.Then inside the mouth I'll draw both upper and lower teeth, making sure they're clearly visible, along with a tongue inside.Next, I'll raise the eyebrows in fear. The eyebrows lift up high and open up the face.For the eyes, I'll draw the pupils but scale them down to around 50% of their normal size.When someone is scared, their pupils shrink, making the eyes look wider and more intense. Lastly, I'll draw a slightly stretched jawline to match the open fearful mouth.And that's it. We've completed all our rough drawings for the expressions. 😘 Let's quickly recap what we've made. This is happy Orvin. This is sad Orvin. Here we have angry Orvin. This one's curious Orvin, and this is annoyed Orvin. Now scheming Orvin plotting something.Surprised Orvin with a wide open mouth and finally scared Orvin looking totally terrified.Next, we'll move to the clean up stage. From frame #105 to 112, we'll insert keyframes on all the layers.So we can start tracing these rough drawings neatly 1 by 1, and adjust the symbols where necessary.First thing, I'll keep the rough expression layer in wireframe mode. This makes it super easy to see our final facial elements clearly while still having the rough guide underneath.Now let's begin refining the existing symbols. I'll start with the eyebrows.I'll enter the eyebrow symbol by double clicking on it. Then I'll insert a keyframe on frame 105 inside the eyebrow symbols timeline.I'll select the eyebrow and rotate it according to the rough expression we've drawn.Now, when you come back out of the symbol, you might notice that the change you just made doesn't show up right away in the main timeline. That's because the 1st frame number inside the looping section of the properties panel hasn't been updated yet.To fix this we need to manually set the 1st frame number to 105 in the properties panels looping section.But doing this manually for every frame would be time consuming, so let's synchronize the symbols properly.First turn on the Edit Multiple Frames option in the timeline. Now tick the Show All Frames option.Then press Control A to select all elements.In the Properties panel, under the Looping section, click on Play Graphic in Loop.Now apply a classic tween between the frames.With the tween applied, tick the Sync Symbols option in the Properties panel under the Frame tab.Alternatively, you can right click on the timeline and choose Synchronize symbols. 😘 Both do the same job.Once this is done, turn off the Edit multiple frames option to go back to normal view.Now if you check on frame 105, the 1st frame in the looping section will automatically be 105, on frame 106 it will show 106 and so on for 100, seven, 108 and the other frames too. This is how we synchronize the symbols. It ensures that all animations and adjustments inside your nested symbols stay perfectly aligned with the main timeline without manual frame adjustments every time.After this syncing is set, we'll remove the classic tween because we only needed it temporarily to set up synchronization, and then we'll continue tracing the remaining parts of our rough drawing.I'll go inside the jaw symbol and I'll insert a keyframe on frame 105 in both the lips and jaw layers.Then I'll carefully adjust the jaw shape to match the rough drawing outline.Now moving to the lips, I'll keep the existing lip drawing from the previous frames, not to use it directly, but to pick the color from it later on using the eyedropper tool.Select the Rectangle tool, Draw a rectangle over the lips area. Remove its fill color. We just need the outline for now.Change the stroke size to 2 units to keep it neat and visible.Then I'll carefully reshape the rectangle to match the lips outline in the rough drawing, adjusting corners, curves and angles as needed to get the exact expression we need. GG.Next, we'll add the patch under the eyes.1st pick the character's skin color using the eyedropper tool.Then go inside the right eye symbol on frame 105 of the Blink patch layer. I'll draw a rectangle, delete the unwanted outline, and adjust its shape to match the patch area below the eye, curving and resizing it neatly.Now a small clean up. Cut this frame, add a new layer inside the right eye symbol, then add a blank keyframe on a frame 105. 😘 And paste the patch shape on this new layer.This keeps things organized and tidy.Now, to keep both eyes consistent, copy this patch.Go inside the left eye symbol.Add a new layer there as well. Insert a blank keyframe at frame 105 by pressing F7 and finally paste the eye patch onto this frame.And that's it. Our first expression, Happy Orvin is complete.Now it's time for our second expression. Sad, Orvin.First, let's start with the eyebrows. I'll go inside the eyebrow symbol on frame 106. I'll add a blank keyframe and then copy the drawing from frame 105 onto frame 106.Next, I'll position this eyebrow drawing carefully within the rough drawing outline.I'll also rotate it slightly to match the slanted sad shape. Now let's do the same with the other eyebrow.I'll adjust the eyebrow symbol to line it up with the rough drawing.Then go inside the symbol itself and rotate the drawing inside it.Finally, I'll adjust its position again if needed so it perfectly matches our rough sketch.I'll take the same eye patch we created for the happy expression.Flip it vertically since now instead of sitting below the eye, it needs to appear at the top side of the eye to show that heavy sad eyelid feel.Drag and place it carefully, matching it with the rough outline we drew.Once it looks right, I'll copy this patch and go inside the other eye on the expression patches layer. I'll paste the copied patch at the same frame number, frame 106.Now for the pupils, go inside the left eye symbol first.On the pupil layer, I'll add keyframes on frame 100, five, 106 and 107.This is because in Frame 105 and 107, the pupils will stay in their original straight position.But on frame 106, I'll adjust the pupil downward to match the sad expression in the rough sketch.Now we repeat same thing for the right eye. 😘 Now let's work on tracing the mouth and jaw for our sad Orvin.I'll go inside the jaw symbol first. On frame 106 I'll add a keyframe and start a fresh drawing for the sad lips. I'll cut this upper lip drawing and paste it inside the drawing object to keep things clean and organized.Now I'll adjust the jawline, carefully matching it with our rough drawing outline.And that's it. Our sad oven is ready.Now, moving on to the next expression, Angry Orvin, let's start with the eyebrows. On frame 107, I'll move the eyebrow symbol into the position of the rough drawing.Now I'll go inside the symbol, add a keyframe on frame 107, and edit the shape of the eyebrow. To do this, I'll remove the fill color first so it's easier to reshape. Once I've adjusted the shape, I'll refill the color back in.Now let's copy this traced eyebrow drawing, because we'll need it for the other side.I'll go to the other eyebrow symbol, move it into the correct position based on its pivot point, and enter the symbol.On frame 107, I'll add a blank keyframe, paste the copied eyebrow drawing, and adjust the pivot point.Finally, I'll flip the drawing horizontally to mirror it properly for the other side.Next I'll enter the jaw symbol, add a keyframe on frame 107, and adjust the jaw to match the rough drawing.Then I'll trace the lips to give that tense, angry look. For the teeth line, I'll reduce the stroke size to 1.5 units to keep it sharp and clean.Our angry Orvin is ready now.Let's trace our next expression. Curious Orvin.1st I'll adjust the position of the eyebrow symbols, aligning them carefully with the rough drawing.Adjust the pivot points too so they rotate properly.Then I'll do the same for the left eyebrow, tracing its position and shape to match our sketch.Now I'll go inside the jaw symbol, add keyframes and adjust the jaw drawing to fit the rough outline.Next, we'll trace the lips of the character. 😘 Once that's done, I'll fill the color inside the teeth and the mouth area to complete the look.And there you go, curious. Orvin is now ready.Now moving on to our next one, the annoyed expression. Let's begin again with the eyebrows. I'll go inside the eyebrow symbol, add a keyframe, and then adjust the shape to match the annoyed rough drawing.I'll repeat the process for the other eyebrow, but to save time I'll copy the right eyebrow drawing and paste it into the left one.Next, inside the I symbol I'll add a keyframe and then move the pupils position slightly following the rough sketch to get that side glancing annoyed look.Now for the jaw and lips. I'll go inside the jaw and lip symbol, add a keyframe and check the jaws position. Luckily the jaw is already matching perfectly, so we'll jump straight into tracing the lips.And just like that, the annoyed Orvin expression is complete.Now let's trace the next expression, which is Orvin's scheming look. As always, we'll start with the eyebrows. First, I'll adjust the pivot point of the eyebrow symbol so it rotates correctly. Then I'll go inside the symbol, add a keyframe, and make a copy of the drawing from frame 106.I'll drag this copy to frame #110.Break apart the drawing and then tweak its shape to match the rough drawing outline.Next, I'll move to the left eyebrow. I'll adjust the position of the symbol itself to match our rough sketch so it lines up perfectly.Now for the eyes. Luckily the pupil positions from the previous frame already match the rough drawing, so no need to move them.We'll just go inside each eye symbol, add a keyframe on frame 110 and that's it for the eyes.Moving on to the jaw and lips, I'll add a keyframe inside the jaw and lip symbol.1st, I'll adjust the jaw position, making sure it follows our rough sketch. 😘 Then I'll trace the shape of the lips to match that clever scheming grin.Once that's done, I'll fill in the colors inside the mouth and the teeth to complete the look.Often scheming expression is ready.Now for the remaining 2 expressions, surprised and scared, we'll be following the exact same steps to trace the rough drawings, adjusting the eyebrows, pupils, jaw and lips, just like we did for the other expressions.Now that you've understood the whole process well, I'll skip the step by step here and jump straight to the final result.So here it is. This is our final traced surprised expression.And this is the scared expression.So far, we've learned how to draw different expressions and trace them properly. Let's quickly take a look at everything we've done.This is happy, orvin.This is sad orvin.This is angry Orvin.This is curious, Orvin.This is annoyed orvin.This is scheming orvin.This has surprised orvin.And finally, this is scared Orvin.Following this same process, you can create as many expressions as you like for your own character.I hope you found this tutorial helpful. In the next section of this course, we're going to bring Orvin to life with eye blinks, lip syncing, hand gestures, head turns, and animating these expressions. So I'll see you in the next video and thank you so much for watching.