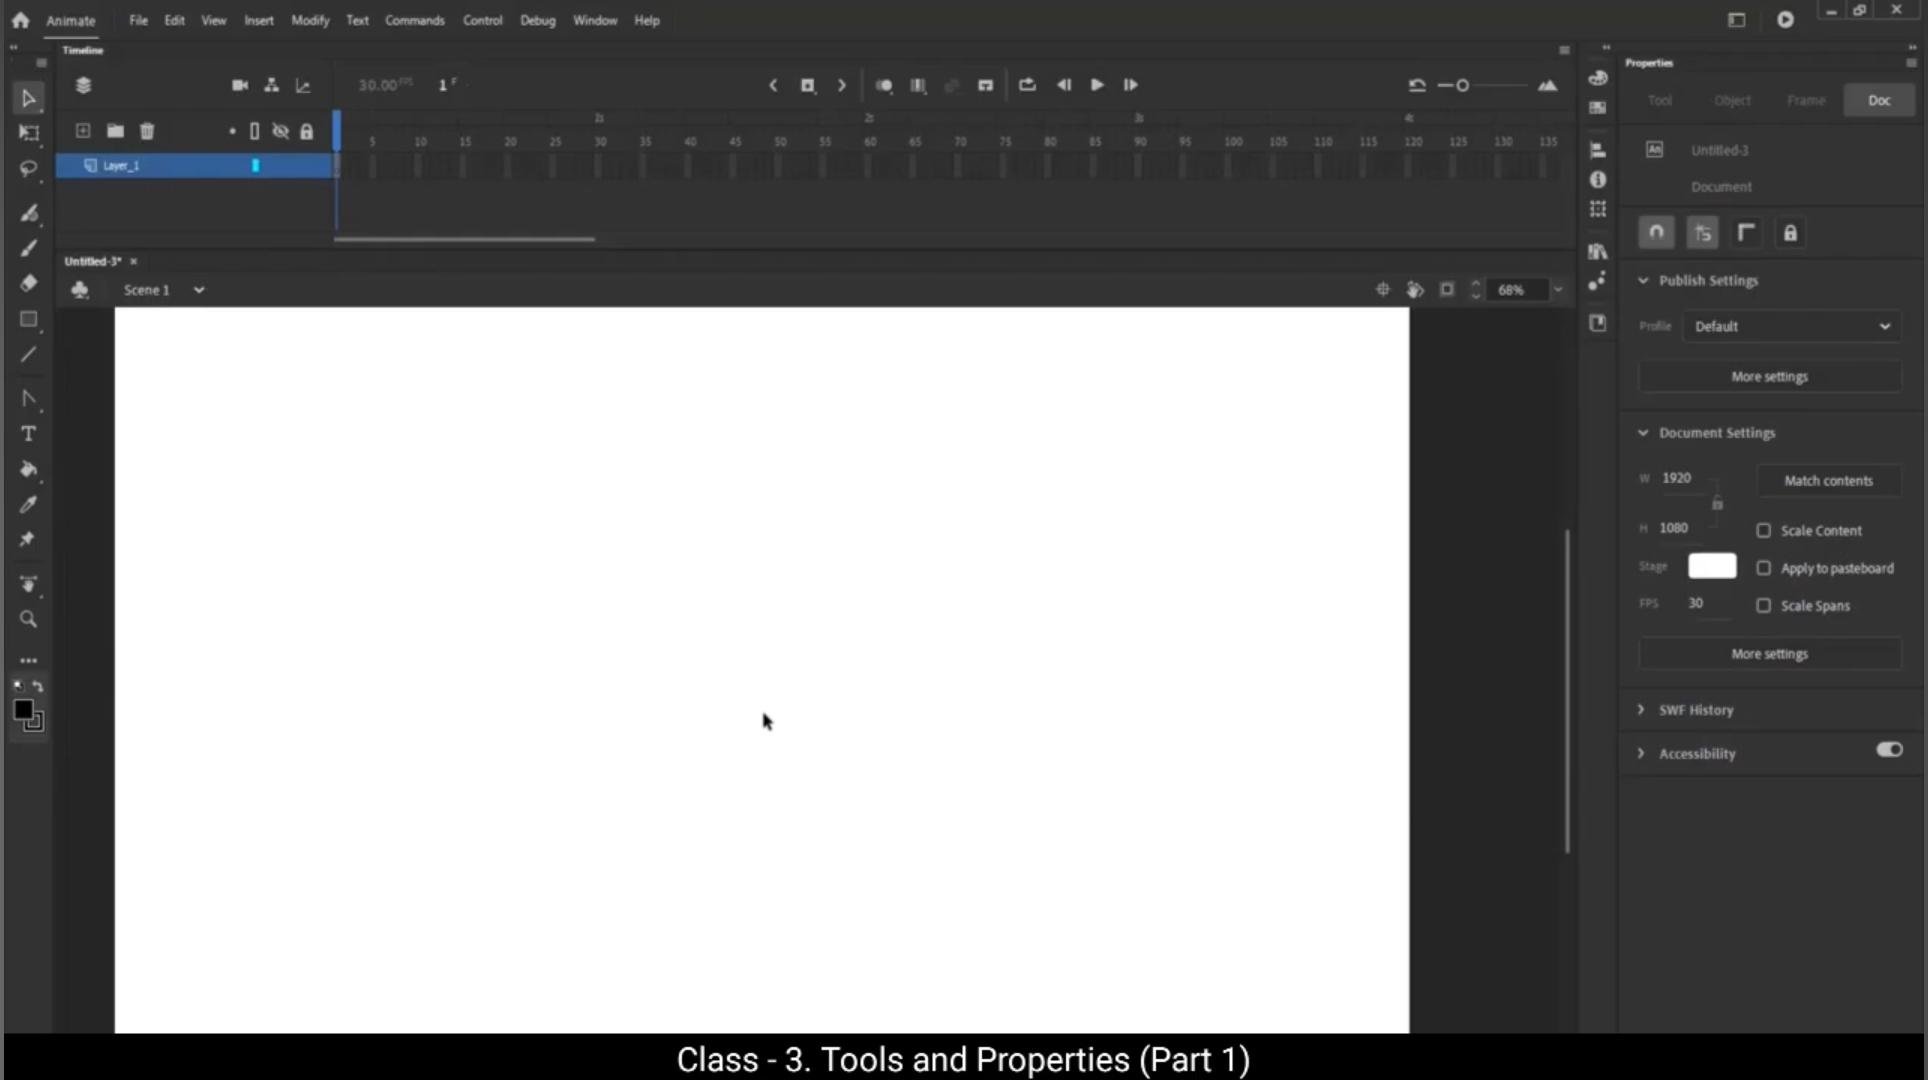
In this tutorial we are going to look at tools and properties.You can see that we have a document here which has a white background. Let's change that to grey. We can see the tools lined up vertically to your left. We call this the toolbar. In case the toolbar is not open or you can't see it, we go to the windows and click on the tools. From the drop down menu. We can see that the toolbar has appeared.All the tools are huddled in a box format. What we do now is click and hold at the top of the box and drag it to the left edge of the screen and let go of the click. We can now see that our tools have moved to the left of our workspace.But they're still in a square format. What we do now is move our cursor to the right edge of the toolbar. Move the cursor left and right slowly till we see a double headed arrow. As soon as we see this we click and drag to the left. You will notice that the toolbar is being squashed and lines up the tools 1 below the other vertically. We can see that the tools are grouped together in sections. We know this because of the lines marked after a group of tools. Let's.Look at the tools in more details. The 1st is the selection tool. When we click and drag using the selection tool we select the area that we have covered with our drag. We now move our cursor over to the selection tool and right click on it. We see two options pop out. The 1st is the selection tool and the second is sub selection tool. We can also see the shortcuts next to the tool names.In this case the shortcut for the selection tool is V and the shortcut for the sub selection tool is A.Let us now click on the sub selection tool to see exactly how this is different from the selection tool. Let's draw a rectangle. This is done using the rectangle tool which we will come to later. You will notice that the outline of our rectangle, which is square is seen in a blue-green color and you will also see the four nodes at the four corners of the square. -------------- Moving these nodes will distort the shape of the square as you can see in the video.Let's now go to the selection tool and select the outlines for this distorted square that we have created by clicking on them.You will notice that the outlines are selected and if we take the cursor a little further up and drag it so that it covers the full area of the distorted square, we can select the entire square as you can see in the video.Then we can see the outlines and move it away from the object. We can even blend the lines using the selection tool.Now if we move our cursor to the top of the shape over the part where the outline should be, you will notice that there is a small curved line below the cursor. This means we can curve or bend the outline over which our cursor is. As you can see, we have done that to every side of our distorted square. Now we go to the sub selection tool and then we click on the outline of our shape here.We see that it is selected and the full node appears at the corners. Now when we click on a node, you will notice that our cursor turn black and two handles that are attached to the node appear. We can use these node handles to refine our curves just like we see in the video. To better understand the selection tool and sub selection tool, let's demonstrate their use by tracing an image of letter S This will help you see.And why to use each tool? First let me show you how to import a file. From the File menu, go to Import and choose Import to Stage.Then from local drive select an image file. Once you click open, the image appears on the stage.Rename this layer for clarity. --------------------- To do that, double click on the layer and name it as Image S Now lock this layer to prevent any accidental edits and create a new layer by clicking the New layer button. Then rename this new layer as Tracing.On the tracing layer, we will start with the line tool. Later in this video we will learn more about the line tool in detail. Draw a line by simply dragging on the stage.We'll change the line color to blue for better visibility. In the properties panel, under Color and style we can change stroke color of line. From here we will select blue. Also, we can increase the stroke size by changing this value.Next, let's see how Selection tool works. Shortcut for this is V. Move the cursor close to the part of the line where you want to create a curve. When a small curved icon appears below the cursor, click and drag the line to form the curve.To match the outline shape, select a specific point on the line and drag it to create a curve that closely aligns with the shape.However, when I use the selection tool alone to adjust the line, it becomes challenging to match the tracing accurately. This is because the selection tool doesn't allow precise adjustments to specific parts of the line. This is where the sub selection tool comes into play.Now let's switch to the sub selection tool. Shortcut key is.When you select the line with the sub selection tool, nodes appear along the line. By selecting and dragging these nodes, you can adjust specific sections of the line, giving you much finer control. This is the key difference. The selection tool moves or reshapes the entire line, while the sub selection tool allows detailed adjustments by modifying individual nodes.Let me show you again by drawing another line. This time we will use only selection tool first.Draw a line using the Line tool.Now select the selection tool, then click and drag the line to form a curve.However, using only the selection tool, I cannot accurately trace the exact shape of the outline. Even if I manage to match one side of the line, the other side doesn't align properly. This demonstrates the difference between the selection tool and the sub selection tool. To better understand the selection and sub selection tools and how to trace a shape using them, let's continue by tracing the letter S.Start by using the line tool to draw another line.Now with the selection tool, we'll attempt to connect the ends of the two lines. As you can see, it's quite challenging to connect the ends perfectly.To make this easier, go to the Properties panel and find the Snap to Object option represented by a magnet icon. Enable this feature. With Snap to Object turned on, I can easily connect the 2 lines. When I drag one end close to the other, they snap together automatically, saving time and effort. Now as you can see, a small curve icon appears below the cursor. -------------------- This indicates that you can create a curve by dragging the line.Next, switch to the sub selection tool for further adjustments. Select the nodes on the line and change their direction to refine the curve and achieve a perfect outline.For precise adjustments, use the arrow keys on your keyboard to make small incremental changes.Draw another line using the Line tool. Then select the Selection tool and hold down the Alt key on your keyboard. Drag the line in the middle to add a pointer and adjust the curve, but you'll notice a sharp corner where the pointer was added. To get a better view, switch to outline mode and change the outline color to white.Now use the sub selection tool to smooth out the curve.Next, draw another line, hold Alt key on your keyboard and break the line as shown. Then add curves.Use the sub selection tool again to refine and smoothen the curves. Take note. When the sub selection tool is selected, the cursor changes to white with a black outline, and when the selection tool is selected it changes to solid black. This is a quick way to identify which tool you're currently using.Now we will first draw all the lines according to the shape we are tracing.Once the basic line structure is ready, we can start adding curves to match the outline of the shape. Use the selection tool to add curves.Break the line where necessary. To do this, hold the Alt key and drag at the required points. Begin by creating rough curves with the selection tool.Once that's done, switch to the sub selection tool for fine adjustments. For precise modifications, use the arrow keys on your keyboard to make small incremental changes.To adjust both nodes simultaneously, hold the Alt key and drag the middle node.Hide the original image to get a better view of the trace shape. If you notice sharp corners in some areas, use the sub selection tool to refine them. Continue refining all the curves to match the outline of the original shape. This method ensures your trace shape aligns perfectly with the original.I hope this explanation helps you understand how these tools work. We've covered the selection tool, so now let's move to the next tool, which is the free transform tool. As you can see on the toolbar, the shortcut for this is Q.After selecting the free transform tool, we double click on our object so that it is selected. We can see that when our object is selected, a rectangle appears covering the entire shape and it has 8 nodes on it. Now we pull some of the nodes and see what happens. The shape is being stretched as we pull on the nodes at the sides, and we can select the shape up or down proportionately if we hold down the shift key while doing this.We can also rotate the shape once you have the cursor at anyone of the corner nodes. ----------------------- And you see a rotating arrow next to it.Next, we see a small white dot right at the center of the selected shape, or the rectangle that's covering our shape.This is the pivot point of our shape, which means our shape rotates around this point. Now let's move the pivot point and see how the shape rotates.Then let's go to the free transform tool on the toolbar and right click on it. We can see the two options pop up. 1 is the free transform tool. The shortcut for this is Queue and the Gradients transform tool. The shortcut for this is F. We are going to have a separate tutorial to study the gradient transform tool. For now, we move on to the next tool which is the Lasso tool.The shortcut for this is L Lasso tool appears with free hand selection.We can also break apart the selected area from the main object.Now let's go to the Lasso tool on the toolbar and right click on it. We see three options pop out. The first one is the Lasso tool, which we have studied. The second is the Polygon tool. The shortcut is Shift L The Polygon tool works similar to the Lasso tool, only it connects plotted points with straight lines.When you plot a point over the first point from where you started, the Polygon is formed and your selection is complete again. You will notice that we can move the selected shape as it is broken.The next tool is the Magic Wand tool. We can right click on the Lasso tool and click on the Magic Wand tool. Then we go to File import, import to stage and we click on the image we want to import. Next we can see that the image is imported to the stage. We select the image that we've imported with the selection tool and go to Modify and click on Break Apart. We can also use the shortcut control B.We know that our image has been broken apart when we can see the image filled with pixels.We now select some part of the image using the magic wand as seen in the video. We can change the color of the selected part using the magic wand tool. The magic wand tool selects the area which have the same colors and gives us an option to change color of those areas.The next tool we can see on the toolbar is a brush tool. The shortcut for this tool is B.When we go to the brush tool, we can see that our cursor has turned into a small circle instead of an arrow. As you can see, this is a free hand drawing tool. Now let's look at the options we have for the brush tool under Properties Tool Classic Brush. The 1st is the Object mode. In this mode, whatever we draw with the brush tool is treated as or turned into an object. ---------------- You will notice this when we select our drawing here, it shows our line encased in a blue rectangle. This means it's an object. Even though it just looks like a line, it's not treated as a line and cannot be edited as a line. To edit this, we need to break the object first using the shortcut control B. We will then be able to see our drawn lines as a dotted object and this is when we will be able to edit it as an object.The next option we have here is the brush mode and this again has several sub options to choose from.And for us to understand this, let's draw a circle. We do this using the Oval tool and a fill to it. We will come to this as well as the color fill tool later in the tutorial. Now let's go back to classic brush options and look at the brush tool options. Here. The first is paint normal, where we choose a color and use the brush to draw normally. We then go to the second option, which is a paint fill.This mode allows us to paint over the fills and not the outlines. Even though we might run our brush over any outline several times, the outline will remain unaffected and our brush will only be painting over the fill of the object. The next mode is paint behind.This mode allows us to paint only behind the objects that might be present on our document. Just like running a brush over the outline in the paint fill mode doesn't affect the outline of the object, in this paint behind mode, painting over the object will not affect it, and all our brush work will be layered behind the objects.The next mode is paint selection. This mode allows us to restrict our painting to a selected area. This selection could be done by a lasso tool or by a selected Polygon. And again, if our brush moves over or paints over and covers areas that are outside our selection, we have nothing to worry about because finally only the selected area will be affected.The next mode is Paint Inside. As the name suggests, this tool allows us to paint inside an object or a Polygon and justice. Like with the other modes, even if our brush moves out of the object while painting, it will not affect the area and only the inside will be shown painted.The next mode is the Use Pressure tool. This mode uses the pressure of our stroke and changes the thickness of the line accordingly. We notice this especially when the brush size is larger. Next we move on to Color and Style, which is just below classic brush. We can click Fill box and choose from the Swatch that pops up. This will be the fill of our brush stroke. It's always good to remember that the brush stroke here is not.Sign but a shape which will be filled with color chosen from this box. Now we move to the next option which is the checkered box to the right of the fill and the value is 100% as default. This is the alpha value which we can control. The alpha value is opacity of a fill and the fill with the 0A is not seen because it becomes totally transparent.Moving on to the next option, we come to the classic brush option. The first icon we clicked on show us a menu of brush shapes. As seen in the video. We can see 3 icons to the right here. The first is a plus sign. This is to add a new brush. We can add a custom brush if we choose to. The next is the trash icon. This is if we would like to delete a custom brush. And the next icon is a pencil which allows us to edit and already made custom.Shape. We can see size under these icons and there's a slider under that which we can adjust the size of a brush. There are two buttons under the slider, 1 is save reset and the other is remove preset. The next is the minimum size option, again with the slider under it. This lets us fix the minimum size of our brush, which means the brush will not go smaller than. This next option is smoothening. ----------------- The more of smoothening value, the less nodes will be created on our shape. Let's try something with smoothing zero, 50 and full.The result can be seen in the video. We now move to the sub selection tool. The shortcut key is A and click on three brush strokes that we have done using different values for smoothening. We can see that number of nodes on our last brush stroke where the smoothing value is full is substantially less than the first brush stroke where our smoothing value was 0. More nodes are produced when the edge of the object or brush stroke, just like in this case is rough.The next tool is the Eraser tool. The shortcut for this is E.We can see that all the options here are the same as they are under Classic Brush options, so let's not get into studying the details again. Next we look at the Fluid Brush tool. This is just next to Brush tool on the toolbar. The modes are the same As for the Brush tool where there are differences as seen in the video.These are size, stabilize, curve smoothing, roundness, angle, taper, velocity, and pressure. It would be a good idea if you experimented with each one of these options so you will know first hand how these value inputs affect your drawings. The next tool is the rectangle tool. The shortcut for this is R The name makes it obvious that it's used to draw rectangle. Let's draw 1 using this tool as seen in the video.We can also draw a perfect square using the Rectangle tool. All we need to do is select the Rectangle tool, hold down the Shift key, and drag the cursor to draw a square. Just like seen in the video, we can see properties of the Rectangle tool on the right side of the Properties tab. The first option we can see is the object mode, where any rectangle or square drawn is automatically turned into an object. I hope you remember that we've learned in the earlier tutorials that an object.Cannot be modified unless it's broken. To be able to break the object, we use the shortcut control B. The next option is Color and Style, where we can change the color of the fill of our shape.We can also change the stroke color in the same way. There is a slider for the stroke size below the Color and Style tab where we can change the thickness of the outline of our shape. We can also change the stroke style from the options given in the drop down menu. We've got several options to choose from like plain line, dashed line, dotted line, and so on.We can also choose the width style, it can be tapered or WAVY. There are also options for cap style. We've got rounded cap, **** cap and projection cap and there are several options for the joints as well. The last options in the property is the angle of the corners. Please take a close look at the video. It will be a good idea to experiment with these options to get a better understanding.Next we have the Oval tool. The Oval tool has the same property as the rectangle tool. In the Oval tool we can fix the inner radius of the circle and also the angles of the circle. The rest works just like the rectangle tool. Now we move on to the line tool which is obviously used to draw lines. The properties of the line tool again can be seen on the right. In the Properties tab. The line can be turned into an object as we've seen earlier. We can see the color and style next in the Properties tab where we can change the colour and opacity of the line. There is a slider for the stroke size which can help us change the thickness of the line. Then again, there are different styles of the lines as we've seen.The rectangle tool we can also change the caps of the lines. These options are same as the rectangle tool. We will cover the remaining tools and their properties such as the pen tool, text tool, paint bucket, eyedropper and more in the next part.Stay tuned and keep practicing.