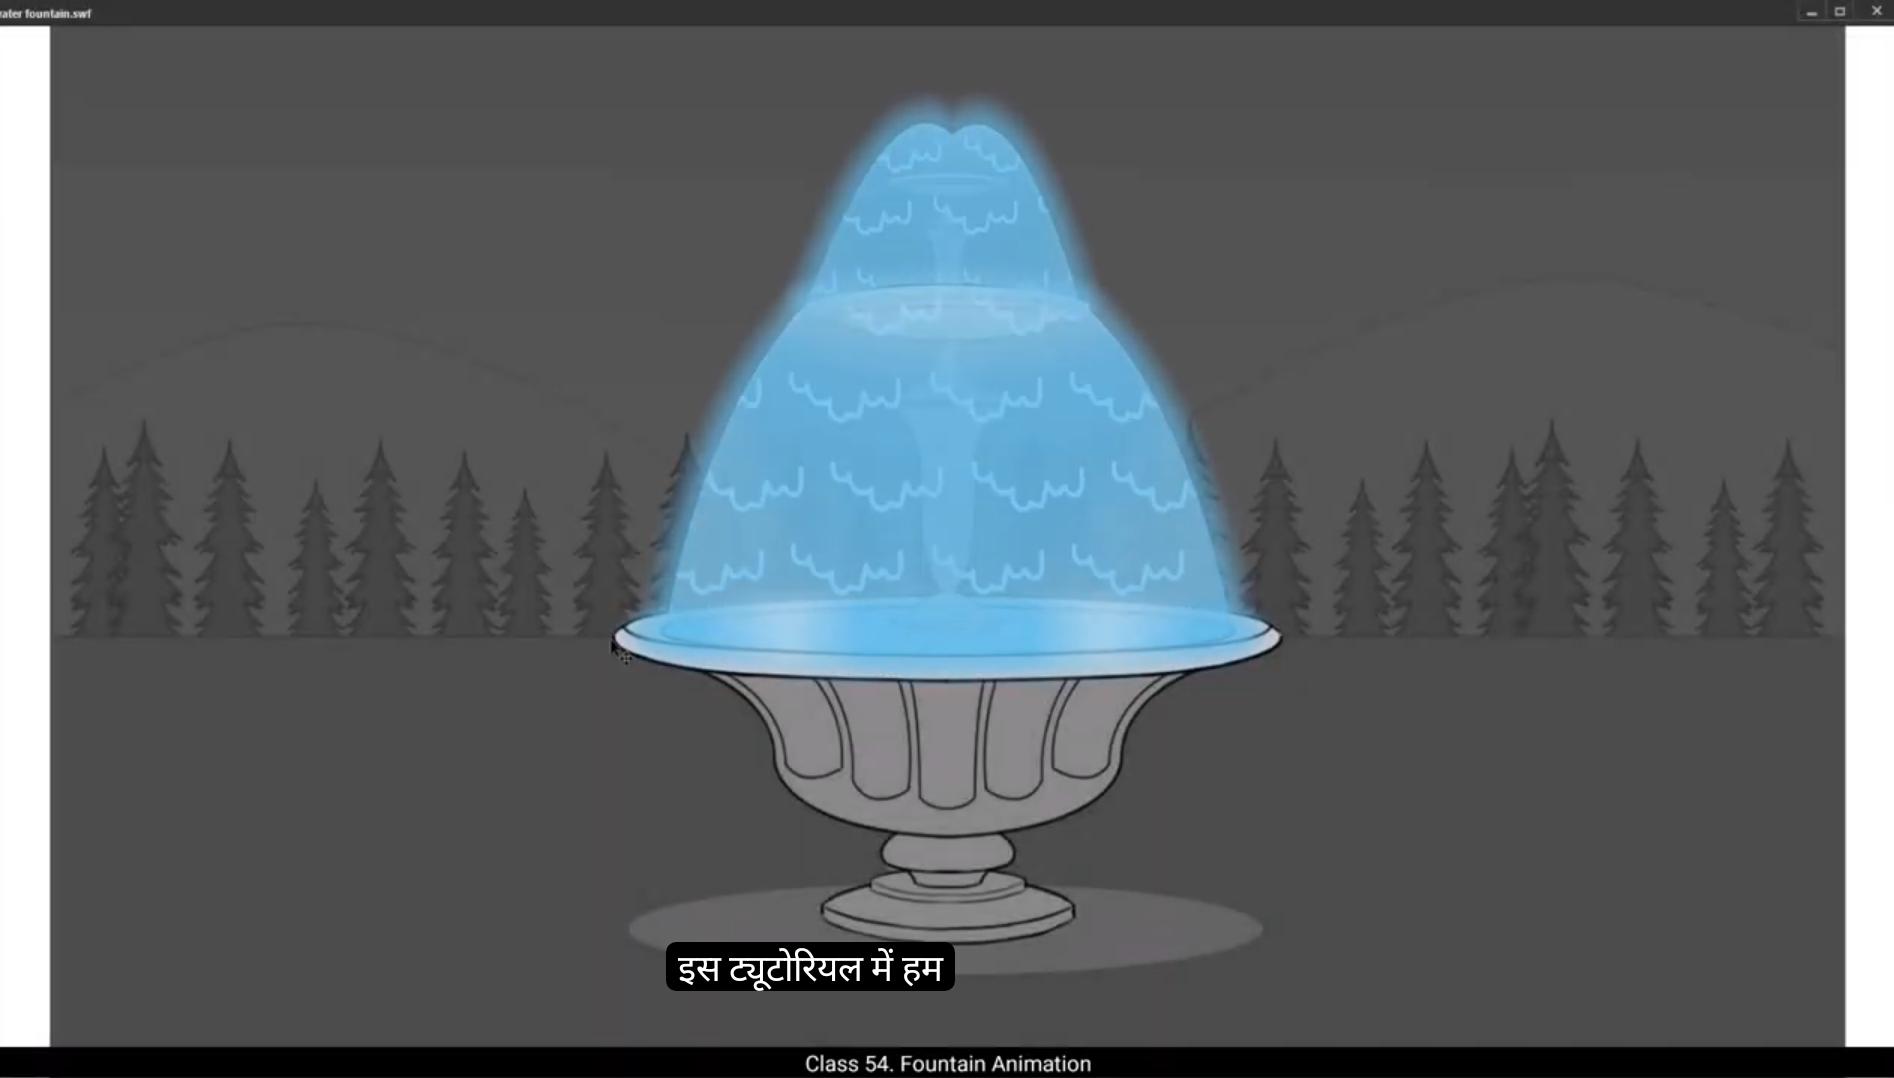
In this tutorial we are going to animate a water fountain.We have it as a background with a water fountain and a nice landscape behind it. We have another layer on top which is called animation.We have already converted the fountain layer to a symbol using F8 and we have also set up our timeline at 75 frames.Now let's double click on the fountain so we enter the symbol. You will see 3 layers. Here we have added another layer called layer 26. The older 3 layers are the fountain divided in parts.We now draw a rectangle using the rectangle tool. The shortcut is R Our rectangle needs a colour change, so we go to properties, Object colour and Style fill. We choose a different colour from the palette here. Now we need to change our rectangle into flowing shape of water in the fountain. This shapes look kind of convincing for the flowing water. We now need to change the color of the water again. We go to properties, Object color and style fill. On clicking the fill box, you will notice that the cursor arrow is replaced by a dropper. We move the dropper to the big basin of the fountain and click on the blue inside it. This is the color we want for the rest of the water in our fountain animation. So we select this and go back to the color.We can now See the shade of the blue that we had selected at the top left of the color palette window. We select the code which is right next to the shade of blue and copy it by control C Next we select our shape which is over the top reason of the fountain. Go back to the color palette and click on the drop down menu that says Solid Color. From the menu that shows we select Radial Gradient. Next we select the leftmost pointer on the gradient scale we see in the window.
We now paste the code we had copied earlier in the box above the gradient scale, just as seen in the video. Next we make some adjustments to a gradient for it to work the way we want to. Please follow the video carefully so you don't miss anything. Go to the right pointer and set the alpha at 60%. Then we go to the left pointer and set the alpha again at 60% and for the center pointer we keep the alpha at 50%.Next we go to the Gradient transform tool.The shortcut is F and we scale our gradient up as seen in the video. Let's follow the video for the size and position of the gradient that we are scaling up. You will notice that the gradient is placed way above the object it is filling. This is what gives us the effect we want. We now go to layer 26 and add a keyframe on frame 21. On this keyframe we move the gradient filled down. Let's match the position of the gradient in the video.We select a few frames between 1 and 21, right click on anyone and choose Create Shape Tween from the pop-up menu.We can see the gradients moving. Now let's try putting it in a loop. We can now see the gradients being animated. Next we create a new layer 27. We draw a new rectangle. You can see that a new rectangle has the same fill we used for the earlier one. We lock and hide this layer for time being.We now go back to lay 26, which has our first animation on it and add a new layer over this. This layer is 28. We are going to draw some shapes on this layer using the brush tool. We want them to look like highlights on the flowing water. We go to the brush tool, the shortcut is B. Then we select the color we want to use by going to properties, Tool Color and Style Fill.Please select a shape that is close to the one selected in the video.Once we are happy with our highlight shape, we select it and copy it using Control C and paste it in place using Control Shift V We then move it to the right. Let's follow the video for the position.
Now we lock all the layers except layer 28 on which we have our newly drawn shapes and we start creating a pattern. Let's follow the video for this.Once we have 4 highlights copied in a row we can select them and create a group. The shortcut is Control G We then move them down as seen in the video. We then make more copies of these group and place them as they are being placed in the video. Once all the copies are made and placed we select the groups using control A and convert them to a symbol using F8 and we call it patterns.Next, we enter the pattern symbol by double clicking on any of the groups.Once we are inside the symbol, we are going to make more copies of this group. Let's again follow the video for this and try to match it for the number of copies in their positions as far as possible. We now exit the symbol by clicking on the fountain tab as seen in the video. And on layer 28, we add a keyframe on frame 21 using F6 and we drag this grid of copies that we have created down. Let's try to match the position.In the video we can see the 1st and the last position of the grid by flipping between frames 20 and 21. We adjust the position so that they flow well where animating.
Now on the same layer 28, we select a few frames between frame one and frame 21. Right click on Anyone and choose Create Classic Tween from the pop-up menu. Let's see what our animation looks like by pressing Enter. Next, we add a new layer on top of layer 28. Then we go to keyframe one on layer 26 and holding down the Alt key, we drag up to layer 29 Keyframe One. We then remove the shape tween by Right clicking on some in between frames and choosing remove shape between in the pop up menu just like seen in the video.
Now we right click on layer 29 and choose mask from the drop down menu. You will notice that only the patterns inside are flowing. Water shape can be seen. We add another layer again which is layer 30 and we copy keyframe one again from layer 26. We drag it to layer 30 frame one. Moving ahead, we remove the shape tween on layer 30 exactly as we had done on layer 29 earlier.Then we select our first shape as seen in the video, go to color palette and make The adjustment in the gradient as seen in the video. We add a keyframe on frame 11 and move our gradient down as seen in the video.
Then we select keyframe 1 and holding down the Alt key, we drag it to the last keyframe which is frame 21. After we select some in between frames at random as seen in the video, we right click on them and choose Create Shape Tween in the pop up menu. Now we go to the new rectangle that we had drawn and hidden earlier. That's our layer 27 keyframe one. We distort and adjust the shapes as we had done for the first shape of flowing water.Please make sure you follow the video for the second shape of flowing water, which flows from the middle basin to the bigger one at the bottom, and after the shape is done, make sure you follow the video for the gradient as well. Now we add a keyframe on frame 21 and we move down our gradient just like we had done for the smaller shape at the top. Please follow the video. Then we select a few frames between the 1st and the last frames on layer 27, right click and choose Create Shape Tween from the pop-up menu as seen in the video. Next, we add a new layer 31 and hide our patterns layer, which is 28 we selected and holding down the Alt key we drag it up to layer 31. Let's lock all the other layers except layer 31 and click the icon for edit multiple frames. Please see the video to locate this icon. We then select our frames using Control A and move them down to the position in the video.
Then we use the scale and rotate tool. Shortcut is Control Alt L and scale it up to 110%. Then we do the same scale up one More time and a third time. We create a new layer 32 and copy our shape from layer 27, holding down the Alt key to this new layer. Then right click in between the 1st and the last frames at random and choose Remove Shape Tween from the pop up menu bar. Once shape Twain is removed, we again right click layer 32 and choose Mask from the menu. We again create a new layer 33 and copy the frames from layer 27 to this layer just as we had done for layer 32.Remove shape tween.We now go to the color palette and adjust the gradient as seen in the video.We then add a keyframe on frame 11. We bring the gradient down on this key as seen in the video.
We then copy the first keyframe to the last keyframe, select a few in between frames and right click on them and add shape tween from the menu. We now add 2 new layers, 34 and 35 and again we copy our keyframe one from layer 27 to frame one on the new layer 34.And remove shape tween and we copy our keyframe one from layer 26 to frame one on new layer 35 and remove shape tween.We now select the bigger water flowing shape at the bottom which is layer 24. Go to modify shape, Soften, Fill edge. We keep 50 as the value for both distance and number of steps.Next, we select the smaller water flowing shape at the top, which is on layer 35. We go to modify shape, soften, fill edges and repeat the values as we've done for the earlier shapes.We then convert both our shapes to symbols by selecting each one and using F8 and call the first one glue one and the second one glow two. Please see the video to be on the same page.
We are now going to add keyframes to frame 11 on both layers 34 and 35 as seen in the video. Then we select both symbols and using the scale and rotate tool we scale them up to 105%. The shortcut is control plus Alt plus S. Next we copy keyframe one on layer 34 and holding down the Alt key we drag it to the last frame on the timeline which is frame 21. We do the exact same process on layer.35 then we select some in between frames randomly from both layers 34 and 35 and by right clicking on anyone frame we choose create classic tween from the pop-up menu. It's time for a new layer again. Layer 36 we draw an ellipse over the bigger basin using the Oval tool. We Adjust it so that it fits right on the rim of the big basin at the bottom of the fountain. We go to modify shape, soften, fill edges. We keep the value at 50 again for both distance and number of steps. Then we convert it to a symbol by selecting it and using F8. We then add a keyframe on frame 11 and using the scale and rotate tool we scale it up, up to105%. We again select frame one on layer 30 And holding down the Alt key, we drag it to the last frame on the timeline and once again we select some random frames between the 1st and the last keyframe. Right click on anyone and choose Create Classic tween. We now exit the symbol by clicking on the Scene 1 tab and pressing the Enter key. We can take a quick look at our animation. The animation seems to be working. We now press Control Enter to expose an SWF for our final review.The animation is surely working well. Hope you found this tutorial helpful. Thank you.
इस ट्यूटोरियल में हम एक Water Fountain को Animate करने जा रहे हैं। हमारे पास एक Background है जिसमें Water Fountain और एक सुंदर Landscape दिख रहा है। इसके ऊपर एक Animation नाम की Layer है। हमने पहले से ही Fountain layer को F8 दबाकर Symbol में Convert कर लिया है और Timeline को 75 Frames तक Set किया हुआ है।
अब हम Fountain Symbol को Double Click करके उसके अंदर जाते हैं। यहाँ हमें 3 Layers दिखती हैं, जिनमें हमने एक नई Layer जोड़ी है जिसका नाम Layer 26 है। बाकी की तीन पुरानी Layers Fountain के अलग-अलग हिस्सों में बंटी हुई हैं।
अब हम Rectangle Tool, Shortcut R का इस्तेमाल करके एक Rectangle बनाते हैं। इस Rectangle का रंग बदलने के लिए हम Properties मे जायेंगे, फिर Object, फिर Color and Style फिर Fill में जाते हैं और Palette से नया रंग चुनते हैं।
अब हमें इस Rectangle को Flowing Water के Shape में बदलना है ताकि यह Fountain से निकलते हुए पानी जैसा लगे। Shape को Modify करने के बाद यह अब काफ़ी हद तक Flowing Water जैसा Convincing दिख रहा है।
अब हम Water का Color फिर से बदलने वाले हैं। इसके लिए हम Properties मे जाते हैं, फिर Object, फिर Color and स्टाइल, फिर Fill में वापस जाते हैं। जैसे ही हम Fill Box पर क्लिक करते हैं, तो हमारा Cursor Arrow एक Dropper में बदल जाता है।
अब हम इस Dropper को Fountain के बड़े Basin के अंदर वाले नीले हिस्से पर ले जाकर क्लिक करते हैं, ताकि हम वही Blue Shade चुन सकें जो बाकी Fountain के पानी में है। यह वही Color होगा जो हम अपनी पूरी Fountain Animation में इस्तेमाल करेंगे।
अब हम देख सकते हैं कि Color Palette Window के Top Left में वही Blue Shade दिखाई दे रहा है जिसे हमने चुना है। उसके ठीक बगल में दिए गए Color Code को हम Control + C दबाकर Copy कर लेते हैं।
अब हम अपने Shape को Select करते हैं, जो Fountain के ऊपरी हिस्से में है, और Color Palette में वापस जाकर Drop Down Menu में Solid Color की जगह Radial Gradient चुनते हैं।
फिर हम Gradient Scale में सबसे बाएँ वाले Pointer को Select करते हैं, जैसा कि वीडियो में दिखाया गया है।
अब हम उस Color Code को Paste करते हैं जिसे हमने पहले Copy किया था — यह Gradient Scale के ऊपर वाले Box में Paste किया जाता है, जैसा कि वीडियो में दिखाया गया है। इसके बाद हम Gradient में कुछ Adjustments करते हैं ताकि यह हमारी जरूरत के अनुसार सही काम करे। ध्यान से वीडियो को फॉलो करें ताकि कोई स्टेप मिस न हो।
सबसे पहले हम Gradient Scale के दाएँ Pointer पर जाकर Alpha को 60% पर सेट करते हैं। फिर बाएँ Pointer पर जाकर Alpha को फिर से 60% पर सेट करते हैं, और बीच वाले Pointer का Alpha 50% रखते हैं।
अब हम Gradient Transform Tool, Shortcut F का इस्तेमाल करते हैं और अपने Gradient को Scale Up करते हैं, जैसा कि वीडियो में दिखाया गया है। Gradient को कितना बड़ा और किस Position पर रखना है, यह वीडियो देखकर फॉलो करें। आप देखेंगे कि Gradient को Object के काफी ऊपर रखा गया है, और यही पोज़िशन हमें वो Flowing Water जैसा Effect देती है जो हम चाहते हैं।
अब हम Layer 26 पर जाते हैं और Frame 21 पर एक Keyframe (F6) जोड़ते हैं। इस Keyframe पर हम Gradient Fill को नीचे की ओर Move करते हैं। Gradient की Position को बिल्कुल वीडियो के अनुसार मैच करें। फिर हम Frame 1 और Frame 21 के बीच के कुछ Frames को Select करते हैं, किसी भी Frame पर Right Click करते हैं और Pop-up Menu में से “Create Shape Tween” चुनते हैं। अब आप देखेंगे कि Gradient Smoothly Move हो रहा है।
अब इसे Loop में चलाकर देखते हैं, और हमें Gradient का Smooth Animated Flow नज़र आता है।
इसके बाद हम एक नई Layer बनाते हैं — Layer 27। इस पर हम एक नया Rectangle बनाते हैं। आप देखेंगे कि इस नए Rectangle का Fill वही है जो हमने पहले इस्तेमाल किया था। फिलहाल हम इस Layer को Lock और Hide कर देते हैं ताकि यह हमारे काम में बाधा न डाले।
अब हम वापस Layer 26 पर आते हैं, जिसमें हमारी पहली Animation है, और इसके ऊपर एक नई Layer जोड़ते हैं — Layer 28। इस नई Layer पर हम Brush Tool, Shortcut B का इस्तेमाल करके कुछ Shapes ड्रॉ करते हैं जो Flowing Water पर Highlights जैसे दिखें।
फिर हम Brush Tool का Color सेट करते हैं — इसके लिए हम जाते हैं Properties, फिर Tool Color and स्टाइल, फिर Fill में, और वही रंग चुनते हैं जो वीडियो में दिखाया गया है। जब हमारा Highlight Shape बन जाए और हम उससे संतुष्ट हों, तो हम उसे Select करके Control + C से Copy करते हैं और Control + Shift + V से Paste in Place करते हैं। इसके बाद हम उस Shape को थोड़ा दाईं ओर Move करते हैं — Position को वीडियो के अनुसार मैच करें।
अब हम सारी Layers को Lock कर देते हैं, सिर्फ Layer 28 को छोड़कर, जिस पर हमने अभी-अभी अपने नए Shapes बनाए थे। अब हम इन Shapes से एक Pattern तैयार करने जा रहे हैं। जैसा कि वीडियो में दिखाया गया है, उसी तरह से Step by Step फॉलो करें।
जब हमारे पास चार Highlights एक Row में Copy हो जाएँ, तो हम उन्हें Select करके Group बनाते हैं (Shortcut: Ctrl + G)। इसके बाद हम इस Group को थोड़ा नीचे Move करते हैं, जैसा कि वीडियो में दिखाया गया है। अब हम इस Group की और Copies बनाते हैं और उन्हें वीडियो में दिखाए अनुसार जगह-जगह Place करते हैं।
जब सारी Copies बना ली जाती हैं और ठीक से Place कर दी जाती हैं, तो हम Control + A से सभी Groups को Select करते हैं और उन्हें Symbol में Convert करते हैं (Shortcut: F8)। हम इस Symbol का नाम रखते हैं “Patterns”।
अब हम Pattern Symbol को Enter करते हैं — इसके लिए किसी भी Group पर Double Click करें। Symbol के अंदर पहुँचने के बाद, हम इस Group की और Copies बनाते हैं ताकि Pattern पूरा दिखे। कृपया वीडियो को ध्यान से फॉलो करें ताकि Copies की संख्या और उनकी Position सही हो।
जब यह Step पूरा हो जाए, तो हम Scene में वापस आते हैं — यानी Fountain Tab पर क्लिक करके Symbol से बाहर निकलते हैं।
अब हम Layer 28 पर Frame 21 पर एक Keyframe जोड़ते हैं (Shortcut: F6) और इस Grid को नीचे की ओर खींचते हैं, जैसा कि वीडियो में दिखाया गया है। वीडियो में आप देख सकते हैं कि Frame 1 और Frame 21 के बीच Position कैसे बदल रही है — दोनों Frames के बीच Flip करके देखें ताकि Motion Smooth लगे। Gradient Flow के साथ Grid की Movement को Adjust करें, ताकि वह Natural लगे।
अब हम Layer 28 के उसी हिस्से में, यानी Frame 1 और Frame 21 के बीच, कुछ Frames Select करते हैं। फिर Right Click करके “Create Classic Tween” चुनते हैं ताकि Animation बन सके। अब Enter दबाकर Preview देखें कि Animation कैसा लग रहा है।
इसके बाद हम Layer 28 के ऊपर एक नई Layer जोड़ते हैं (Layer 29)। अब हम Layer 26 के Frame 1 पर जाते हैं, Alt Key दबाए रखते हुए उसे Layer 29 के Frame 1 तक Drag करते हैं। इसके बाद हम In-Between Frames पर Right Click करते हैं और Pop-up Menu से “Remove Shape Tween” चुनते हैं — जैसा कि वीडियो में दिखाया गया है।
अब हम Layer 29 पर Right Click करते हैं और Drop-Down Menu से “Mask” विकल्प चुनते हैं। आप देखेंगे कि अब सिर्फ Mask के अंदर वाले Patterns ही Flow करते हुए दिखाई दे रहे हैं, और Water Shape साफ दिखाई दे रही है।
अब हम एक और नई Layer जोड़ते हैं — यानी Layer 30। हम Layer 26 के Keyframe 1 को Copy करते हैं और उसे Layer 30 के Frame 1 पर Drag करते हैं। इसके बाद, Layer 30 पर भी Shape Tween को Remove करते हैं, बिलकुल उसी तरह जैसे हमने Layer 29 पर पहले किया था।
अब हम पहले Shape को Select करते हैं (जैसा कि वीडियो में दिखाया गया है) और Color Palette में जाकर Gradient को Adjust करते हैं, जैसा वीडियो में बताया गया है। इसके बाद, हम Frame 11 पर एक Keyframe जोड़ते हैं (Shortcut: F6) और Gradient को नीचे Move करते हैं, जैसा कि वीडियो में दिखाया गया है।
अब हम Keyframe 1 को Select करते हैं और Alt Key दबाकर उसे Frame 21 तक Drag करते हैं। फिर हम बीच के कुछ Random Frames को Select करते हैं, उन पर Right Click करते हैं, और Pop-Up Menu से “Create Shape Tween” चुनते हैं।
अब हम उस Rectangle पर वापस जाते हैं जो हमने पहले बनाया और Hide किया था — यानी Layer 27, Keyframe 1। अब हम इस Shape को Distort और Adjust करते हैं, जैसे हमने पहले वाली Flowing Water Shape के साथ किया था। कृपया ध्यान दें — इस Shape को बिल्कुल वैसे ही बनाएं जैसे वीडियो में दिखाया गया है, ताकि यह Middle Basin से नीचे वाले बड़े Basin की ओर Flow करता हुआ दिखे।
जब यह Shape तैयार हो जाए, तो हम इसका Gradient भी वीडियो के अनुसार सेट करते हैं। इसके बाद हम Frame 21 पर एक Keyframe जोड़ते हैं (F6) और Gradient को नीचे की ओर Move करते हैं, जैसा कि हमने ऊपरी छोटे Shape के लिए किया था। अब हम Layer 27 पर Frame 1 और Frame 21 के बीच कुछ Frames Select करते हैं, उन पर Right Click करते हैं, और “Create Shape Tween” चुनते हैं।
अब हम नई Layer 31 जोड़ते हैं और Patterns वाली Layer (Layer 28) को Hide कर देते हैं। फिर हम Layer 28 को Select करते हैं, Alt Key दबाकर उसे Layer 31 तक Drag करते हैं।
इसके बाद, बाकी सारी Layers को Lock कर देते हैं, सिर्फ Layer 31 को Unlock रखते हैं। अब हम Edit Multiple Frames Icon पर क्लिक करते हैं (कृपया वीडियो देखें कि यह Icon कहाँ है)। फिर हम Control + A से सभी Frames को Select करते हैं और उन्हें वीडियो में दिखाई गई Position तक नीचे Move करते हैं।
अब हम Scale और Rotate Tool का इस्तेमाल करते हैं। इसका Shortcut है – Control + Alt + L। हम इसे 110% तक Scale Up करते हैं। इसके बाद, उसी Scale Up को दो बार और दोहराते हैं, यानी कुल तीन बार Shape को Scale Up करते हैं।
अब हम एक नई Layer बनाते हैं – Layer 32। हम Layer 27 से अपनी Shape को Copy करते हैं और Alt Key दबाकर Layer 32 पर Drag करते हैं। फिर हम पहले और आखिरी Frame के बीच में किसी भी Random Frame पर Right Click करते हैं और Pop-Up Menu से “Remove Shape Tween” चुनते हैं। Shape Tween हटाने के बाद, हम Layer 32 पर फिर से Right Click करते हैं और Menu से “Mask” चुनते हैं।
अब हम एक नई Layer 33 बनाते हैं और Layer 27 से Frames को Copy करके Layer 33 में Paste करते हैं, बिलकुल वैसे ही जैसे हमने Layer 32 के लिए किया था। इसके बाद, हम फिर से Shape Tween Remove करते हैं। अब हम Color Palette में जाते हैं और Gradient को वीडियो में दिखाए अनुसार Adjust करते हैं।
फिर हम Frame 11 पर एक Keyframe जोड़ते हैं (F6) और Gradient को नीचे की ओर Move करते हैं, जैसा कि वीडियो में दिखाया गया है। अब हम पहला Keyframe Copy करके आखिरी Keyframe पर Paste करते हैं, और बीच के कुछ Random Frames को Select करके Right Click करते हैं, फिर Menu से “Create Shape Tween” चुनते हैं।
अब हम दो नई Layers बनाते हैं — Layer 34 और Layer 35। हम Layer 27 के Keyframe 1 को Copy करके Layer 34 के Frame 1 पर Paste करते हैं और Shape Tween Remove करते हैं। फिर हम Layer 26 के Keyframe 1 को Copy करके Layer 35 के Frame 1 पर Paste करते हैं और Shape Tween Remove करते हैं।
अब हम बड़े Flowing Water Shape को Select करते हैं, जो Layer 24 पर है। हम Modify > Shape > Soften Fill Edges में जाते हैं। यहाँ हम Distance और Number of Steps दोनों की Value 50 रखते हैं।
इसके बाद हम ऊपरी छोटे Flowing Water Shape को Select करते हैं, जो Layer 35 पर है। हम फिर से Modify > Shape > Soften Fill Edges में जाकर उसी Values (50-50) को दोहराते हैं।
अब हम दोनों Shapes को Symbols में Convert करते हैं — हर Shape को Select करके F8 दबाते हैं। पहले Symbol का नाम रखते हैं “Glow 1” और दूसरे का “Glow 2”। कृपया वीडियो को ध्यान से देखें ताकि सब कुछ बिल्कुल सही Position और Timing में हो।
अब हम Layer 34 और 35, दोनों पर Frame 11 पर Keyframes जोड़ने जा रहे हैं, जैसा कि वीडियो में दिखाया गया है। इसके बाद हम दोनों Symbols को Select करते हैं, और Scale और Rotate Tool की मदद से उन्हें 105% तक Scale Up करते हैं। इसका Shortcut है – Control + Alt + S।
अब हम Layer 34 के Frame 1 को Copy करते हैं और Alt Key दबाकर उसे Timeline के आखिरी Frame (Frame 21) पर Drag करते हैं। यही प्रक्रिया हम Layer 35 पर भी दोहराते हैं। फिर हम दोनों Layers 34 और 35 से कुछ Random In-between Frames चुनते हैं, और Right Click करके “Create Classic Tween” को Pop-Up Menu से चुनते हैं।
अब समय है एक नई Layer जोड़ने का – Layer 36। इस पर हम Oval Tool का इस्तेमाल करके एक Ellipse बनाते हैं, जो फाउंटेन के नीचे वाले बड़े Basin के Rim (किनारे) पर ठीक से फिट हो जाए। हम इस Ellipse को सही Position पर Adjust करते हैं, जैसा कि वीडियो में दिखाया गया है।
अब हम Modify > Shape > Soften Fill Edges में जाते हैं, और Distance तथा Number of Steps दोनों की Value 50 रखते हैं। इसके बाद हम इस Shape को Select करके F8 दबाते हैं और Symbol में Convert करते हैं।
अब हम Frame 11 पर एक Keyframe जोड़ते हैं, और Scale और Rotate Tool का इस्तेमाल करके इसे 105% तक Scale Up करते हैं। फिर हम Layer 30 के Frame 1 को Select करते हैं, और Alt Key दबाकर उसे Timeline के आखिरी Frame (Frame 21) पर Drag करते हैं।
इसके बाद हम पहले और आखिरी Keyframe के बीच के कुछ Random Frames को Select करते हैं, और Right Click करके “Create Classic Tween” चुनते हैं।
अब हम Symbol से बाहर निकलते हैं — इसके लिए Scene 1 Tab पर क्लिक करते हैं, और Enter Key दबाकर Animation का Preview देखते हैं। हम देख सकते हैं कि Animation सही तरीके से काम कर रहा है।
अंत में, हम Control + Enter दबाकर SWF Export करते हैं ताकि Final Review कर सकें। Animation बहुत ही सुंदर और Smooth दिख रहा है।
उम्मीद है आपको यह Tutorial मददगार लगा होगा। धन्यवाद!