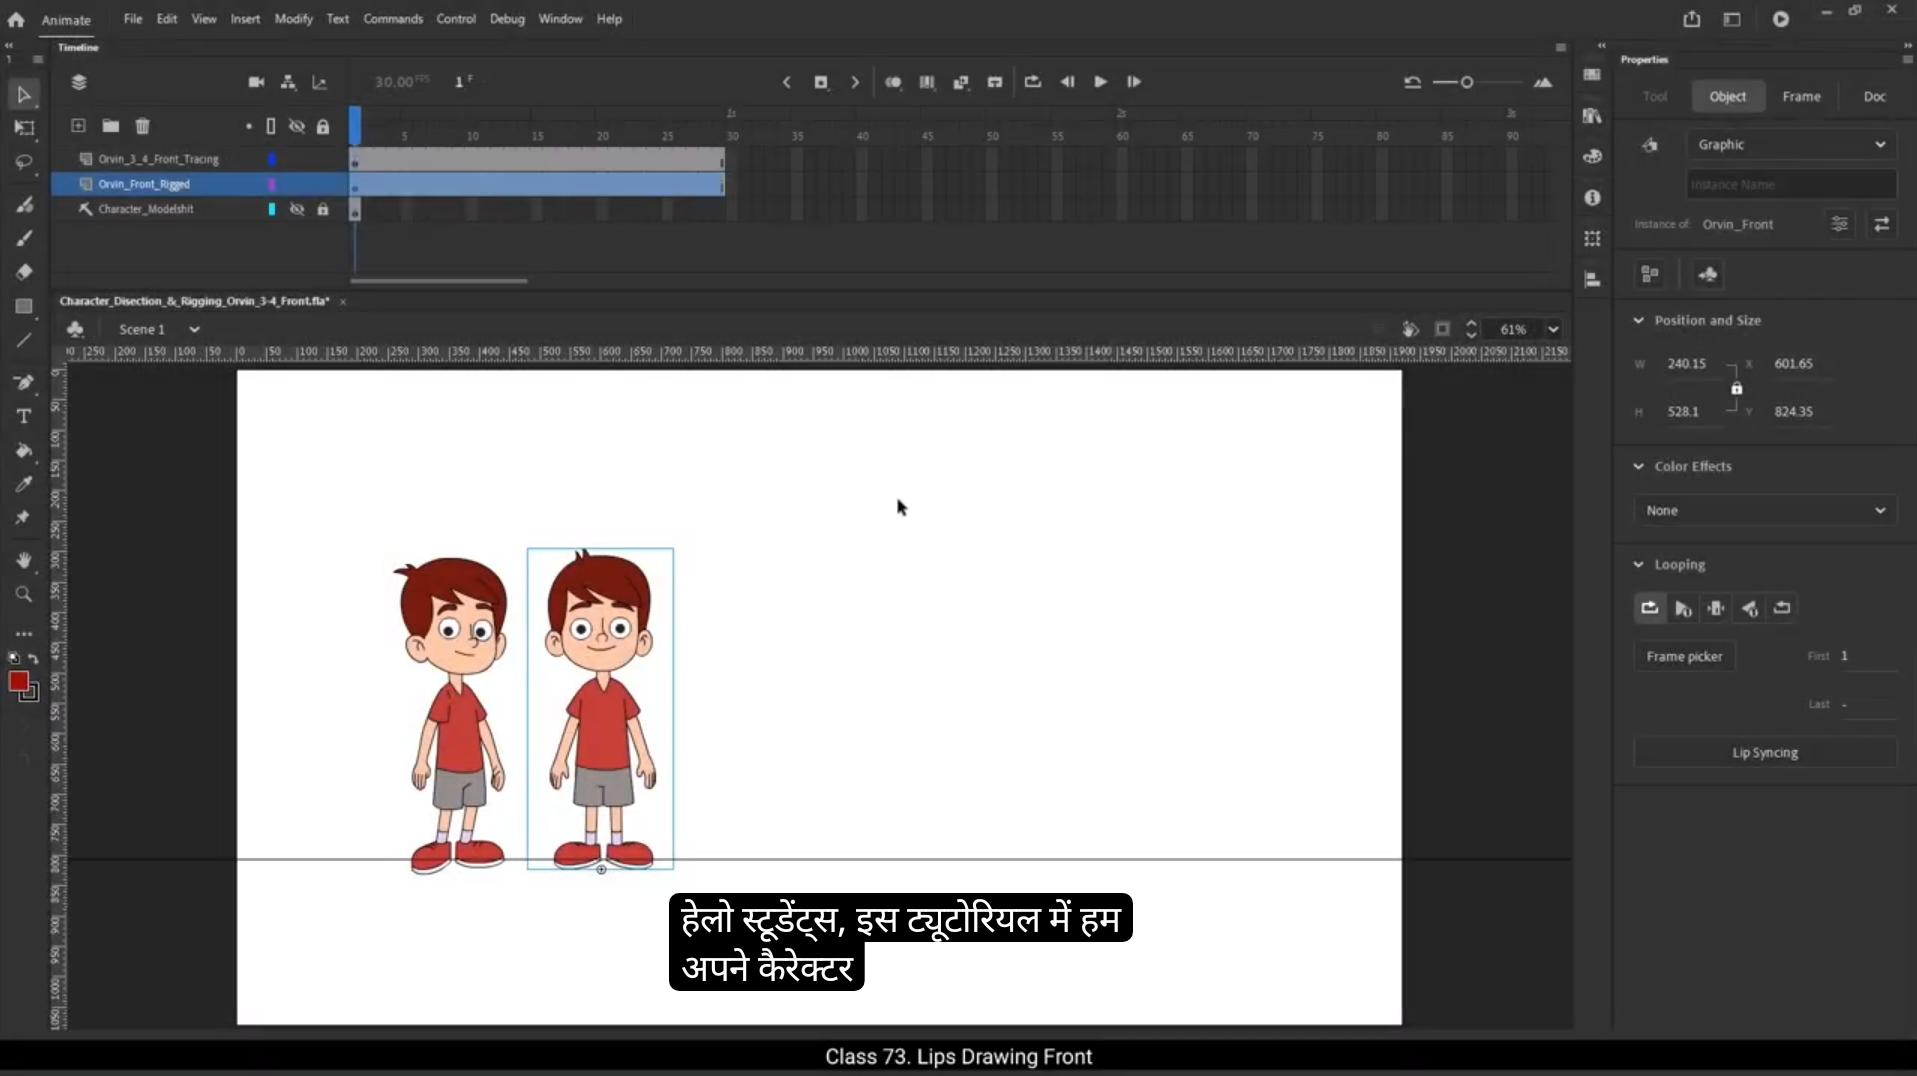
Hello students, in this tutorial we are going to draw the lips, or more accurately the mouth of our character Orvin. Now this might seem like a small detail, but it's actually very important. Why? Because if your character is going to speak or have any dialogues, then the mouth needs to move convincingly.And that means we need to draw the mouth properly.Will be creating two types of lip shapes based on different moods. One set for a happy expression and another for a sad one. For each mood, we're going to draw around 9 different mouth shapes. Each of these shapes represents a specific phonetic sound, just like the ones you see in a typical lip sync or mouth chart. These shapes help bring our character to life during dialogue. You might also notice that when people talk.Their jaw moves, it opens and closes with the sound. That's why we will slightly extend Orvin's lower jaw just to make the talking animation look more natural.Remember when we were tracing our character earlier, we intentionally kept the jaw and skull separate.This gives us better control while animating.Now let me show you how to set this up properly inside Adobe Animate.Inside Orvin's head symbol, you'll see two separate symbols. One is for the jaw and the other is for the lips. What we're going to do now is first cut the lip symbol, go inside the jaw symbol, and then paste it onto a new layer.Once pasted, we'll rename this layer as Orvin. Front Lips, jaw.This way, when our character talks, we can scale the entire group, both lips and jaw together for a smooth motion. Now that we've moved the lips inside the jaw symbol, we can delete the old empty lip layer.And within the jaw symbol, we'll rename the two layers to keep things organized. 😘 One will be called jaw and the other lips.Finally, since the jaw is a single shape, we'll go ahead and make a group out of it. This grouping helps us manage it better when animating mouth movements.Let's start drawing our rough lip shapes for Orvin in a happy mood. First things first, I'll take a new layer and rename it to Rough drawing.Next I'll extend the timeline up to frame #10 just to give us enough space for multiple drawings.Now on frame one of the rough drawing layer, I'll pick the brush tool shortcut key B. Make sure that object drawing mode is on so each brush stroke is treated as a separate object. I'll set the stroke size to two and keep the smoothing value around 80 just to make the strokes nice and clean.In this 1st frame I'll draw a simple mouth shape representing a closed smile.This shape will be used for the phonetic sounds BM and P because our lips naturally come together when we say those sounds.So this is our first lips drawing. Now I'll move to frame #2 insert a blank keyframe.And using the same brush tool, I'll draw an open mouth.This one will have visible teeth and tongue and the jaw will be slightly open.This shape matches the sound of A and E, where our mouth opens wide. If you ever get confused about how the mouth should look for each sound, don't worry. I've included a reference chart for lip shapes in the downloadable materials. Make sure to check that out while you draw.We will shift jawline downwards because when we open the mouth the jaw drops down slightly and the shape changes a bit, so we'll draw a new jawline for particular phonetic sound.Next I'll go to frame #3 and insert a keyframe. 😘 Here, instead of redrawing everything, I'll slightly scale up the previous drawing, especially the mouth opening.The teeth will remain the same, but I'll scale up the tongue a little and drag the jawline slightly downward to show more expression.This new shape is for the sound I.Moving on to frame #4, I'll insert a blank keyframe and draw a new rough sketch. This time it's for the phonetic sound O.When a character says oh, the mouth naturally forms a rounded shape, so that's what we'll draw here. I'll also add a support line for the upper and lower lips, and don't forget to draw the jawline for structure.Next up is the sound you.I'll go to frame #5, insert a blank keyframe, and this time I'll turn on the onion skin so I can see the previous drawing as a guide.I'll sketch the new mouth shape for you, where the lips come forward a bit like a pout.And the jaw slightly moves upwards.Again, I'll add a supporting lip line to complete the shape.Now I'll go to frame number six and insert a blank keyframe. Instead of drawing from scratch, I'll copy the first drawing, that closed mouth shape from frame one and paste it here on frame 6. This new shape is for the phonetic sounds F&V.Think about how we pronounce the letter F. Our upper teeth gently press against the lower lip.So to show that visually in the drawing, we'll do a few simple things. First I'll draw the lips, and then I'll add a few folds or creases to the lips to show pressure. To make it more realistic, I'll erase the lower part of the lips, just the section where the upper teeth are pressing down. This creates the illusion that the teeth are lightly biting the lower lip. And just like that, we've created the lip shape for the F&V sounds.Next, let's move on to the S sound. I'll go to frame #7 insert another blank keyframe and once again I'll copy the drawing from frame one and paste it here. 😘 We're using the closed mouth shape as a base. Now for the S sound. The lips are slightly parted but tight with the teeth showing just a little. So here's what I'll do. I'll draw the lower lip line and make it a bit smoother. Then I'll scale Down the entire mouth a bit and stretch it sideways from both ends. This gives that slight tension in the lips. I'll add a line for the teeth to show they're visible through the small gap.And finally, I'll make a few adjustments to the jawline to match the new mouth shape.All right, now we're heading to frame #8 to draw the lip shape for the L sound, so I'll insert a blank keyframe on frame 8.When someone says the letter L, the tongue lifts up and sometimes peaks slightly out between the teeth. You'll also see both the upper and lower teeth and the tongue behind them. To start, I'll copy the drawing from frame #2 that's the open mouth shape and paste it here.Then I'll scale up the jaw slightly.Open the mouth just a bit more to make space for the tongue.Add the lower teeth.And of course draw the tongue coming up and slightly visible near the center of the mouth.Once that's done, I'll erase any unnecessary parts to clean up the shape. And there you go, this becomes our lip shape for the L sound.Also, here's a quick pro tip. When drawing different mouth shapes, it's super helpful to keep a mirror in front of you. Try saying the sounds yourself and observe how your own lips and tongue move. It makes the drawing process much easier and more accurate.Now let's move on to the last rough drawing in the happy mood category, which is for the phonetic sound N. To do that, I'll insert a blank keyframe on frame #9. Now, instead of drawing from scratch, I'll copy the jawline and lip shape from the previous frame, that is the one for the L sound, and paste it here on frame 9. 😘 The lip shape for N is quite similar to L with just one major difference.This time the tongue will be flipped upside down, or you can say it will lie flat inside the mouth rather than sticking up.So first I'll delete the existing tongue from the copied drawing.Then I'll draw the tongue resting inside the mouth. Also, I'll erase the parts of the lower teeth that the tongue overlaps. We don't want it to look unnatural.And that completes our happy mood lip shape for the N sound. So all together we have created lip sync rough drawings for happy expression.Now let's move on to the sad mood lip shapes. On frame 10, I'll insert a blank keyframe. Starting from frame #11, I'll begin creating sad lip variations for the same phonetic sounds. For the Sad mood lip shapes, we'll reuse the same jawlines we created for the happy mood.There's no need to redraw the jaw because the movement stays the same. It's the lips and expression that will change. I'll copy all the drawings from frame one to frame 9, which include all the lip shapes and jawlines we created for the happy mood. Then, starting from frame #11, I'll paste them in on frame 11. To give it a sad expression, I'll simply flip the lip shape upside down. This small tweak immediately makes the character look sad or upset .So now this becomes our sad lip shape for the sounds B, M, P. Next, we'll draw the sad version of the A&E sound. I'll start by drawing the upper lip, then the lower lip, and I'll add a line for the teeth.Then I'll draw a tongue inside to complete the mouth. And just like that, our sad A and E mouth shape is ready.Now let's create the sad variation for the I sound. For that, I'll delete the current lip shape, turn on onion skin and use the previous frame as a reference.The new drawing will be similar, but this time the mouth will be open a little more to match the phonetic shape of eye. I'll also add lower teeth to make it more realistic. 😘 Now here is an important note. The lip shapes for the letter O And U sounds don't really change between happy and sad expressions. The mouth is rounded in both cases and the overall structure remains the same. So Keep those shapes as they are, no need to redraw them. Now let's continue drawing the remaining sad mood lip shapes. For the phonetic sound of F, I'll first copy the drawing on frame 12 and paste it on frame #16.Now I'll delete the lower lip from this drawing because for the F sound we need to redraw the mouth in a way where the upper teeth slightly overlap the lower lip like we do while pronouncing puff or V. So I'll carefully draw a new lower lip with the overlapping teeth detail.And that completes our F sound shape in the sad expression.Next up is the S sound for the sad mood. Here I'll draw a new upper lip and lower lip, keeping them curved downward to reflect sadness.Then I'll add a line for the upper and lower teeth.And that's our S sound lip shape done.Moving on to the L sound. In sad mood for this. I'll copy the S shape lips we just made and paste it.Now let's scale up the mouth slightly to open it a bit more.I'll move the upper teeth line slightly up and the lower teeth line slightly down, and in between them I'll draw the tongue.Lastly, I'll erase any part of the teeth lines that are overlapping with the tongue.And that's how we create the L sound lip shape for a sad expression. Now for the final one, the N sound, I'll simply copy the l-shaped drawing and paste it on frame #19.Then I'll change the direction of the tongue, flipping it downward.And there we go, we've successfully completed all the rough drawings for both happy and sad mood lip shapes.As the next step, we will clean up these rough drawings. 😘 I'll move the rough drawing layer below the jaw and lips layer so it stays organized and doesn't get in the way while we clean up the drawings.1st I'll add a keyframe on frame 2 of both the lips and jaw layers.Starting with the jaw layer, I'll select frame 2 and enter the jaw drawing group.Now I'll carefully adjust the jawline to match it closely to the rough outline.Once done, I'll exit the group, then select frame 2 on the lips layer and enter the lips drawing group. Here too, I'll trace the lip shape neatly following the rough guide. Once the tracing Is complete. It's time to add color. I'll use white for the teeth. Dark red for the inside of the mouth.And dark pink for the tongue.Now let's move to the next frame.I'll add keyframes on both the lips and jaw layers. Again, I'll begin by matching the jawline with the rough drawing and then move on to adjust the lips drawing accordingly.To make sure everything is aligned properly, I'll turn on outline mode and do any necessary adjustments.Then on the next frame I'll add a keyframe on both layers again.As usual, I'll adjust the jaw first.For the lips, I'll use the Oval tool to draw the basic shape.Then add a line for the supporting drawing and match everything with the rough sketch.We'll continue following the same process for the remaining frames, tracing each shape and adding colors. To avoid making the video too long. I'll speed up the process to 2X, but the steps remain the same for each frame. And with that, our happy lips shape tracing is complete.Now let's move on to the sad lips tracing. I'll add a blank keyframe in between and start fresh.Since the jawline for sad mood is the same as the happy mood, I'll select the jaw drawing from the happy lip and drag it to the sad lip frame to duplicate it. 😘 Now all we have to do is trace the sad lip shape and fill in the appropriate colours, just like we did earlier. The process remains exactly the same as the happy mood lips, so I'll speed up the process to 2X. And here we go.Both are happy and sad. Mood lip shapes are now ready. By using these different lip shapes, we'll be able to animate our character Orvin and make him talk realistically depending on the emotion in the scene.So far we've drawn lip shapes for the front view of our character, Orvin.Now it's your turn. Your task is to draw rough lip shapes for both happy and sad moods and then trace and color them just like we did, but this time for the three quarters. Front angle Reference images for 3/4 front angle lip shapes in both happy and sad moods are provided in the assignment section. Download them and use them as a guide to complete your drawings.I hope you found this tutorial helpful and easy to follow.Thank you for watching and I'll see you in the next tutorial.