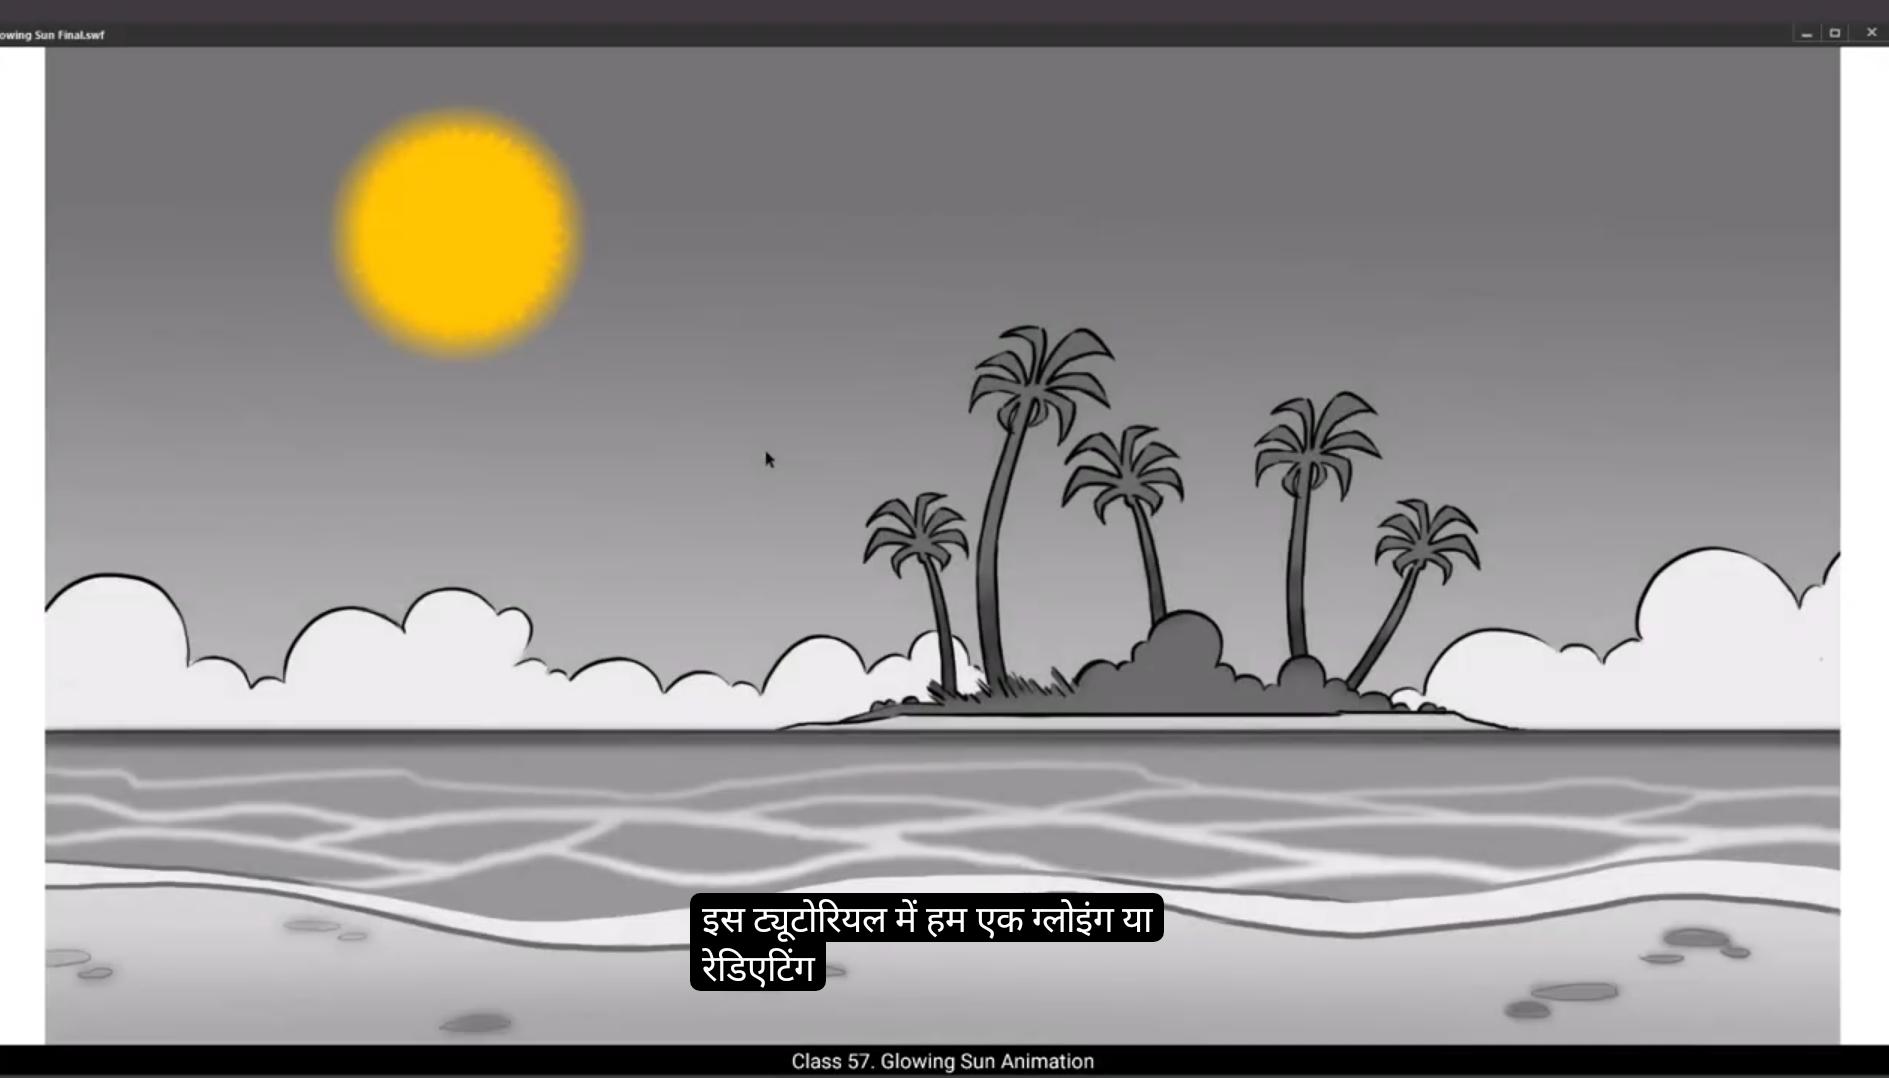
In this tutorial we are going to animate a glowing or radiating sun.As you can see, we have two layers here. 1 is a background, so we'll call it BG, and our animation is going to be on the top layer, so we'll call that animation.
Let's start by locking the background layer and then using the Oval tool we draw a circle holding down the shift key. The shortcut is O. We do this so that our circle stays an exact circle and doesn't turn into an ellipse. Next We delete the outline and change the color to a nice bright yellow. To do this we go to Properties, Object Color and style and choose a good yellow from the palette. Then we select our circle, go to modify on the top menu, then go to the shape and choose the Soften fill edges option. Now we add a value of 120 in the distance box and 14 in the number of steps box. we can See that the edges of our circle have softened. Then we select our circle and convert it into a symbol by using the shortcut F8 and we call the symbol Sun. Next we double click on our circle to enter the symbol. We select frame 60 on the timeline and press F5 to add frames. So our animation length will be 60 frames. Then we add a new layer, select the first keyframe on layer one and holding down the alt key we dragged this frame over to the new layer and locked the layer and also hide it as seen in the video. Then we come back to lay one and convert our circle to a symbol again by pressing F8 and we call it shape. We then enter our new symbol called shape, extend the frames to frame 60 as we had done before by selecting frame 60 and pressing F5 to add frames. Next we add a new layer and lock the layer as seen in the video. we now Draw another circle on this new layer using the Oval tool and put a black fill to it and have the alpha on 100.
😘
Please refer to the video when you put your alpha values. It's the box next to the checkered square on the right in. Now place our new black circle in the center of our yellow circle as we've seen in the video. then We click on the fill inside our black circle and delete the fill by pressing the actual delete key on the keyboard. We zoom in now to see the circle bigger so we can work on the details. We select the outline on the smaller circle which was black, copy it using the shortcut Control C and paste it in place using the shortcut control Shift V. We then scale it down using the Scale and Rotate tool. The shortcut is Control Alt S. we Fill it down to 80%. Now we fill the parts between the two circles with black using paint bucket tool. The shortcut is K Then we delete the outlines. We again select the shape and copy it using Control C and paste it in place using Control Shift V Again we go to the scale and rotate tool using the shortcut Control Alt S and we scale it down to 75%. We scale it down to 95%. Now we repeat the whole process of copy and pasting in place and scaling down the new copy of this shape. Please follow the same Steps that we did earlier so that you will get a result exactly like you see in the video. And we do this one more time so that we have 4 ring like shapes one inside the other as seen in the video. We then fill the smallest ring with black using the paint bucket tool. Shortcut is K. Next we select this entire shape of a small circle within three rings and convert it to a symbol by using F8 and we call it mask.We now enter the symbol and using an eraser tool we start erasing the mask with random And scratchy strokes. Please follow the video as far as possible so that our result will not be too different from what we see in the video.
😘
Once we've covered the mask with scratchy texture as seen in the video, we exit the symbol by clicking the Shape tab as seen in the video.We now lock and hide layer 2 and unlock layer one.We click our shape here and convert it to a symbol by using F8 and call it sun shape. We go to frame 60 and add a key frame there using F6. We then select our symbol on the 60th frame, go to properties, Object color effect and choose Alpha from the drop down menu and bring the alpha level to 0% on the slider below.We add a keyframe on frame 30, go back to alpha slider and move it to full so that it shows 100%.Next, we select some frames between the 1st and the last keyframe. Right click on anyone and choose Create Classic Tween from the menu. Now when we look at our animation, you'll notice that on the last keyframe, the alpha on our animation has already reached 0%, so the sun is not visible. Now let's move to the next step. We lock layer one and we unhide layer two. We then create a keyframe at frame 60. Next, we scale up our.Scratchy shape 205% using the Scale and Rotate tool. The shortcut is Control Alt S We need it to be a bit bigger so we scale it up again to 110%. We then go to the layer 2, right click and choose Mask from the drop down menu. Now we select a few in between frames from the layer 2 as seen in the video. Right click on anyone and choose Create Classic Tween from the drop down menu.On pressing enter, we can see the small pieces we had drawn being animated. We now exit the symbol by clicking the Sun tab to the top left of our work area as seen in the video. Next we add a new layer 3. Now we select our symbol on layer one, keyframe one, we copy it using Control C and we paste and place the copied symbol on layer 3, keyframe 1 by using Control Shift V.
😘
then scale it up a little by using the Scale and rotate tool.Shortcut is control Alt S and putting in a value 403%. Then we rotate it by using the free transform tool. The shortcut is Q, We add a new layer 4. The symbol which we had copied from layer one should already be on the clipboard so we can paste it on keyframe one of our newly created layer 4.Again we rotate the symbol using free transform tool. The shortcut is Q. Now we are going to change the timings of each layer. For this we keep layer 1 locked and also layer four. We go to layer three, select the symbol there and go to properties object looping and add a value of 20 so that Animation of the copied symbol on this layer will start at frame 20. We then go to the layer four and we go to properties object looping first and add a value of 40. Now when we press enter, you'll see the beginning of the setting sun. Let's go to layer 2 and unhide and unlock it. Then we use a scale and rotate tool. Shortcut is Control Alt S and we scale down the symbol here to 90% as seen in the video.Looks like we need to scale it down even more so we do that again to 90% as seen in the video.Now we add blur to the bottom 3 layers. We start with layer one, then we go to properties, frame filter and choose blur from the drop down menu.
Here we choose the high option of quality and we add a value of three for both the X and the Y axis. now We go back to the layers and follow the same process for the other two layers as seen in the video. When this is done, we lock all the layers and exit the symbol by clicking on the scene 1 tab as seen in the video. Let's see what our animation looks like by pressing the enter key. Now we go back into the symbol by double clicking the shape. Then we go to the layer two, click the shape on that layer and go to the scale and rotate tool and scale to 205%.
The shortcut is.Control Alt S.Now we export an SWF to review our output shortcut is control enter sun animation is working fine now. Hope you found this tutorial helpful. Thank you.
इस ट्यूटोरियल में हम एक glowing या radiating sun को animate करने वाले हैं। जैसा कि आप देख सकते हैं, हमारे पास यहाँ दो लेयर्स हैं। एक background है, तो हम उसे BG कहेंगे, और हमारी animation टॉप लेयर पर होने वाली है, तो उसे हम animation कहेंगे। चलिये background layer को लॉक करके शुरू करते हैं और फिर Oval tool का इस्तेमाल करके shift key दबाकर एक circle ड्रॉ करते हैं। इसका shortcut O है। हम ऐसा इसलिए करते हैं ताकि हमारा circle एकदम perfect circle रहे और ellipse में न बदल जाए। इसके बाद हम outline डिलीट कर देते हैं और color को एक bright yellow में बदलते हैं। इसके लिए हम Properties, Object Color and style में जाकर palette में से एक अच्छा yellow चुनते हैं। फिर हम अपने circle को select करते हैं, ऊपर menu में modify पर जाते हैं, shape पर जाते हैं और Soften fill edges option चुनते हैं। अब हम distance box में 120 और number of steps box में 14 की value डालते हैं। हम देख सकते हैं कि हमारे circle के edges soften हो गए हैं। फिर हम circle select करते हैं और shortcut F8 का इस्तेमाल करके इसे symbol में convert करते हैं और इसे Sun नाम देते हैं। इसके बाद हम circle पर double click करके symbol में enter करते हैं। हम timeline पर frame 60 select करते हैं और F5 दबाकर frames add करते हैं। इस तरह हमारी animation की length 60 frames होगी। फिर हम एक नई layer add करते हैं, layer one के पहले keyframe को select करते हैं और alt key दबाकर इस frame को नई layer पर drag करते हैं और layer को lock कर देते हैं और hide भी कर देते हैं जैसा कि वीडियो में दिखाया गया है। फिर हम वापस layer one पर आते हैं और अपने circle को F8 दबाकर फिर से symbol में convert करते हैं और इसे shape कहते हैं। हम फिर नए symbol shape के अंदर enter करते हैं, frame 60 तक frames extend करते हैं, frame 60 select करके F5 दबाकर। इसके बाद हम एक नई layer add करते हैं और layer को lock कर देते हैं जैसा कि वीडियो में दिखाया गया है। अब हम Oval tool का इस्तेमाल करके इस नई layer पर एक और circle draw करते हैं और उसे black fill देते हैं और alpha 100 रखते हैं।
😘
कृपया वीडियो को रेफ़र करें जब आप अपनी alpha वैल्यूज़ डालें। यह चेकर्ड स्क्वेयर के बगल वाले बॉक्स में होता है दाईं तरफ। अब हम अपने नए ब्लैक सर्कल को येलो सर्कल के सेंटर में रखते हैं जैसा कि वीडियो में देखा गया है। फिर हम ब्लैक सर्कल के अंदर वाले फिल पर क्लिक करते हैं और कीबोर्ड के actual delete key दबाकर फिल को डिलीट कर देते हैं। अब हम ज़ूम इन करते हैं ताकि सर्कल बड़ा दिखे और हम डिटेल्स पर काम कर सकें। हम छोटे सर्कल की आउटलाइन को सेलेक्ट करते हैं जो ब्लैक थी, शॉर्टकट Control + C से कॉपी करते हैं और Control + Shift + V से उसी जगह पेस्ट करते हैं। फिर हम Scale and Rotate tool का इस्तेमाल करके इसे स्केल डाउन करते हैं। इसका शॉर्टकट Control + Alt + S है। हम इसे 80% तक स्केल डाउन कर देते हैं। अब हम पेंट बकेट टूल (शॉर्टकट K) से दो सर्कल्स के बीच वाले हिस्से को ब्लैक से फिल कर देते हैं। फिर हम आउटलाइन को डिलीट कर देते हैं। हम फिर से शेप को सेलेक्ट करके Control + C से कॉपी करते हैं और Control + Shift + V से उसी जगह पेस्ट करते हैं। फिर से Control + Alt + S दबाकर Scale and Rotate tool में जाते हैं और इसे 75% तक स्केल डाउन करते हैं। हम इसे 95% तक स्केल डाउन करते हैं। अब हम यही पूरा प्रोसेस कॉपी और पेस्ट इन प्लेस करने का और फिर स्केल डाउन करने का दोहराते हैं। कृपया वीडियो में बताए गए स्टेप्स ठीक उसी क्रम में फॉलो करें ताकि आपका रिज़ल्ट वीडियो जैसा ही आए। और हम यह एक बार और करते हैं ताकि हमारे पास वीडियो में दिखाए अनुसार एक के अंदर एक ऐसे 4 रिंग जैसी शेप बन जाए। फिर हम सबसे छोटे रिंग को पेंट बकेट टूल (शॉर्टकट K) से ब्लैक फिल कर देते हैं। इसके बाद हम इस पूरे शेप — छोटा सर्कल और तीन रिंग्स — को सेलेक्ट करके F8 दबाकर एक सिंबल में कन्वर्ट करते हैं और इसे mask कहते हैं। अब हम सिंबल में एंटर करते हैं और इरेज़र टूल का इस्तेमाल करके इस मास्क को रैंडम और स्क्रैची स्ट्रोक्स के साथ इरेज़ करना शुरू करते हैं। कृपया वीडियो को जितना हो सके उतना ध्यान से फॉलो करें ताकि हमारा रिज़ल्ट वीडियो जैसा ही दिखे।
😘
जैसे ही हमने मास्क को वीडियो में दिखाए अनुसार स्क्रैची टेक्सचर से कवर कर लिया, हम सिंबल से बाहर निकलते हैं और वीडियो में दिखाए अनुसार Shape टैब पर क्लिक करते हैं। अब हम लेयर 2 को लॉक और हाइड करते हैं और लेयर 1 को अनलॉक करते हैं। हम यहाँ अपनी शेप पर क्लिक करते हैं और F8 का इस्तेमाल करके इसे एक सिंबल में कन्वर्ट करते हैं और इसे sun shape कहते हैं। हम फ्रेम 60 पर जाते हैं और वहाँ F6 दबाकर एक कीफ्रेम ऐड करते हैं। हम फिर 60वें फ्रेम पर अपने सिंबल को सेलेक्ट करते हैं, प्रॉपर्टीज, Object color effect पर जाते हैं और ड्रॉपडाउन मेन्यू से Alpha चुनते हैं और नीचे स्लाइडर से alpha लेवल को 0% तक लेकर आते हैं। हम फ्रेम 30 पर एक कीफ्रेम ऐड करते हैं, वापस alpha स्लाइडर पर जाकर इसे पूरा आगे बढ़ाते हैं ताकि यह 100% दिखाए।
अब हम पहले और आखिरी कीफ्रेम के बीच कुछ फ्रेम्स को सेलेक्ट करते हैं। किसी एक पर राइट क्लिक करते हैं और मेन्यू में से Create Classic Tween चुनते हैं। अब जब हम अपनी एनीमेशन देखते हैं, आप नोटिस करेंगे कि आखिरी कीफ्रेम पर हमारी एनीमेशन का alpha पहले ही 0% हो चुका है, इसलिए sun दिखाई नहीं देता। अब अगले स्टेप पर चलते हैं।
😘
हम लेयर 1 को लॉक करते हैं और लेयर 2 को अनहाइड करते हैं। फिर हम फ्रेम 60 पर एक कीफ्रेम बनाते हैं। अब हम अपनी स्क्रैची शेप को Scale and Rotate tool से 205% स्केल अप करते हैं। इसका शॉर्टकट Control Alt S है। हमें इसे थोड़ा और बड़ा चाहिए, इसलिए हम इसे 110% तक फिर से स्केल अप करते हैं। फिर हम लेयर 2 पर जाते हैं, राइट क्लिक करते हैं और ड्रॉपडाउन मेन्यू से Mask चुनते हैं। अब हम वीडियो में दिखाए अनुसार लेयर 2 पर कुछ बीच के फ्रेम्स सेलेक्ट करते हैं। किसी एक पर राइट क्लिक कर के ड्रॉपडाउन मेन्यू में से Create Classic Tween चुनते हैं। Enter दबाने पर हम देख सकते हैं कि जो छोटे-छोटे हिस्से हमने ड्रॉ किए थे वो animate हो रहे हैं। अब हम सिंबल से बाहर निकलते हैं और वीडियो में दिखाए अनुसार वर्क एरिया के टॉप लेफ्ट पर Sun टैब पर क्लिक करते हैं। इसके बाद हम एक नई लेयर 3 ऐड करते हैं। अब हम लेयर 1 के कीफ्रेम 1 पर अपने सिंबल को सेलेक्ट करते हैं, इसे Control C से कॉपी करते हैं और Control Shift V से लेयर 3 के कीफ्रेम 1 पर पेस्ट और प्लेस करते हैं।
😘
फिर Scale and rotate tool का इस्तेमाल करके इसे थोड़ा ऊपर स्केल करते हैं। शॉर्टकट है Control Alt S और वैल्यू डालते हैं 403%। फिर हम इसे free transform tool से रोटेट करते हैं। शॉर्टकट है Q। हम एक नई लेयर 4 ऐड करते हैं। जो सिंबल हमने लेयर 1 से कॉपी किया था, वो अभी भी क्लिपबोर्ड में होना चाहिए, इसलिए हम इसे अपनी नई लेयर 4 के कीफ्रेम 1 पर पेस्ट कर सकते हैं। फिर से हम free transform tool का इस्तेमाल करके सिंबल को रोटेट करते हैं। शॉर्टकट है Q। अब हम हर लेयर की टाइमिंग बदलने जा रहे हैं। इसके लिए हम लेयर 1 और लेयर 4 को लॉक रखते हैं। हम लेयर 3 पर जाते हैं, वहाँ सिंबल को सेलेक्ट करते हैं और properties object looping में जाकर वैल्यू 20 डालते हैं ताकि इस लेयर के कॉपी किए गए सिंबल की animation फ्रेम 20 से शुरू हो। फिर हम लेयर 4 पर जाते हैं और properties object looping में पहले जाकर वैल्यू 40 डालते हैं। अब जब हम Enter दबाते हैं, तो आप setting sun की शुरुआत देखेंगे। चलो लेयर 2 पर चलते हैं और इसे अनहाइड और अनलॉक करते हैं। फिर हम scale and rotate tool का इस्तेमाल करते हैं। शॉर्टकट है Control Alt S और यहाँ सिंबल को 90% तक स्केल डाउन करते हैं जैसे वीडियो में दिखाया गया है। लगता है हमें इसे और छोटा करना पड़ेगा, इसलिए हम इसे फिर से 90% तक स्केल डाउन करते हैं जैसे वीडियो में दिखाया गया है। अब हम नीचे की 3 लेयर्स में blur जोड़ते हैं। हम लेयर 1 से शुरू करते हैं, properties, frame filter पर जाते हैं और ड्रॉपडाउन मेन्यू में से blur चुनते हैं। यहाँ हम quality ऑप्शन में high चुनते हैं और X और Y axis दोनों में वैल्यू 3 डालते हैं। अब हम वापस लेयर्स में जाते हैं और वीडियो में दिखाए अनुसार बाकी दो लेयर्स के लिए भी यही प्रोसेस दोहराते हैं। जब ये हो जाए, हम सभी लेयर्स को लॉक करते हैं और scene 1 टैब पर क्लिक करके सिंबल से बाहर निकलते हैं जैसे वीडियो में दिखाया गया है। अब Enter दबाकर देखते हैं कि हमारी animation कैसी लग रही है। फिर हम shape को डबल क्लिक करके वापस सिंबल के अंदर जाते हैं। फिर लेयर 2 पर जाते हैं, उस लेयर पर shape पर क्लिक करते हैं और scale and rotate tool से इसे 205% तक स्केल करते हैं। शॉर्टकट है Control Alt S। अब हम SWF export करके अपना आउटपुट रिव्यू करते हैं। शॉर्टकट है Control Enter। sun animation अब ठीक से काम कर रही है। उम्मीद है आपको ये tutorial helpful लगा होगा। धन्यवाद।