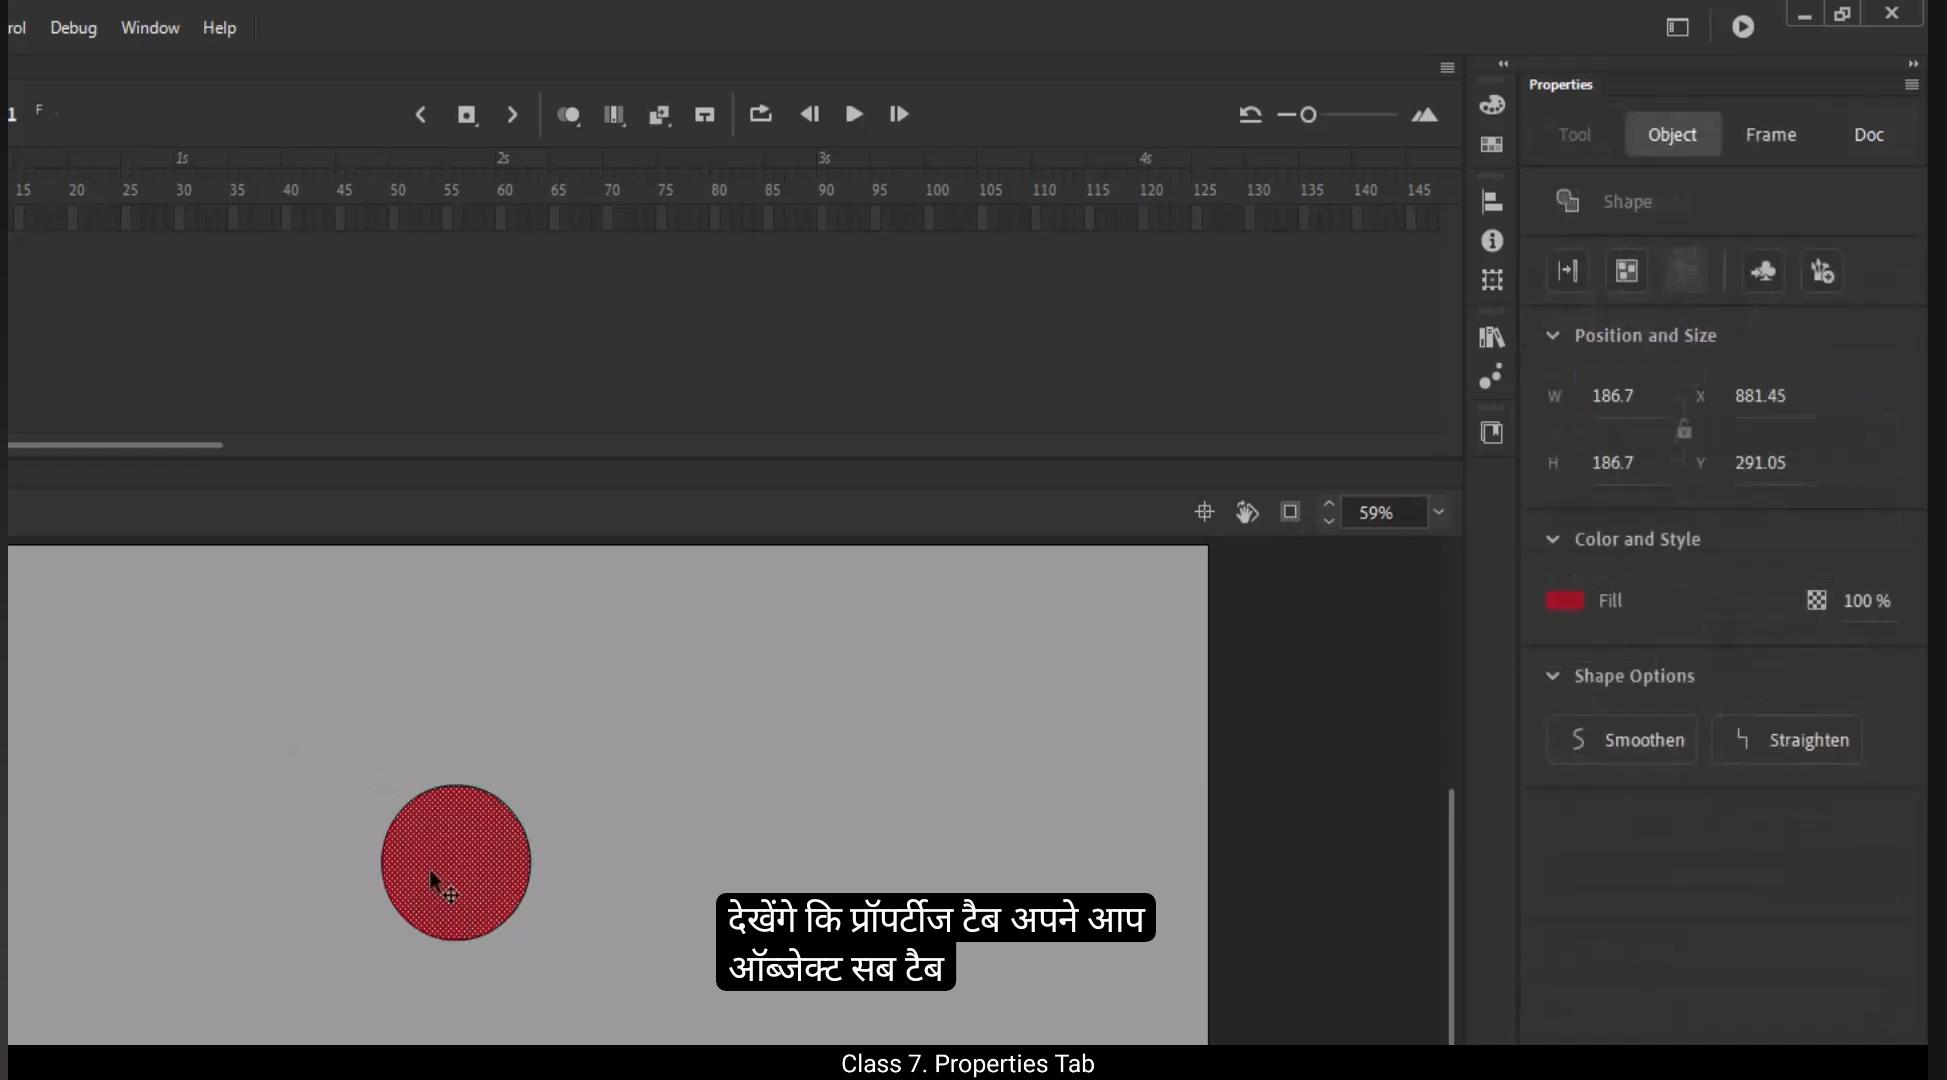
In this tutorial we are going to look at the properties tab.In our workspace, it is a vertical rectangular tab located on the right of the screen.Position of the staff will vary according to the workspace that you choose. The Properties tab has some main options. There is Document, Frame, Object and Tool.We are under the document sub tab right now.The Document sub tab contains the documents name.These tabs will automatically change according to what is being selected on our work area. For example, if we draw a circle with an Oval tool then you can see that the Properties tab will automatically switch to the Object sub tab.If we select a tool then the property tab will show us the options under the tool sub tab.In the document sub tab, we have the Snap to Object, Snap to align and rulers option. The snap to object help us to join 2 lines or even moves an object to a line or another object. When it comes to the right proximity. You will see that we have two lines here that snap together when they come closer. Snap to align tool helps us align 2 objects perfectly. Then the ruler is a very handy feature. The ruler helps us a great deal with alignments.Size of objects and lines, marking oppositions and so many other things.We can see more options below in the Document sub tab. We can also see a small vertical bar beside the Properties tab which has the color palette button. We can add gradients to our colour fill in an object on the work area or stage. We have the Align button below the colour palette. We can align the image imported to the stage by using the buttons in this tab.We have info and transform tabs which can help scale up or transform the object. We just looked at the Properties tab in Adobe Animate. We'll learn more properties as we move forward in the course and actually work on interesting assignments. Hope you found this tutorial helpful. Thanks.