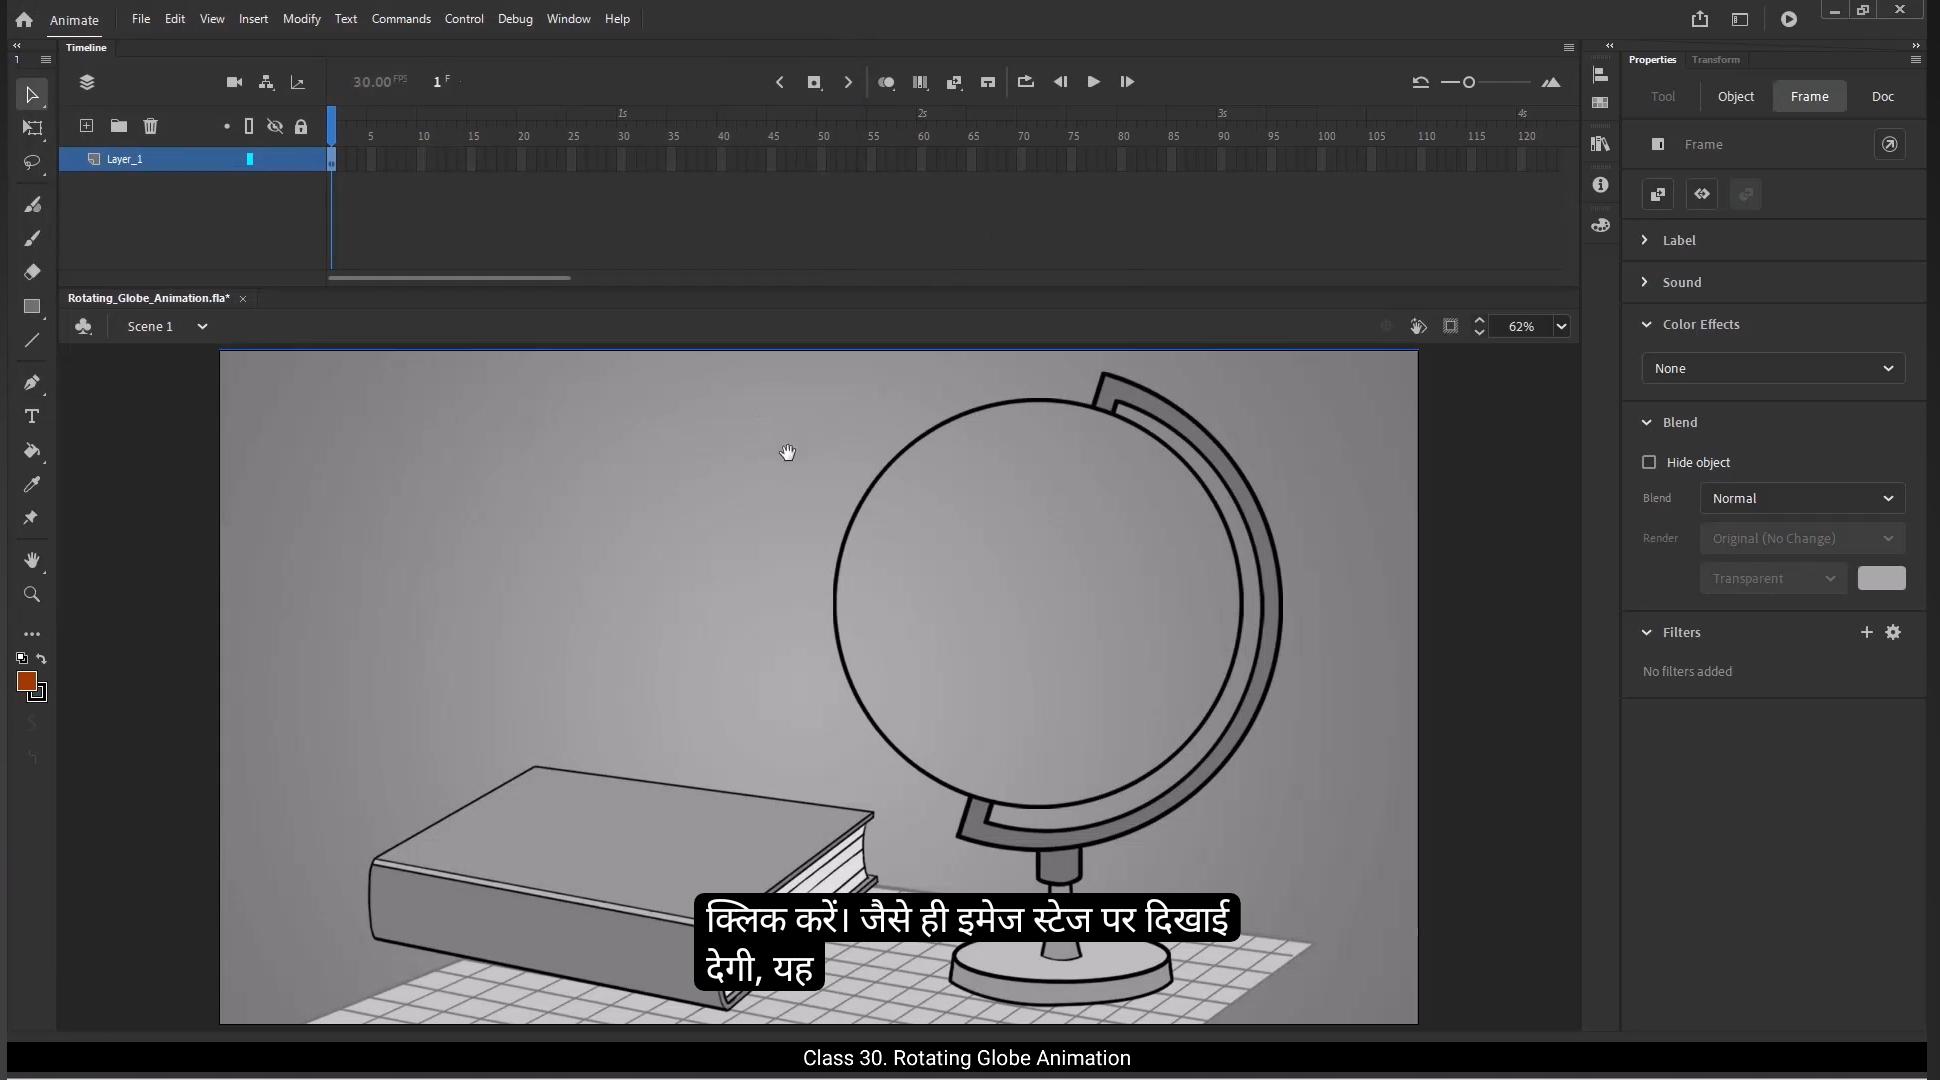
Hello students, In today's tutorial, we are going to create a rotating globe animation using the masking technique in Adobe Animate. So let's start animating.1st we need to import the background image onto a layer. To do this, press Control plus R to open the import window. Select your background image and click open. Once the image appears on the stage, it will be automatically attached to the layer.Now let's rename this layer as BG main to keep our project organized.Next we will extend the animation duration to 4 seconds, which means setting the timeline to frame #120.Now let's create another layer for the world map and rename this layer as Map.In this layer we will import a world map image the same way we imported the background, by pressing Control plus R and selecting the image.Once the world map is added to the stage, we need to convert it into a symbol so that we can animate it easily. ********** To do this, select the map image, then press F8 to open the Convert to symbol window. Rename the symbol as World Map Pan.And set the registration point to the middle right position.Now we need to duplicate the world map to create a seamless looping effect. To do this, double click on the world map pan symbol to enter its editing mode. Hold the Alt key and drag the map to the right to create a duplicate.Carefully position the duplicated map next to the original, ensuring that both images align perfectly without any visible gaps.Then adjust the pivot point of the world map symbol by double clicking on it. Next, we need to rotate the world map to align it with the axis of the globe. To do this, select the map symbol and slightly rotate it so that its orientation matches the angle of the globe's axis.Once aligned, we need to scale up the map so that it completely covers the entire area of the globe. For this, use the free transform tool by pressing Q on your keyboard to ensure precise adjustments. Switch to outline mode by enabling the Outline view. This will help you clearly see the globe's boundary and ensure the map extends properly over the entire area.Now that our map is positioned correctly. ************** Let's create the pan animation to give the illusion of a rotating globe on the 1st frame. Move the map so that its left edge aligns perfectly with the left outline of the globe. Switch to outline mode and double check that the map covers the entire globe area without any gaps. This will be our first keyframe. Now go to frame 120 and press F6 to add a keyframe.Next we need to move the map to the left.Ensuring that the first half of the map aligns perfectly with the second-half. To do this with precision, we'll use a reference guide. Turn on rulers.Click and drag a guideline from the ruler to mark a reference point on the map. Here we'll take a small island near Alaska as our reference.Now on frame 120, adjust the second-half of the map so that this same island appears exactly at the reference point. Compare with the previous frame to ensure a seamless transition.Once the first and last frames match perfectly, remove the guideline rulers to keep the workspace clean. Right click anywhere between the first and last keyframe on the map layer and select Create Classic Tween to generate a smooth panning animation.Now let's use a masking technique to ensure that the map is visible only within the globe area. Add a new layer above the map layer and rename it as Mask. ************** On the mask layer, we will draw a perfect circle that matches the globe's boundary. First, select the eyedropper tool and pick a blue fill color from the map. For the outline, choose a slightly darker shade of blue to create contrast.Hide the map layer temporarily for better visibility.Select the Oval tool and draw a perfect circle while holding shift to maintain proportion.Align the circle precisely with the globe's outline to ensure a seamless masking effect. Right click on the mask layer and select Mask. This will mask the map layer, making the world map visible only within the circular globe area.Now we have a rotating globe animation. The effect looks great, but it still feels a bit flat. To enhance it further, we will add 3D depth by creating longitude and latitude lines and making them rotate along with the map.Add a new layer above the mask layer and rename it as longitude, latitude.To maintain consistency we need to copy the circle from the mask layer.Select the 1st frame on the mask layer, hold Alt key and drag the frame onto the Longitude, Latitude layer to duplicate it. Select the duplicated circle on the Longitude latitude layer. Press F8 to convert it into a symbol and rename it as Longitude and Latitude.Double click on the symbol to enter its editing mode. Add a new layer inside the symbol and drag it below layer one in the timeline. Rename layer one as Mask and layer 2 as L1.Now we will draw a central vertical longitude line. Keep outline mode enabled for the mask layer to ensure visibility. *************** Select the line tool and change the outline color to black in the center of the globe along its axis. Draw a straight vertical line from the top to the bottom of the circle.Duplicate layer L1 twice to create two more longitude lines. Rename them as L2 and L3.Move the L3 line to the left and the L1 line to the right, ensuring they are evenly spaced from the Center for a balanced look.Extend timeline to 4 seconds by selecting frame 120 and pressing F5 to add frames on all layers.Now that we have 3 longitude lines, we will duplicate them to create latitude lines.Select all three longitude line layers, right click and choose Duplicate layers to create copies.Using the free transform tool, rotate these new lines 90° to form latitude lines.Rename the layers as Latitude 1, Latitude 2 and Latitude 3, ensuring clarity in organization. Use the selection tool to slightly curve the top and bottom lines, making them follow the globes round shape.Lock all layers except the longitude lines and hide the latitude layers for now as we will animate the longitude lines only.We will start by animating L2, the middle longitude line on L2 layer. Add a keyframe at frame 30.Modify the shape of the line by adding a curve to match the globe's outline.Right click between frame one and frame 30 and select Create Shape Tween to smoothly animate the line bending. Before proceeding further, we need to mask the longitude and latitude lines within the globe's boundary.Select the mask layer, right click and choose Mask To apply the masking effect. ************* Drag all longitude and latitude layers into the mask so that they are visible only within the globe area.Now let's preview the animation. Ensure that the longitude line movement matches with the rotating map.We need to slow down the line animation slightly because there's a small difference between the maps movement and the longitude lines.To synchronize them, we'll adjust the timing of the L2 layer. We will insert 5 frames to stretch the animation out a bit and slow it down. Next, we'll copy the animation from the L2 layer and paste it onto the L3 layer.We'll add a keyframe on frame 17 on L3 which will shift the animation to start from the middle, then return to frame one and remove all frames before this keyframe, giving us a seamless transition.To match the timing properly, insert an additional frame at the end of L3 to align the timeline. Now we're going to create another variation of the animation by adding a new layer.Copy the L2 animation to this new layer and rename it as L4.On L4, select all frames between the keyframes, right click and choose reverse frames. This will reverse the frames and make the lines animate in the opposite direction.Next, we'll lock all layers except for L4 so we can focus on it. Turn on the Edit Multiple Frames mode and select all the keyframes on L4.Now rotate the entire animation and position it on the right side of the globe. This will give the lines the correct orientation, creating a smooth and continuous rotating effect.Next, on layer L1, we'll delete the line we previously created.Then copy the animation from layer L4 and paste it onto layer L1. ************** Now lock all other layers and on layer L1 add a keyframe on frame 18.After that, we'll remove the first half of the animation on L1. This way, we'll get a smooth animation starting from this point. Now that we have the initial frames animation ready for each line layer, let's move on to the next step. We'll make copies of the animations from layer L2 and layer L4 and paste them onto the other layers, following the pattern shown in the reference image provided.Carefully follow these steps.Select the L2 animation and drag it to L1, positioning it next to the last keyframe.Select the L2 animation and drag it to L4 layer. Now select the 1st Of the L4 animation and drag it to the L3 layer.Next, drag L2 animation and place it on L3 next to the last keyframe.Drag the entire L4 animation onto the L2 layer.Select the same part we just pasted on L2 and drag it to L1, positioning it right after the keyframe.Copy the entire L4 animation and drag it forward onto the L4 layer next to the last keyframe.Select the second part of the animation from layer L3 and drag it to the same layer next to its last keyframe.Lastly, select the second part of the animation on layer L2 and drag it to the same layer next to the last keyframe. Just follow the pattern as shown in the reference image.Let's take a moment to preview our work. This is the rotating globe animation we've created so far. It's looking good, but to make it even more stunning, let's add a gradient highlight on the globe. This will create a light reflection effect, enhancing the overall animation and making it look more dynamic.For that, add a new layer and rename it as Highlight mask.On this layer, we'll draw a new circle with a white color fill using the Oval tool. Adjust its position to match exactly with the globe behind. Once positioned correctly, press Control B to break apart this shape and remove the stroke line.Next we will convert it into a symbol by pressing F8 and rename it as highlight mask. Go to the Color Palette tab and select Radial Gradient option. *********** On the gradient bar, change the gradient's black color to white, then set the opacity to 55%.Select the other color, stop and change its opacity to 0%. This gives us the soft gradient effect we need on the globe. Next, we'll slightly move and scale down the symbol to create a nice subtle light reflection effect on the globe.Use the Gradient Transform tool shortcut key F to adjust the position of the highlight.And there you have it, our 3D rotating globe animation is now ready. You've learned how to create a seamless rotating globe with longitude and latitude lines along with a realistic light reflection effect.I hope you found this tutorial helpful. Keep practicing. Thank you for watching and see you in the next tutorial. हेलो स्टूडेंट्स, आज के ट्यूटोरियल में हम Adobe Animate में Masking Technique का इस्तेमाल करके एक Rotating Globe Animation बनाना सीखेंगे। तो चलिए एनीमेट करना शुरू करते हैं। सबसे पहले हमें एक Background Image इंपोर्ट करनी होगी। इसके लिए Control + R दबाएं ताकि Import Window खुले। अब अपनी बैकग्राउंड इमेज सेलेक्ट करें और Open पर क्लिक करें। जैसे ही इमेज स्टेज पर दिखाई देगी, यह अपने आप लेयर से जुड़ जाएगी। अब इस लेयर का नाम बदलकर BG Main रख दें ताकि हमारा प्रोजेक्ट ऑर्गनाइज़्ड रहे। इसके बाद हम एनीमेशन की अवधि को 4 सेकंड तक बढ़ाएंगे, यानी टाइमलाइन को Frame #120 तक सेट करेंगे। अब एक नई लेयर बनाएं वर्ल्ड मैप के लिए और इस लेयर का नाम Map रखें। इस लेयर में हम एक World Map Image इंपोर्ट करेंगे, ठीक उसी तरह जैसे हमने बैकग्राउंड इंपोर्ट किया था — Control + R दबाकर और इमेज सेलेक्ट करके। जब वर्ल्ड मैप स्टेज पर आ जाए, तो हमें इसे एक Symbol में कन्वर्ट करना होगा ताकि हम इसे आसानी से एनीमेट कर सकें। इसके लिए, Map Image को सेलेक्ट करें, फिर F8 दबाएँ ताकि Convert to Symbol विंडो खुले। अब इस Symbol का नाम World Map Pan रखें, और Registration Point को Middle Right Position पर सेट करें। अब हमें World Map को डुप्लिकेट करना है ताकि एक Seamless Looping Effect बनाया जा सके। इसके लिए, World Map Pan Symbol पर Double Click करें ताकि हम उसके Editing Mode में पहुँच जाएँ। अब Alt Key दबाकर Map को दाईं ओर ड्रैग करें ताकि उसका एक डुप्लिकेट बन जाए। डुप्लिकेट किए गए मैप को इस तरह पोज़िशन करें कि दोनों Images एक-दूसरे से बिल्कुल सही तरह से जुड़ जाएँ, और बीच में कोई गैप या लाइन न दिखे। ********** इसके बाद, World Map Symbol का Pivot Point एडजस्ट करें — इसके लिए उस पर Double Click करें। अब हमें World Map को Rotate करना है ताकि वह Globe के Axis के साथ अलाइन हो जाए। इसके लिए Map Symbol को सेलेक्ट करें और उसे हल्का सा घुमाएँ, ताकि उसका एंगल Globe के Axis के समान हो। एक बार अलाइन हो जाने के बाद, हमें Map को Scale Up करना है ताकि वह पूरे Globe Area को कवर कर ले। इसके लिए कीबोर्ड से Q दबाकर Free Transform Tool एक्टिव करें और ध्यान से साइज एडजस्ट करें। अब Outline Mode ऑन करें ताकि आपको Globe की Boundary साफ़ दिखाई दे और यह सुनिश्चित करें कि Map पूरी तरह से उस क्षेत्र को कवर कर रहा हो। अब हमारा Map सही तरीके से पोज़िशन हो गया है। अब हम एक Pan Animation बनाएँगे ताकि ऐसा लगे कि Globe घूम रहा है। सबसे पहले, 1st Frame पर जाएँ। यहाँ Map को इस तरह मूव करें कि उसका Left Edge, Globe की Left Outline से बिल्कुल सही तरह से अलाइन हो जाए। अब Outline Mode ऑन करें और ध्यान से चेक करें कि Map पूरे Globe Area को बिना किसी गैप के कवर कर रहा है। यही हमारा पहला Keyframe होगा। अब Frame 120 पर जाएँ और F6 दबाकर एक नया Keyframe ऐड करें। अब हमें Map को Left Side में मूव करना है, ताकि Map का पहला हिस्सा बिल्कुल सही तरह से दूसरे हिस्से से जुड़ जाए। ज़्यादा प्रिसाइज़ तरीके से करने के लिए हम एक Reference Guide का उपयोग करेंगे। इसके लिए Rulers On करें। अब Ruler से एक Guideline ड्रैग करें और Map पर एक Reference Point मार्क करें। यहाँ हम Alaska के पास एक छोटा द्वीप (Island) को रेफरेंस के रूप में लेंगे। अब Frame 120 पर जाएँ और Map के दूसरे हिस्से को इस तरह एडजस्ट करें कि वही Island ठीक उसी Reference Point पर दिखाई दे। अब दोनों Frames को Compare करें ताकि यह सुनिश्चित हो सके कि ट्रांज़िशन बिल्कुल Seamless और स्मूद है। जब सबकुछ सही लग रहा हो, तो Guideline Rulers को हटा दें ताकि Workspace साफ़ रहे। अब Map Layer के पहले और आखिरी Keyframe के बीच में Right Click करें और Create Classic Tween सेलेक्ट करें ताकि एक Smooth Panning Animation बन जाए। अब हम एक Masking Technique का उपयोग करेंगे ताकि Map केवल Globe के अंदर ही दिखाई दे। इसके लिए Map Layer के ऊपर एक नई Layer ऐड करें और उसका नाम रखें Mask। ********* अब हम Mask Layer पर एक परफेक्ट सर्कल ड्रॉ करेंगे जो Globe की Boundary से बिल्कुल मेल खाएगा। सबसे पहले, Eyedropper Tool सेलेक्ट करें और Map से एक नीला (Blue) Fill Color चुनें। अब Outline Color के लिए थोड़ा गहरा नीला (Darker Blue) शेड सेलेक्ट करें ताकि थोड़ा कॉन्ट्रास्ट बने। अब Map Layer को कुछ समय के लिए Hide कर दें ताकि हमें सर्कल बनाने में आसानी हो। Oval Tool सेलेक्ट करें और Shift Key दबाकर एक Perfect Circle ड्रॉ करें ताकि इसका Proportion सही बना रहे। सर्कल को ध्यान से Globe की Outline के साथ Align करें ताकि Masking Effect बिल्कुल स्मूद दिखे। अब Mask Layer पर Right Click करें और Mask ऑप्शन सेलेक्ट करें। इससे Map Layer Mask हो जाएगी, और World Map केवल Circular Globe Area के अंदर ही दिखाई देगा। अब हमारा Rotating Globe Animation तैयार है। इफ़ेक्ट अच्छा लग रहा है, लेकिन यह थोड़ा Flat (समतल) लग रहा है। इसे और बेहतर बनाने के लिए हम इसमें 3D Depth Effect जोड़ेंगे जिसके लिए हम Longitude और Latitude Lines बनाएँगे और उन्हें Map के साथ Rotate कराएँगे। इसके लिए, Mask Layer के ऊपर एक नई Layer ऐड करें और उसका नाम रखें Longitude, Latitude। अब Consistency बनाए रखने के लिए हमें Mask Layer से सर्कल कॉपी करना होगा। इसके लिए, Mask Layer के 1st Frame को सेलेक्ट करें, Alt Key दबाकर उस Frame को Longitude, Latitude Layer पर ड्रैग करें ताकि उसकी Duplicate Copy बन जाए। अब Longitude Latitude Layer पर बने इस Duplicated Circle को सेलेक्ट करें, और F8 दबाकर इसे Symbol में Convert करें। इस Symbol का नाम रखें Longitude and Latitude। अब इस Symbol पर Double Click करें ताकि हम इसके Editing Mode में जा सकें। इसके अंदर एक नई Layer ऐड करें और उसे Layer One के नीचे ड्रैग करें। अब Layer One का नाम बदलकर Mask रखें और Layer Two का नाम रखें L1। अब हम एक Central Vertical Longitude Line ड्रॉ करेंगे। इसके लिए Mask Layer पर Outline Mode चालू रखें ताकि आपको सर्कल साफ़ दिखाई दे। अब Line Tool सेलेक्ट करें और उसका Outline Color काला (Black) कर दें। अब Globe के सेंटर में, उसकी Axis के साथ एक सीधी वर्टिकल लाइन ऊपर से नीचे तक ड्रॉ करें। अब L1 Layer को दो बार Duplicate करें ताकि हमारे पास कुल 3 Longitude Lines हो जाएँ। नई बनी Layers के नाम बदलकर L2 और L3 रखें। अब L3 Line को बाईं ओर और L1 Line को दाईं ओर मूव करें, इस तरह कि तीनों Lines Center से बराबर दूरी पर हों ताकि एक Balanced Look बने। अब टाइमलाइन को 4 सेकंड तक बढ़ाएँ — इसके लिए Frame 120 सेलेक्ट करें और F5 दबाएँ ताकि सभी Layers पर Frames Add हो जाएँ। अब जब हमारे पास तीन Longitude Lines हैं, तो हम इन्हें Latitude Lines बनाने के लिए डुप्लिकेट करेंगे। इसके लिए, तीनों Longitude Line Layers (L1, L2, L3) को सेलेक्ट करें, फिर Right Click करें और Duplicate Layers चुनें। इससे उनकी कॉपी बन जाएगी। अब Free Transform Tool का इस्तेमाल करें और इन नई लाइनों को 90° Rotate करें, ताकि ये Latitude Lines बन जाएँ। इन नई Layers के नाम बदलकर Latitude 1, Latitude 2, और Latitude 3 रखें ताकि प्रोजेक्ट साफ़-सुथरा और ऑर्गनाइज़ रहे। अब Selection Tool से ऊपर और नीचे वाली लाइनों में हल्का Curve जोड़ें ताकि वो Globe की Round Shape को फॉलो करें। अब Longitude Lines को ऐनिमेट करने के लिए सभी Layers को Lock कर दें, सिवाय Longitude Layers के, और फिलहाल Latitude Layers को Hide कर दें। अब ऐनिमेशन शुरू करते हैं L2, यानी Middle Longitude Line (L2 Layer) से। Frame 30 पर एक Keyframe ऐड करें। अब इस Line का शेप थोड़ा Modify करें — इसमें हल्का सा Curve जोड़ें ताकि ये Globe की Outline के साथ मैच करे। अब Frame 1 और Frame 30 के बीच Right Click करें और Create Shape Tween सेलेक्ट करें ताकि Line का Smooth Bending Animation बने। अब आगे बढ़ने से पहले, हमें Longitude और Latitude Lines को Globe की Boundary के अंदर Mask करना होगा। इसके लिए Mask Layer को सेलेक्ट करें, उस पर Right Click करें और Mask ऑप्शन चुनें। इससे Masking Effect Apply हो जाएगा, और सभी Lines अब सिर्फ Globe Area के अंदर ही दिखाई देंगी। अब सभी Longitude और Latitude Layers को Mask Layer के अंदर Drag करें, ताकि वो सिर्फ Globe Area के अंदर ही दिखाई दें। अब चलिए Animation Preview करते हैं। यह ध्यान रखें कि Longitude Lines की मूवमेंट Rotating Map के साथ सिंक में हो। अगर मूवमेंट में थोड़ा अंतर लग रहा हो, तो हमें Line Animation को थोड़ा धीमा (Slow Down) करना होगा। क्योंकि Map की Speed और Longitude Lines की Speed में थोड़ा फर्क है। इसको सिंक्रोनाइज़ करने के लिए हम L2 Layer की Timing Adjust करेंगे। इसके लिए 5 Extra Frames Insert करें, ताकि ऐनिमेशन थोड़ा स्टेच होकर स्लो हो जाए। अब L2 Layer का ऐनिमेशन Copy करें और उसे L3 Layer पर Paste करें। ************ अब Frame 17 पर एक Keyframe ऐड करें, जिससे ऐनिमेशन बीच से शुरू होकर एक स्मूद ट्रांज़िशन बनाएगा। फिर Frame 1 पर वापस जाएं और उस Keyframe से पहले के सभी फ्रेम्स डिलीट कर दें। इससे ऐनिमेशन एकदम सीमलेस और बैलेंस्ड दिखेगा। अब टाइमिंग को पूरी तरह मैच करने के लिए, L3 Layer के End में एक Extra Frame Insert करें ताकि Timeline Properly Align हो जाए। अब हम Animation का एक नया Variation बनाएंगे। इसके लिए एक नई Layer ऐड करें और उसमें L2 Animation को Copy-Paste करें। इस लेयर का नाम बदलकर L4 रखें। अब L4 Layer के सभी फ्रेम्स (जो कीफ्रेम्स के बीच हैं) सेलेक्ट करें, Right Click करें और Reverse Frames चुनें। इससे ऐनिमेशन Opposite Direction में चलेगा, जो एक बहुत ही स्मूद और कंटीन्युअस मोशन देगा। अब सभी लेयर्स को Lock कर दें, सिवाय L4 Layer के ताकि हम सिर्फ उसी पर काम करें। फिर Edit Multiple Frames Mode ऑन करें और L4 Layer के सारे Keyframes सेलेक्ट करें। अब पूरे ऐनिमेशन को Rotate करें और उसे Globe के Right Side पर पोज़िशन करें। इससे लाइनों की ओरिएंटेशन सही हो जाएगी और ऐनिमेशन में एक Smooth Rotating Effect आएगा। अब L1 Layer पर जाएं और जो पुरानी लाइन थी, उसे Delete कर दें। फिर L4 Layer से Animation Copy करें और उसे L1 Layer पर Paste कर दें। अब बाकी सभी लेयर्स को Lock कर दीजिए, और सिर्फ L1 Layer पर काम कीजिए। L1 Layer के Frame 18 पर एक Keyframe ऐड करें। उसके बाद, Animation के पहले हाफ को हटा दें, ताकि ऐनिमेशन इसी पॉइंट से Smoothly Start हो सके। अब जब हर Line Layer की Initial Frame Animation तैयार हो गई है, तो हम अगले स्टेप पर बढ़ेंगे। अब हम L2 और L4 Layer की Animations की Copies बनाएंगे और उन्हें बाकी लेयर्स पर Pattern के अनुसार Paste करेंगे, जैसा कि Reference Image में दिखाया गया है। ध्यान से ये स्टेप्स फॉलो करें. L2 Animation को Select करें और उसे L1 Layer पर Drag करें, इसे Last Keyframe के ठीक बाद पोज़िशन करें। अब L2 Animation को फिर से Select करें और उसे L4 Layer पर Drag करें। अब L4 Animation के पहले हिस्से (1st Part) को Select करें और उसे L3 Layer पर Drag करें। इसके बाद, L2 Animation को L3 Layer पर Last Keyframe के बाद Place करें। अब पूरी L4 Animation को L2 Layer पर Drag करें। अब जो Part हमने अभी-अभी L2 पर Paste किया है, उसे L1 Layer पर Drag करें, और उसे Keyframe के ठीक बाद Position करें। पूरी L4 Animation को फिर से Copy करें और उसे L4 Layer पर Last Keyframe के बाद Drag करें। अब L3 Layer से Animation के दूसरे हिस्से (Second Part) को Select करें और उसे उसी Layer पर, Last Keyframe के बाद Drag करें। आख़िर में, L2 Layer के Second Part Animation को Select करें और उसे उसी Layer के Last Keyframe के बाद Drag करें। बस, अब वही Pattern Follow करें जैसा Reference Image में दिखाया गया है। अब एक बार ऐनिमेशन को Preview करें। देखिए, ये है हमारा Rotating Globe Animation — बहुत अच्छा लग रहा है! लेकिन इसे और Stunning और Realistic बनाने के लिए हम इसमें Gradient Highlight ऐड करेंगे, जिससे Light Reflection Effect बनेगा और ऐनिमेशन में 3D Depth और Glow आएगा। इसके लिए — एक नई Layer ऐड करें और उसका नाम रखें Highlight Mask। इस Layer पर, Oval Tool से एक White Color Filled Circle बनाइए। ध्यान रखें, इसका Position बिल्कुल Globe के साथ Match होना चाहिए। सही जगह पर पोज़िशन करने के बाद, Ctrl + B दबाकर इस Shape को Break Apart करें और Stroke Line हटा दें। अब इस Shape को Symbol में कन्वर्ट करें इसके लिए F8 दबाएं और Symbol का नाम दें Highlight Mask। इसके बाद Color Palette Tab में जाएं और Radial Gradient Option सेलेक्ट करें। Gradient Bar पर, ब्लैक कलर को White में बदल दीजिए और उसकी Opacity को 55% पर सेट करें। अब दूसरे Color Stop को सेलेक्ट करें और उसकी Opacity को 0% कर दीजिए। इससे हमें Globe पर एक Soft Gradient Effect मिलेगा। अब इस Symbol को थोड़ा Move और Scale Down करें, ताकि Globe पर एक Subtle Light Reflection Effect बने। इसके बाद, Gradient Transform Tool (Shortcut Key F) का इस्तेमाल करें और Highlight की Position को Adjust करें जब तक कि वह Globe पर Natural और Realistic Reflection न लगे। और बस! हमारा 3D Rotating Globe Animation अब पूरी तरह तैयार है। आपने इस Tutorial में सीखा — कैसे एक Seamless Rotating Globe बनाते हैं जिसमें Longitude और Latitude Lines हों और साथ ही एक Realistic Light Reflection Effect भी हो। मुझे उम्मीद है कि ये Tutorial आपके लिए Helpful रहा होगा। Practice करते रहिए और अपनी Skills को और निखारिए। धन्! अगले Tutorial में फिर मिलेंगे।