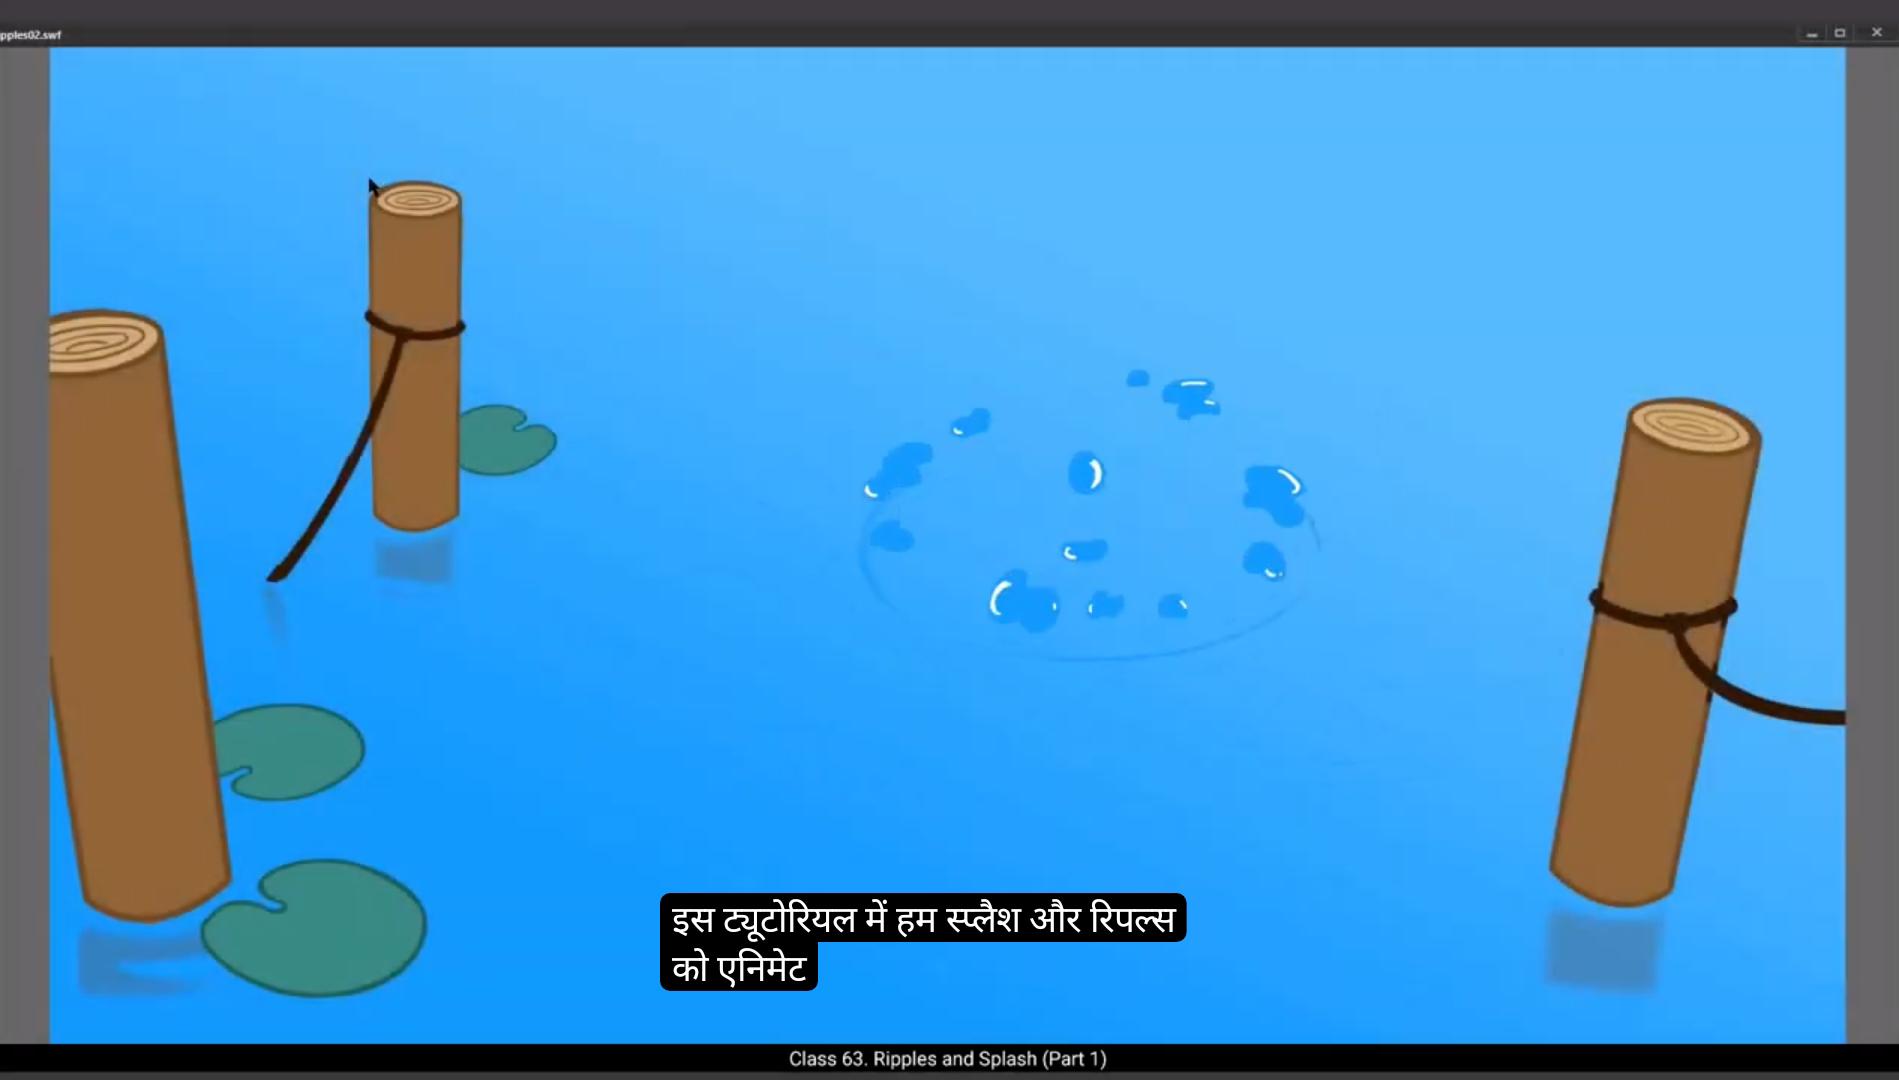
In this tutorial we learn to animate splash and ripples. We are going to split this tutorial in two parts. In the first part, we are going to animate a Pebble being thrown into the water which results in a tiny splash. We will animate ripples caused by the Pebble which was thrown into the water in Part 2. Now let's see what we already have. We have a background ready. Our background is named and placed under the animation layer.We've pre animated the Pebble being thrown into the water. We have two layers for that. One is the Pebble animation layer and the second is the guide for the Pebble. Now we start by creating a new layer and call it splash. We follow by going to frame 20 and adding a keyframe there by using F6. We have chosen frame 20 because a Pebble hits the surface of water at that frame and that's where our splash animation will begin. Now using the shortcut B, which is for the brush tool, we start drawing the keyframes of our splash just as seen in the video. See the video to locate the brush settings. There on the tab to the right in Properties, Tool, Classic Brush Options, Size and Keep the size 6.
😘
Next, we start drawing the keyframes of our splash as seen in the video.We now go to frame 22 and using F7 we add a blank keyframe. We then turn on the onion skin button. Please see the video to locate this and how we are going to use the onion skin to draw the next key drawings for our splash.
Once the key on the frame 22 is drawn, we move to the frame 24 and add a blank keyframe using F7 and start drawing our next key drawing. We are going to have each of our drawings see for 2 frames. In traditional animation this is called keeping your animation on twos.
Our next key drawing will be on frame 26. So we go to frame 26, add a blank keyframe using F7 and start drawing again. The next drawing will be on frame 28 with the same process of adding a blank keyframe. Please keep up with the video to refer to the drawings of the splash. We will keep adding a new drawing every another frame till frame 34.
Once all our drawings for the splash are done, we go back and add some details like highlights and shadows to each drawing for the splash.
We can now see that our splash looks like by pressing the enter key.It seems to be working well. We will now move to the second part of this tutorial where we will animate ripples caused by our splash.
ट्युटोरियल में हम splash और ripples को animate करना सीखते हैं। हम इस ट्युटोरियल को दो parts में divide करने वाले हैं। पहले part में, हम पानी में फेंके गए एक Pebble से बनने वाला छोटा सा splash animate करेंगे। हम दूसरे part में Pebble से बने हुए ripples को animate करेंगे। अब देखते हैं हमारे पास पहले से क्या मौजूद है। हमारा background तैयार है। हमारा background animate layer के नीचे रखा और नामित है। हमने पानी में फेंके जाने वाले Pebble की animation पहले से कर रखी है। इसके लिए दो layers हैं। एक Pebble animation layer और दूसरी Pebble की guide layer है। अब हम एक नया layer create करते हैं और उसे splash कहते हैं। इसके बाद हम frame 20 पर जाते हैं और F6 दबाकर एक keyframe add करते हैं। हमने frame 20 इसलिए चुना है क्योंकि Pebble उसी frame पर पानी की सतह को hit करता है और वहीं से हमारा splash animation शुरू होगा। अब brush tool का shortcut B use करते हुए हम splash के keyframes draw करते हैं जैसा वीडियो में दिखाया गया है। Brush settings देखने के लिए वीडियो देखें। Brush settings दाईं तरफ प्रॉपर्टीज, फिर Tool, फिर Classic Brush Options, फिर Size में हैं. size को 6 रखें।
😘
अब हम वीडियो में दिखाए गए अनुसार splash के keyframes draw करना शुरू करते हैं। अब हम frame 22 पर जाते हैं और F7 दबाकर एक blank keyframe add करते हैं। फिर हम onion skin बटन ऑन करते हैं। कृपया वीडियो में देखें कि इसे कहाँ से ऑन करना है और हम onion skin का इस्तेमाल अगले key drawings draw करने में कैसे करेंगे। Frame 22 पर key drawing होने के बाद हम frame 24 पर जाते हैं और F7 दबाकर blank keyframe add करते हैं और अगला key drawing बनाना शुरू करते हैं। हम हर drawing को 2 frames तक देखेंगे। Traditional animation में इसे “keeping your animation on twos” कहा जाता है। अगला key drawing frame 26 पर होगा। तो हम frame 26 पर जाकर F7 दबाकर blank keyframe add करते हैं और फिर से drawing शुरू करते हैं। अगली drawing frame 28 पर इसी process के साथ blank keyframe add करके बनाई जाएगी। कृपया वीडियो के साथ-साथ splash की drawings के लिए reference देखते रहें। हम frame 34 तक हर दूसरे frame पर नई drawing add करते रहेंगे। Splash की सारी drawings बनने के बाद हम वापस जाकर हर drawing में highlights और shadows जैसे details add करते हैं। अब हम enter key दबाकर अपना splash देख सकते हैं। यह ठीक से काम करता दिखाई दे रहा है। अब हम इस tutorial के दूसरे हिस्से की तरफ बढ़ेंगे, जहाँ हम अपने splash से बने हुए ripples को animate करेंगे।