Thank you for watching Part 1. Please join us for Part 2. Welcome to Part 2 of the Splash and Ripples tutorial. We are going to animate the ripples caused by the splash which we have animated in Part 1 of this tutorial.You will see that we already have the earlier layers here, the Pebble animation and the splash animation. We will now add a new layer just above the background layer so we can animate our ripples here. Well, of course, we'll call this layer ripples.Then we go to frame 20 and add a blank keyframe using F7.We now draw the first key of the ripple using the Oval tool. The shortcut is O. We then delete the fill of the Oval shape and change the size of its stroke by going to the tab on the right. It's in properties, Object colour and style stroke size. We keep the stroke size 7. We scale this Oval shape of the ripple down to 40% using the Scale and Rotate tool. The shortcut is Control Alt plus S Next we go to frame 40 and add a keyframe using F6 on this key. We scale up our ripple up to 200% using the Scale and Rotate tool. The shortcut is Control plus Alt plus S. We scale it up to 200% again a second time.We then right click on the Ripples layer and select Cut Layers from the drop down menu.
Next we add a new layer 12 above the background layer and call it ripples.We now draw a rectangle using a rectangle tool on the Ripples layer. The shortcut of the rectangle tool is R.
We select the rectangle and convert it into a symbol using F8 and call it Ripples. We then double click the symbol and enter it. We right click on layer one and select paste layers from the drop down menu. After this layer is pasted, we delete layer 1.
😘
You can see now that our ripples have been pasted a bit outside of our work area. We go to the switch on the edit multiple frames above the timeline. Please follow the video to locate the switch. We then select all the frames on this layer and drag the ripple to where it actually should be. just Like it is done in the video.Once done, we switch off the multiple frames. We now add a new layer and drag frame 40 from the old to the new layer, holding down the Alt key.
We select the first layer and convert it to a symbol and call it ripples sub.We now go to frame 40 and add a keyframe there using F6. Then we scale up the symbol using the Scale and rotate tool. The shortcut is Control plus Alt plus S We scale it up to 600%. Now we delete the ripples layer on the top. Please see the video to make sure you delete the right layer. Now we go to frame 20 and double click on the symbol to enter it. We then select our ripple, go to Modify and then Shape and select Convert the Lines to fill. We now exit the symbol by clicking on ripples on the tab. In The symbol we select a few random frames as seen in the video. We right click on anyone and select Create Classic Tween from the drop down menu. We then select all the frames from frame 40 to 61 as seen in the video and remove them using Shift F5. Now we select all the frames from frame 20 to 40 and drag the whole selection to frame one.Once this is done, we double click on the ripple to enter the symbol and modify the shape of ripple using The selection tool, the shortcut for which is we please follow the modification done in the video. you can
Hold down the Alt key to make pointy shapes.
😘
We can now exit the symbol and create a keyframe on frame 6 using F6. Then we right click on the ripple symbol and select Duplicate symbol from the menu that appears and we call this Ripple sub one. We again enter the symbol and make some changes to its shape. Please follow the video for the exact changes.We are going to work this process for every other frame ahead. So we exit the symbol and add a keyframe on frame 5 right click and select duplicate symbol from the menu and call it ripple sub two. Please make the changes as per the video.
Now that we have done adding ripples, still ripple sub eight we can see the ripple animation tilt frame 21. We now go to frame 9. We select the ripple using control A and we are going to gradually reduce the visibility of the ripple as it moves ahead from this frame onwards.
We go to color effects which is in properties objects and we select alpha from the drop down menu and move the alpha slider so that we set it to 85%. We are going to follow the same process for each consecutive keyframe and reduce the alpha value a little in such a way that the last keyframe will have an alpha value of 0. Please follow the video for all the details.Once this is done, we exit the symbol by clicking on the Scene 1 tab as seen in the video. Then we select Keyframe one on the Ripple Slayer and drag it over to frame 20. We now select the ripple and scale up this symbol using the Scale and Rotate tool.The shortcut is Control Alt S We scale it up 220%. It looks like we need to scale it down a little bit, so we use the same tool and scale it down to 95%. Then we convert it to a symbol using F8 and call it main ripples. We then double click the ripple to enter the symbol.
😘
As you can see in the video, we add a keyframe at frame 40 and add frames using F5. We then add a new layer to select keyframe one from layer one.And holding the Alt key, we drag it to frame 5 of layer 2. As seen in the video. You will notice that the next ripple starts at frame 5. We now add another layer 3 and copy the ripple from the earlier layer to frame 10 on the new layer.
We now add another layer four and copy the ripple from the earlier layer to frame 10 on the new layer 4.We now exit the symbol by clicking on the scene 1 tab and see what our animation looks like. We are now going to add a few more small ripples where the droplets Fall to the surface. So we've created a new layer and copied the keyframes at frame 20 from the Ripples layer underneath to the Ripples layer above, as you can see in the video.
We Can now copy the ripples using the shortcut control C. Now we start placing our ripples at the exact frames and the exact spots where the droplets of the splash fall to the surface of the water. So the frame is 32 when all the droplets fall into the water. And to match the position of the droplet, we turn on the onion skin option. This will show us a trace of the last key drawings of the splash, which will help us place our ripples in their right position. Please focus On the video here, so that nothing is missed out, we add the ripples as per the fallen droplets of the splash as seen in the video.
Now on our splash animation layer, we add a blank keyframe on frame 36 using F7.
We also add alpha to all keyframes and set the value to 0 at frame 61 so that all the ripples will have gradually faded out at the end instead of stopping abruptly. Please see the video for a quick preview.We add a blank keyframe on all the layers at frame 61, so the animation stops on this frame.
😘
We have seen our ripples animation, and it looks like it needs some changes. We are now going to make some changes to our timing on the main ripple. Apparently our main ripple keeps on playing in a loop and doesn't stop when it should. So we lock all the layers except the main ripple layer. We now select the keyframe on frame 60 and the blank keyframe on frame 61 from this layer and drag it to frame 43. Now we can see that our main ripple stops before the other ripples. We now enter the ripple symbol by double clicking on it.Next, we delete layer 4 by selecting the layer and pressing the delete key on the keyboard.As it is a redundant layer at this time, now we select the ripple symbol on layer three. We intend to stop this animation from playing in a loop. So we go to properties object looping and click on the play graphic once button located in the middle of the three buttons as seen in the video.This will make sure that our ripple animation plays just once. Now we lock layer 3 and do the same for the symbols on layer one and layer 2.After this is done, we select the first keyframe on layer 2 which is at frame 5, drag it to 10th frame on the same layer so that the animation on this layer will start from frame 10. We then select the keyframe on layer 3 and drag it to frame 15 as seen in the video. Let's exit the symbol by clicking on Scene 1 tab as seen in the video and look at our animation by pressing the Enter key. Our Animation looks good. We now export an SWF to see what our animation looks like.
Hope you found this helpful, thanks for watching.
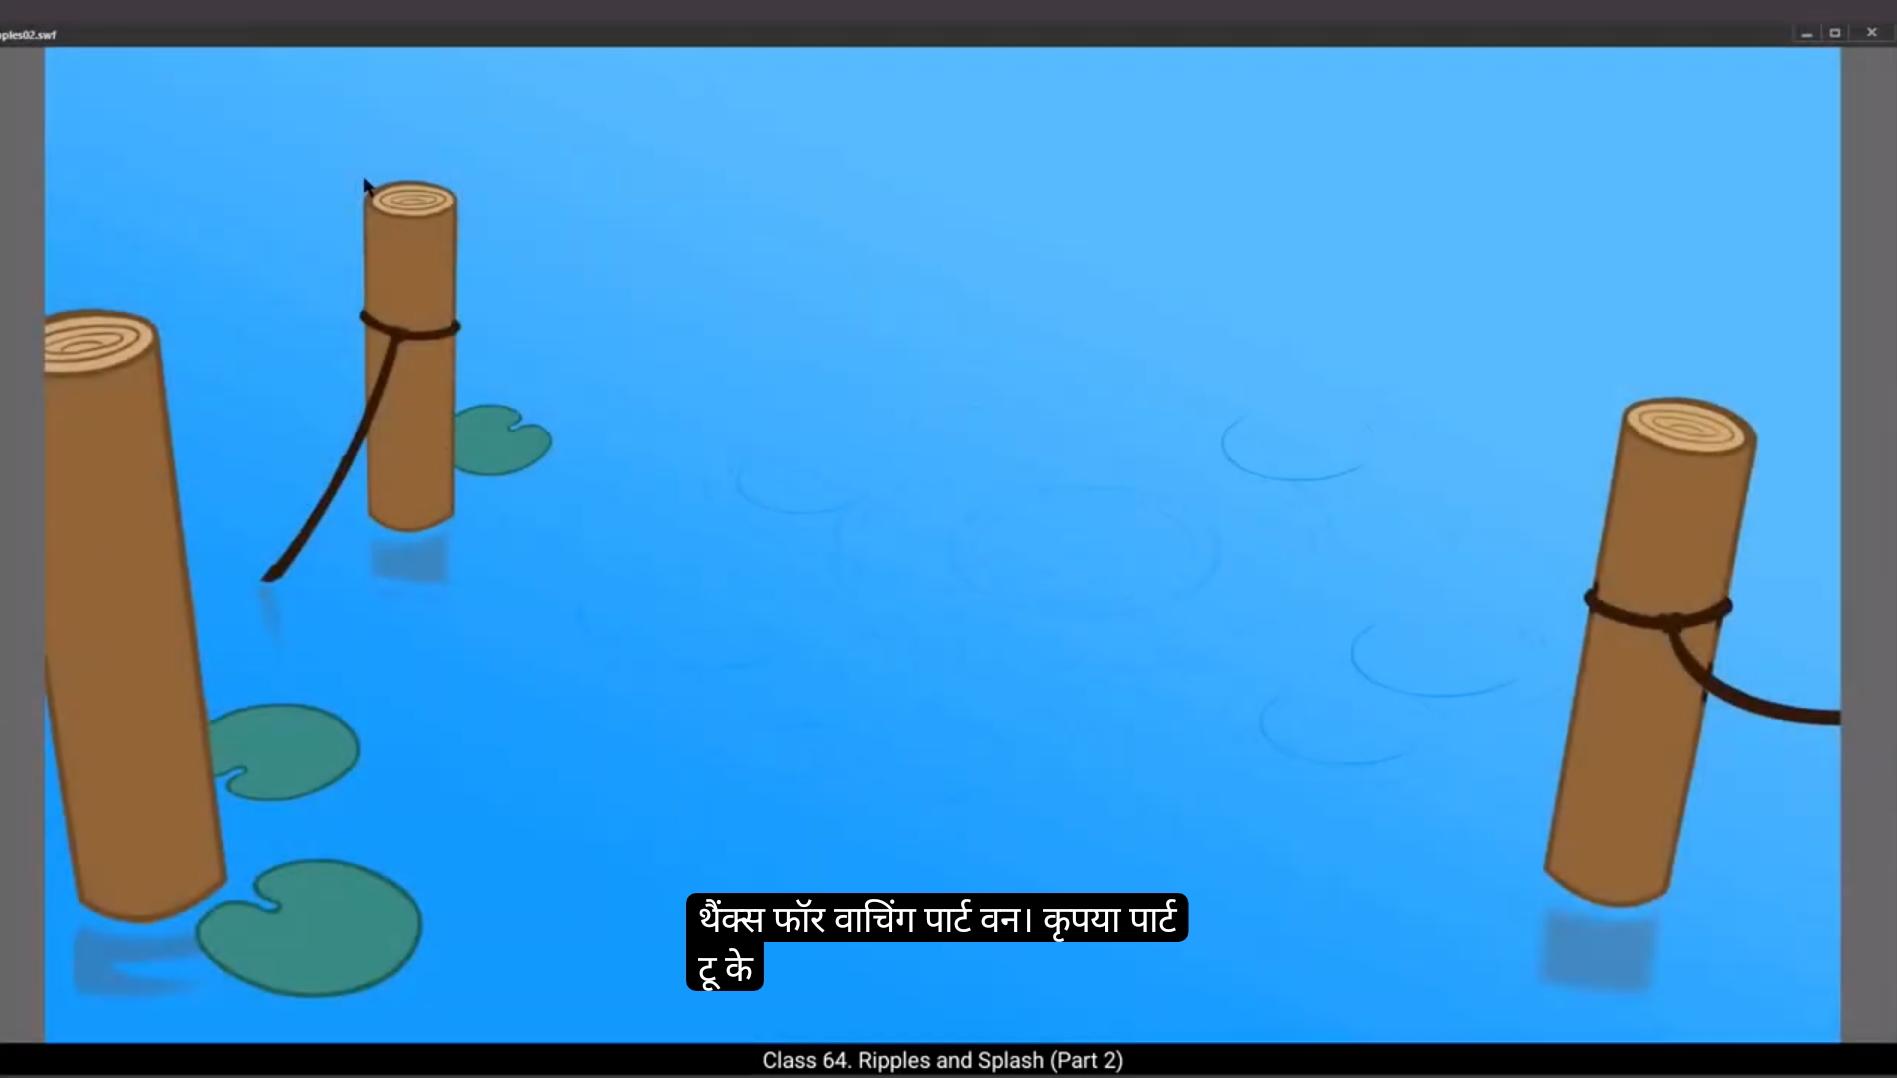
Thanks for watching Part 1.
कृपया Part 2 के लिए हमारे साथ जुड़ें।
Welcome to Part 2 of the Splash and Ripples tutorial.
हम इस tutorial के Part 1 में animated splash से बने हुए ripples को animate करने जा रहे हैं।
आप देखेंगे कि यहाँ हमारे पास पहले से वाली layers मौजूद हैं — Pebble animation और splash animation।
अब हम background layer के ठीक ऊपर एक नई layer add करेंगे, ताकि हम यहाँ अपने ripples animate कर सकें।
बिल्कुल, हम इस layer को ripples ही कहेंगे।
अब हम frame 20 पर जाते हैं और F7 दबाकर एक blank keyframe add करते हैं।
अब हम Oval tool का उपयोग करके ripple का पहला key draw करेंगे।
Oval tool का shortcut O है।
फिर हम Oval shape का fill delete करते हैं और stroke का size बदलते हैं।
यह size बदलने का option दाईं तरफ वाले tab में होता है — Properties, Object, Colour and Style, Stroke Size।
हम stroke size 7 रखते हैं।
हम अपने ripple के इस Oval shape को Scale and Rotate tool का उपयोग करके 40% तक scale down करते हैं।
Shortcut है Control + Alt + S।
अब हम frame 40 पर जाते हैं और इस key पर F6 दबाकर एक keyframe add करते हैं।
हम अपने ripple को Scale and Rotate tool का उपयोग करके 200% तक scale up करते हैं।
Shortcut फिर वही — Control + Alt + S।
हम इसे दूसरी बार भी 200% तक scale करते हैं।
अब हम Ripples layer पर right click करते हैं और drop down menu से Cut Layers चुनते हैं।
इसके बाद हम background layer के ऊपर एक नई layer 12 add करते हैं और उसे ripples कहते हैं।
अब हम Ripples layer पर rectangle tool का उपयोग करके एक rectangle draw करते हैं।
Rectangle tool का shortcut R है।
हम rectangle को select करके F8 का उपयोग करते हुए उसे symbol में convert करते हैं और नाम रखते हैं Ripples।
फिर हम इस symbol को double click करके enter करते हैं।
हम layer one पर right click करते हैं और drop down menu से Paste Layers चुनते हैं।
Layer paste होने के बाद हम layer 1 delete कर देते हैं।
😘
अब हमारे ripples थोड़े-से work area के बाहर paste नज़र आ रहे हैं। हम timeline के ऊपर “Edit Multiple Frames” वाले switch पर जाते हैं। कृपया video देखकर switch की location देखें। फिर हम इस layer के सभी frames select करते हैं और ripple को drag करके सही जगह पर ले जाते हैं, ठीक वैसे ही जैसे video में किया गया है। यह हो जाने के बाद हम multiple frames switch को बंद कर देते हैं।
अब हम एक नई layer add करते हैं और पुरानी layer के frame 40 को Alt key दबाकर नई layer पर drag करते हैं। हम पहली layer को select करते हैं और उसे symbol में convert करते हैं और नाम रखते हैं ripples sub।
अब हम frame 40 पर जाते हैं और F6 दबाकर keyframe add करते हैं। फिर Scale and Rotate tool का उपयोग करके symbol को scale-up करते हैं। Shortcut है Control + Alt + S। हम इसे 600% तक scale करते हैं।
अब हम सबसे ऊपर वाली ripples layer को delete कर देते हैं। कृपया ध्यान दें कि सही layer ही delete हो — जैसा video में दिखाया गया है।
अब हम frame 20 पर जाते हैं और symbol को enter करने के लिए उस पर double-click करते हैं। इसके बाद हम ripple को select करते हैं, Modify → Shape → Convert Lines to Fill चुनते हैं।
अब हम ripples tab पर क्लिक करके symbol से बाहर आते हैं।
हम कुछ random frames select करते हैं जैसा video में दिखा है। इनमें से किसी भी frame पर right-click करके Create Classic Tween select करते हैं।
इसके बाद हम frame 40 से 61 तक सभी frames select करते हैं और Shift + F5 दबाकर delete/clear कर देते हैं।
अब हम frame 20 से 40 तक के सभी frames select करते हैं और इस पूरे selection को drag करके frame 1 पर ले आते हैं।
यह होने के बाद हम ripple पर double-click करके symbol के अंदर जाते हैं और Selection tool, shortcut V का उपयोग करके ripple की shape modify करते हैं। आप Alt key दबाकर इसे नुकीले/pointy shapes दे सकते हैं — कृपया video में दिखाए गए modifications का पालन करें।
😘
अब हम symbol से बाहर आते हैं और frame 6 पर F6 दबाकर एक keyframe बनाते हैं। फिर हम ripple symbol पर right click करते हैं और menu में से Duplicate Symbol चुनते हैं और इसका नाम Ripple Sub One रखते हैं। अब हम symbol में दोबारा enter होकर इसकी shape में कुछ बदलाव करते हैं। कृपया video में बताए गए बदलाव फॉलो करें।
हम इसी process को आगे आने वाले हर alternate frame के साथ करेंगे। इसलिए अब हम symbol से बाहर आते हैं और frame 5 पर एक keyframe add करते हैं, right click करके Duplicate Symbol चुनते हैं और इसका नाम Ripple Sub Two रखते हैं। कृपया video के अनुसार सभी बदलाव करें।
अब हमने Ripple Sub Eight तक ripples add कर दिए हैं, और हम frame 21 तक ripple animation देख सकते हैं। अब हम frame 9 पर जाते हैं। हम Control A दबाकर ripple select करते हैं और अब हम ripple की visibility को धीरे-धीरे कम करेंगे क्योंकि यह frame से आगे move हो रहा है।
हम Properties में Object के अंदर Color Effects पर जाते हैं और drop down menu से Alpha चुनते हैं और Alpha slider को move करके value को 85% पर सेट करते हैं। हम इसी process को हर अगले keyframe के लिए दोहराते हैं और Alpha value को थोड़ा-थोड़ा कम करते जाते हैं ताकि अंतिम keyframe पर Alpha value 0 हो। कृपया video में बताई गई सभी details फॉलो करें।
यह हो जाने के बाद हम video में दिखाए अनुसार Scene 1 tab पर क्लिक करके symbol से बाहर आ जाते हैं। फिर हम Ripples layer पर Keyframe One को select करते हैं और drag करके frame 20 पर ले जाते हैं। अब हम ripple को select करते हैं और Scale and Rotate tool का उपयोग करके symbol को scale up करते हैं। Shortcut है Control Alt S। हम इसे 220% तक scale करते हैं। ऐसा लग रहा है कि इसे थोड़ा कम scale करना चाहिए, इसलिए हम वही tool उपयोग करके इसे 95% तक scale down करते हैं। फिर हम इसे F8 दबाकर symbol में convert करते हैं और इसका नाम Main Ripples रखते हैं। अब हम ripple पर double click करके symbol के अंदर enter होते हैं।
😘
जैसा कि आप वीडियो में देख सकते हैं, हम फ्रेम 40 पर एक कीफ़्रेम ऐड करते हैं और F5 का उपयोग करके फ्रेम्स ऐड करते हैं। फिर हम एक नया लेयर ऐड करते हैं ताकि लेयर वन से कीफ़्रेम वन को सेलेक्ट कर सकें। और Alt key को होल्ड करते हुए, हम इसे लेयर 2 के फ्रेम 5 पर ड्रैग करते हैं, जैसा कि वीडियो में देखा गया है। आप नोटिस करेंगे कि अगला ripple फ्रेम 5 से शुरू होता है। अब हम एक और लेयर 3 ऐड करते हैं और पिछले लेयर से ripple को न्यू लेयर के फ्रेम 10 पर कॉपी करते हैं। हम अब लेयर 4 ऐड करते हैं और पिछले लेयर से ripple को लेयर 4 के फ्रेम 10 पर कॉपी करते हैं। अब हम Scene 1 टैब पर क्लिक करके symbol से बाहर आते हैं और देखते हैं कि हमारी एनीमेशन कैसी दिख रही है। हम अब कुछ छोटे ripples ऐड करने जा रहे हैं जहाँ droplets surface पर गिरते हैं। इसलिए हमने एक नया लेयर बनाया और फ्रेम 20 पर Ripples layer के नीचे से Keyframes को ऊपर वाले Ripples layer पर कॉपी किया है, जैसा कि आप वीडियो में देख सकते हैं। अब हम Control C शॉर्टकट का उपयोग करके ripples को कॉपी कर सकते हैं। अब हम अपने ripples को बिल्कुल सही फ्रेम्स और सही spots पर रखते हैं जहाँ splash के droplets पानी की surface पर गिरते हैं। तो फ्रेम 32 वह फ्रेम है जब सारे droplets पानी में गिरते हैं। और droplets की position मैच करने के लिए, हम Onion Skin option ऑन करते हैं। यह हमें splash के पिछले key drawings का trace दिखाएगा, जो हमें ripples को सही position में रखने में मदद करेगा। कृपया यहाँ वीडियो पर ध्यान दें, ताकि कुछ भी मिस ना हो जाए, हम video में दिखाए अनुसार splash के गिरे हुए droplets के हिसाब से ripples ऐड करते हैं। अब अपनी splash animation layer पर, हम फ्रेम 36 पर F7 का उपयोग करके एक blank keyframe ऐड करते हैं। हम सभी Keyframes पर Alpha भी ऐड करते हैं और फ्रेम 61 पर उसकी value 0 सेट करते हैं ताकि अंत में सारे ripples धीरे-धीरे fade out हों, अचानक बंद ना हो जाएँ। कृपया quick preview के लिए वीडियो देखें। हम frame 61 पर सभी layers में blank keyframe ऐड करते हैं ताकि animation इसी फ्रेम पर रुक जाए।
😘
हमने अपनी ripples animation देखी है, और ऐसा लगता है कि इसमें कुछ changes की ज़रूरत है।
हम अब main ripple पर timing में कुछ changes करने जा रहे हैं।
लगता है हमारा main ripple loop में चलता रहता है और जब रुकना चाहिए तब नहीं रुकता।
तो हम main ripple layer को छोड़कर बाकी सारी layers को lock कर देते हैं।
अब हम इस layer से frame 60 वाला keyframe और frame 61 वाला blank keyframe select करके frame 43 पर drag करते हैं।
अब हम देख सकते हैं कि हमारा main ripple बाकी ripples से पहले रुक जाता है।
अब हम ripple symbol पर double click करके उसके अंदर enter करते हैं।
फिर हम layer 4 को select करके keyboard की delete key दबाकर delete कर देते हैं।
क्योंकि इस समय यह layer redundant है,
अब हम layer 3 पर ripple symbol को select करते हैं।
हम इस animation को loop में चलने से रोकना चाहते हैं।
तो हम properties, object, looping में जाते हैं और तीन buttons में से बीच वाले play graphic once बटन पर click करते हैं, जैसा कि वीडियो में दिखाया गया है।
यह सुनिश्चित करेगा कि हमारा ripple animation सिर्फ एक बार play हो।
अब हम layer 3 को lock करते हैं और layer 1 और layer 2 के symbols के लिए भी यही process करते हैं।
इसके बाद हम layer 2 पर frame 5 वाले पहले keyframe को select करते हैं और उसे drag करके उसी layer के frame 10 पर ले जाते हैं ताकि इस layer की animation frame 10 से start हो।
फिर हम layer 3 वाले keyframe को select करके वीडियो में दिखाए अनुसार frame 15 पर drag करते हैं।
अब हम वीडियो में दिखाए गए Scene 1 tab पर click करके symbol से बाहर आते हैं और Enter key दबाकर अपनी animation देखते हैं।
हमारी Animation अच्छी लग रही है।
अब हम SWF export करते हैं ताकि देख सकें कि हमारी animation कैसी दिख रही है।
उम्मीद है आपको यह helpful लगा, देखने के लिए धन्यवाद।