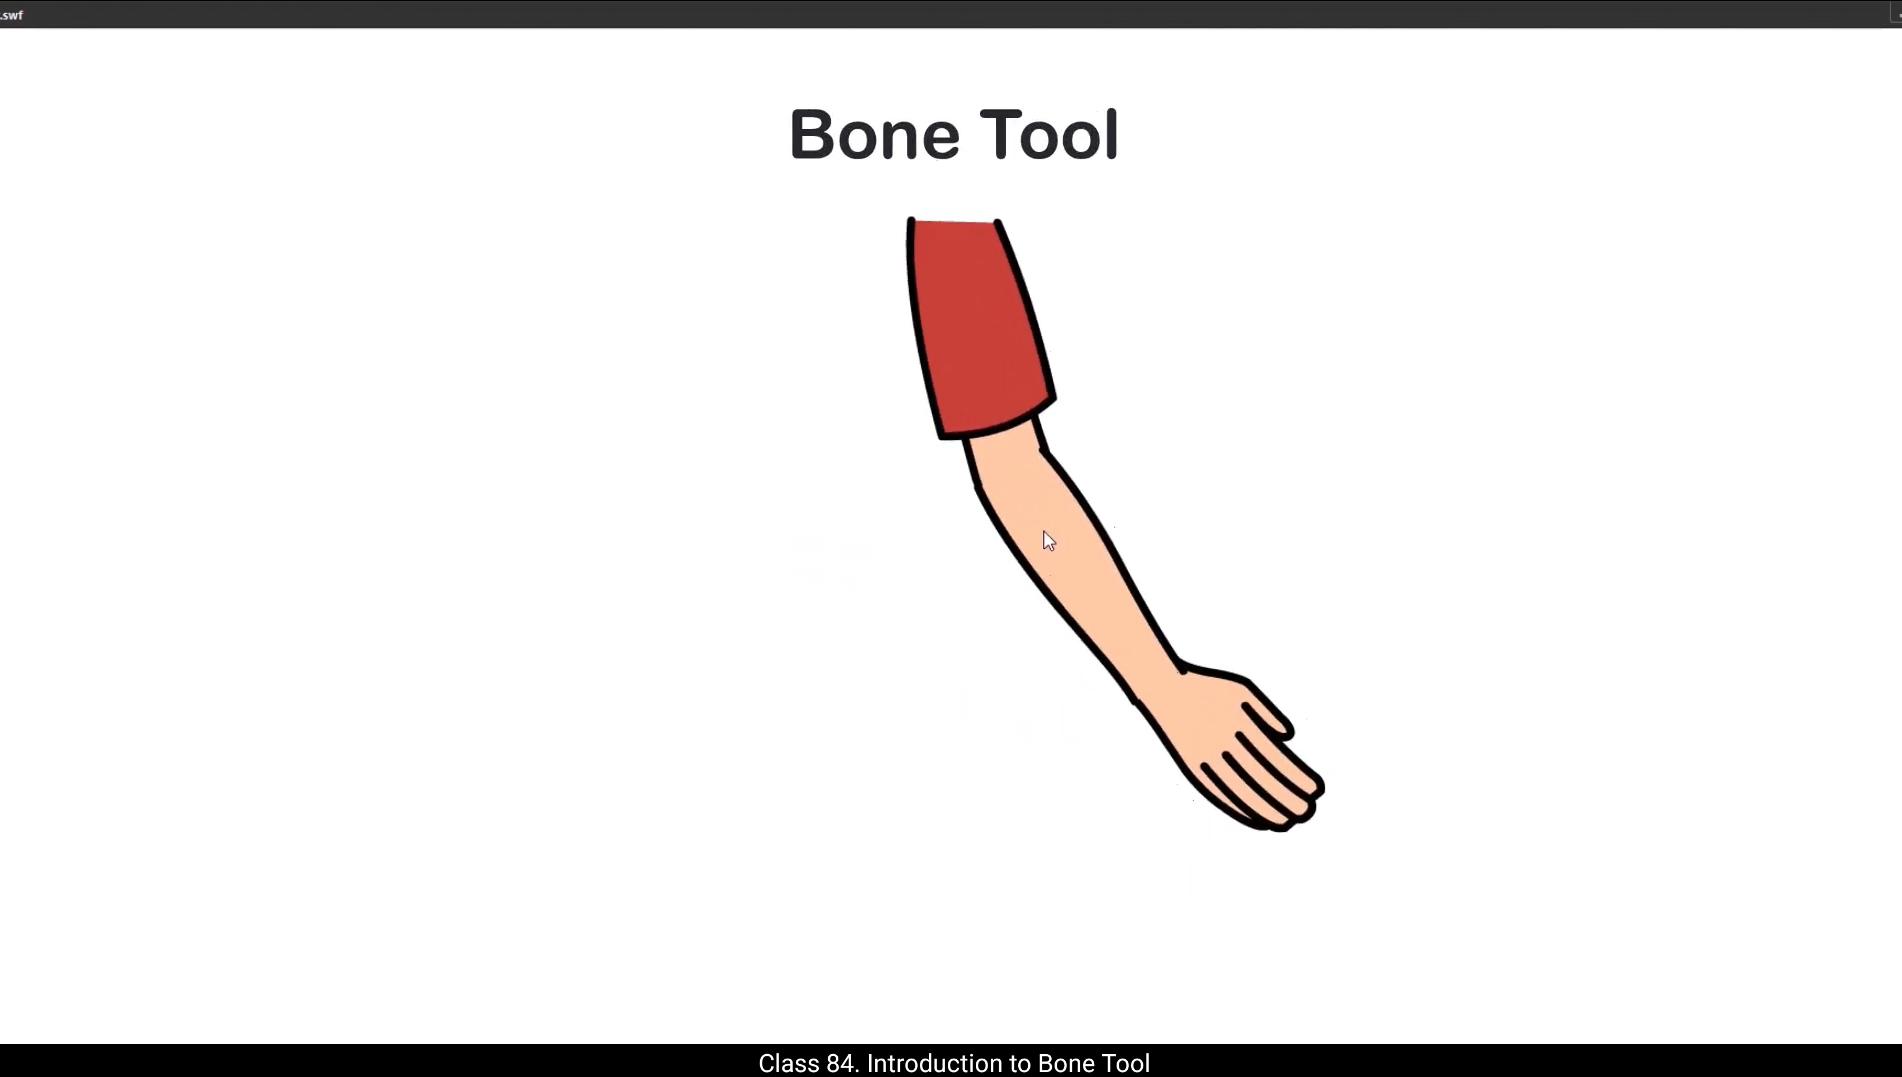
Hello students, in this tutorial we're going to explore one of the most interesting tools in Adobe Animate the Bone tool.This tool allows you to bring life to characters or objects by creating a skeletal structure inside them. This structure is called an armature, and it's made-up of connected bones arranged in a parent child hierarchy, kind of like links in a chain. A bone is essentially a controller that helps deform and move parts of a graphic like arms, legs, or tails.It's located on the left side toolbar. If you don't see it there, just go to Edit toolbar and simply drag the bone tool into place. And if you're looking for the shortcut key, it's the letter M on your keyboard.For this demonstration, I've taken just one arm to show how the bone tool works.This keeps things simple and easy to understand.The bone tool is especially helpful for basic animations. It's ideal when you're animating idle characters, waving hands, robotic arms, or anything that moves in a chain like motion such as tails, tentacles, or even snakes. In short, it's perfect for puppet style animation where characters are built from separate parts like cutouts.But avoid using it for complex actions like walking or running. It struggles with realistic motion and detailed timing for expressive or advanced animation, traditional frame by frame or use advanced rigging techniques.Now an important step. Before using the bone tool, make sure to add a new layer where your parent bone will be placed.On that layer, draw a symbol at the top. This could be a simple circle or any shape. Just remember the bone tool only works with symbols or graphic objects, it doesn't function on raw shapes. 😘 So always convert your drawing into symbol.Before we start applying the bone tool, it's important to make sure that the pivot point of each symbol is properly placed. The pivot point acts like a joint, so if it's not in the correct position, your movements won't look right when the bones are applied.Now let's get started.1st I'll move the forearm to the side, then I'll turn on outline mode.Next, I'll select all the symbols. This helps us clearly see the structure and pivot points of each symbol.Now let's grab the bone tool.You'll notice as I move the cursor near a pivot point, the bone icon turns black. That's your cue. It means the bone tool is ready to be applied from that point. Just click and drag from one pivot point to the next, connecting the bones in order. As soon as the connection is made, you'll notice on the timeline a new layer called armature appears and the original bicep layer disappears.That tells us the new bone structure is now controlling that symbol.Let's continue connecting bones to the rest of the symbols in the chain. As we do this, the individual symbol layers vanish and everything gets grouped under the armature layer.Now you can see there's only one layer visible and all the bones are properly connected. But we're not done yet.Let's talk about animation.If you try to move a symbol using the selection tool, it will move the entire chain and start animating the arm, which we don't want just yet.To reposition parts without animating, you should use the free transform tool. The shortcut for that is Q. So select the free transform tool, click on the symbol you want to adjust and move it to your desired position. Right now you'll notice that the forearm is behind the bicep, but we want it to appear in front. 😘 To fix this, make sure the forearm symbol is selected with the free transform tool. Then press Control and Up Arrow on your keyboard to bring it forward. Use Control Down Arrow to send it back and Control Up Arrow to bring it to the front. Simple as that.Now let's talk about how animation works when you're using the Bone tool. Unlike traditional tween animations, where you insert keyframes and apply tweens between them, the Bone tool works a little differently. You don't need to create tweens manually. Instead, you can simply go to the frame where you want the animation to occur and then move the bones directly. For example, let's go to frame 15.To animate the entire arm, I'll use the selection tool. I'll click and drag the hand symbol, rotating and moving it slightly to create the second pose of an arm swing.Just like that, the position gets recorded at that frame automatically.Now to bring the arm back to its original position and complete the cycle, I'll hold the Alt key on the keyboard, then drag the pose from frame one to frame 30. This copies the original pose, so the animation loops back to the starting point smoothly. And that's how you have a simple arm swing animation using the bone tool.Always remember there should always be a parent bone. Then all other symbols like the bicep, forearm and hand should be connected to this parent in a chain.Now, once the bones are connected and the animation is set, you might want to hide the original parent symbol to keep the animation clean.To do that, select the symbol using the Free Transform tool, go to the Properties panel and under the Color Effects section, choose Alpha and set the value to 0.This makes the symbol completely transparent without deleting it. 😘 Finally, let's add a smoother feel to our animation using Ease in and ease out.To do that, select all the symbols at frame 1 using the selection tool.Then in the Properties panel under the Frame tab, choose the option Simple, Slow and set the Strength value to -70 Apply the same setting on Frame 15 as well. This will add a smooth ease in and ease out effect to the movement.Now, if you look closely, you might notice that the bicep is shifting from its original position as the arm swings.To correct it, simply select the bone line connected to the bicep. When it's selected, the color of the bone line will change, indicating it's active. Now you can adjust the position of the bone so that the bicep stays anchored where you want it.Also, if you don't want the bicep to rotate during animating movement, select that same bone line again. Then head over to the properties panel and under the object tab find the location settings. Change the rotation value to 0. This locks the bones rotation.Now, even if we reposition the arm, the bicep symbol will remain steady and unaffected by the rotation.You can also add in between poses to make the motion more dynamic. For example, at frame 8 I'll slightly change the hands position.Then at frame 23 I'll add a small delay or drag to enhance the motion.These minor changes help add rhythm and depth to your animation. So this is how you can use the bone tool to animate arms, legs, or any body part that moves like a chain.However, keep in mind the motion created by the bone tool often feels robotic or stiff compared to how real body parts move. Let's look at an example. Watch the sleeve and bicep movement during the arm swing. 😘 The bicep remained centered the whole time, but in a real movement, gravity would affect the sleeve, making it barely move while the bicep shifts toward the sleeve's edge during the swing.This kind of realistic motion with overlapping action and gravity can only be captured using tween animation or frame by frame animation.So if you're animating realistic characters, use classic tweens or frame by frame techniques. But if you're working on mechanical motions, puppet style cutouts, or simple chain like movements, the bone tool is a great time saver. I hope this tutorial helped you understand how the bone tool works and how you can use it effectively in your animation workflow.Thanks for watching and as always, keep animating and I'll see you in the next video. 😘😘😘😘😘😘😘😘😘😘😘😘😘😘😘😘😘😘😘😘😘😘😘😘😘😘😘😘😘😘😘😘😘😘😘😘😘😘😘😘 हेलो स्टूडेंट्स, इस ट्यूटोरियल में हम Adobe Animate के सबसे इंटरेस्टिंग टूल्स में से एक, Bone Tool, को एक्सप्लोर करने वाले हैं। यह टूल आपको कैरेक्टर्स या ऑब्जेक्ट्स में जान डालने की सुविधा देता है, उनके अंदर एक skeletal structure बनाकर। इस structure को Armature कहा जाता है, और यह जुड़े हुए bones से बना होता है जो parent-child hierarchy में अरेंज होते हैं, बिल्कुल चेन की links की तरह। एक bone असल में एक controller होता है जो graphic के अलग-अलग parts जैसे arms, legs या tails को deform और move करने में मदद करता है। यह left side के toolbar में मौजूद होता है। अगर आपको यह वहाँ दिखाई नहीं दे, तो बस Edit Toolbar में जाएँ और bone tool को drag करके सही जगह पर रख दें। और अगर आप shortcut key ढूंढ रहे हैं, तो वो आपके keyboard पर M अक्षर है। इस demonstration के लिए, मैंने सिर्फ एक arm लिया है ताकि यह दिखाया जा सके कि bone tool कैसे काम करता है। इससे चीज़ें simple और समझने में आसान रहती हैं। Bone tool खासतौर पर basic animations के लिए बहुत helpful होता है। यह idle characters, waving hands, robotic arms, या किसी भी chain-like motion वाली चीज़ जैसे tails, tentacles, या यहाँ तक कि snakes को animate करने के लिए ideal है। संक्षेप में, यह puppet style animation के लिए perfect है, जहाँ characters अलग-अलग parts से बने होते हैं, जैसे cutouts। लेकिन complex actions जैसे walking या running के लिए इसे avoid करें। यह realistic motion और expressive या advanced animation के लिए जरूरी detailed timing को ठीक से handle नहीं कर पाता, ऐसे मामलों में traditional frame-by-frame animation या advanced rigging techniques का इस्तेमाल करें। अब एक important step। Bone tool इस्तेमाल करने से पहले, यह पक्का कर लें कि आपने एक नया layer add किया है जहाँ आपका parent bone रखा जाएगा। उस layer पर, top में एक symbol draw करें। यह एक simple circle या कोई भी shape हो सकता है। बस ध्यान रखें कि bone tool सिर्फ symbols या graphic objects के साथ ही काम करता है, यह raw shapes पर function नहीं करता। 😘 तो हमेशा अपनी drawing को symbol में convert करें। Bone tool apply करना शुरू करने से पहले, यह बहुत ज़रूरी है कि हर symbol का pivot point सही जगह पर रखा गया हो। Pivot point बिल्कुल joint की तरह काम करता है, इसलिए अगर यह सही position में नहीं होगा, तो bones apply करने के बाद movement सही नहीं दिखेगा। अब चलिए शुरू करते हैं। सबसे पहले मैं forearm को साइड में move करूँगा, फिर outline mode on करूँगा। इसके बाद, मैं सभी symbols को select करूँगा। इससे हमें हर symbol की structure और उसके pivot points साफ़-साफ़ दिखाई देते हैं। अब चलिए bone tool को grab करते हैं। आप notice करेंगे कि जैसे ही मैं cursor को किसी pivot point के पास ले जाता हूँ, bone icon black हो जाता है। यही आपका cue है। इसका मतलब है कि bone tool उस point से apply होने के लिए ready है। बस एक pivot point से दूसरे pivot point तक click और drag करें, और bones को order में connect करते जाएँ। जैसे ही connection बनता है, timeline में आपको एक नया layer दिखाई देगा जिसका नाम Armature होता है, और original bicep layer गायब हो जाती है। इसका मतलब है कि अब नई bone structure उस symbol को control कर रही है। अब इसी तरह chain में बाकी symbols के साथ भी bones connect करते चलते हैं। जैसे-जैसे हम ऐसा करते हैं, individual symbol layers vanish हो जाती हैं और सब कुछ armature layer के अंदर group हो जाता है। अब आप देख सकते हैं कि सिर्फ एक ही layer visible है और सभी bones सही तरीके से connected हैं। लेकिन अभी हमारा काम पूरा नहीं हुआ है। अब animation की बात करते हैं। अगर आप selection tool से किसी symbol को move करने की कोशिश करेंगे, तो पूरा chain move होने लगेगा और arm animate होना शुरू हो जाएगा, जो हम अभी नहीं चाहते। Parts को बिना animate किए reposition करने के लिए, आपको Free Transform Tool का इस्तेमाल करना चाहिए। इसका shortcut key है Q। तो free transform tool select करें, जिस symbol को adjust करना है उस पर click करें, और उसे अपनी desired position में move करें। 😘 इसे ठीक करने के लिए, free transform tool से forearm symbol को select करें, फिर keyboard पर Control और Up Arrow दबाएँ ताकि वह सामने आ जाए। Control Down Arrow से उसे पीछे भेजा जा सकता है और Control Up Arrow से दोबारा front में लाया जा सकता है, बस इतना ही। अब देखते हैं कि Bone tool के साथ animation कैसे काम करती है। Traditional tween animation के उलट, जहाँ keyframes insert करके tween apply किया जाता है, Bone tool थोड़ा अलग तरीके से काम करता है। इसमें आपको manually tween बनाने की ज़रूरत नहीं होती। आपको सिर्फ उस frame पर जाना होता है जहाँ animation चाहिए और सीधे bones को move करना होता है। उदाहरण के लिए, frame 15 पर जाएँ। पूरे arm को animate करने के लिए selection tool का इस्तेमाल करें, hand symbol पर click-drag करें और उसे थोड़ा rotate व move करें ताकि arm swing का दूसरा pose बन सके। इस तरह उस frame पर position automatically record हो जाती है। अब arm को वापस original position में लाने और cycle पूरा करने के लिए keyboard पर Alt key दबाकर frame 1 से pose को frame 30 तक drag करें। इससे original pose copy हो जाता है और animation smoothly loop हो जाती है। इसी तरह Bone tool का उपयोग करके एक simple arm swing animation बनाई जाती है। हमेशा याद रखें कि एक parent bone होना चाहिए और बाकी सभी symbols जैसे bicep, forearm और hand को chain में इसी parent से connect किया जाना चाहिए। Bones connect होने और animation set हो जाने के बाद, animation को clean रखने के लिए original parent symbol को hide किया जा सकता है। इसके लिए free transform tool से symbol select करें, Properties panel में जाएँ, Color Effects सेक्शन के अंदर Alpha चुनें और उसकी value 0 सेट कर दें, इससे symbol delete किए बिना पूरी तरह transparent हो जाता है। 😘 अंत में, animation को ज़्यादा smooth feel देने के लिए ease in और ease out add करते हैं। इसके लिए selection tool से frame 1 पर सभी symbols select करें। फिर Properties panel में Frame tab के अंदर जाकर Simple, Slow option चुनें और Strength value को -70 सेट करें। यही setting frame 15 पर भी apply करें। इससे movement में smooth ease in और ease out effect आ जाएगा। अब अगर आप ध्यान से देखें, तो arm swing के दौरान bicep अपनी original position से shift होता हुआ दिख सकता है। इसे ठीक करने के लिए bicep से connected bone line को select करें। Select होते ही bone line का color change हो जाएगा, जिससे पता चलता है कि वह active है। अब bone की position adjust करें ताकि bicep वहीं anchored रहे जहाँ आप चाहते हैं। अगर आप नहीं चाहते कि animation के दौरान bicep rotate हो, तो उसी bone line को दोबारा select करें, फिर Properties panel में Object tab के अंदर Location settings ढूँढें और rotation value को 0 कर दें। इससे bone की rotation lock हो जाती है। अब arm को reposition करने पर भी bicep symbol steady रहेगा और rotation से प्रभावित नहीं होगा। आप motion को और dynamic बनाने के लिए in-between poses भी add कर सकते हैं, जैसे frame 8 पर hand की position थोड़ा change करना और frame 23 पर हल्का सा delay या drag add करना। ये छोटे-छोटे बदलाव animation में rhythm और depth लाते हैं। इसी तरह bone tool का इस्तेमाल करके arms, legs या किसी भी chain-like movement वाले body part को animate किया जा सकता है। लेकिन ध्यान रखें कि bone tool से बनी motion अक्सर real body movement की तुलना में थोड़ी robotic या stiff लग सकती है, जैसे arm swing के दौरान sleeve और bicep की movement में दिखाई देता है। 😘 पूरे समय bicep center में ही रहा, लेकिन real movement में gravity sleeve को affect करती है, जिससे sleeve बहुत कम move होती है और swing के दौरान bicep sleeve के edge की तरफ shift होता है। इस तरह की realistic motion, जिसमें overlapping action और gravity शामिल होती है, सिर्फ tween animation या frame-by-frame animation से ही capture की जा सकती है। इसलिए अगर आप realistic characters animate कर रहे हैं, तो classic tweens या frame-by-frame techniques का इस्तेमाल करें। लेकिन अगर आप mechanical motions, puppet style cutouts या simple chain-like movements पर काम कर रहे हैं, तो bone tool बहुत बड़ा time saver साबित होता है। उम्मीद है यह tutorial आपको bone tool के काम करने के तरीके और उसे अपने animation workflow में effectively इस्तेमाल करने में मददगार रहा होगा। देखने के लिए धन्यवाद, और हमेशा की तरह animate करते रहें, मैं आपसे अगली वीडियो में मिलूँगा।