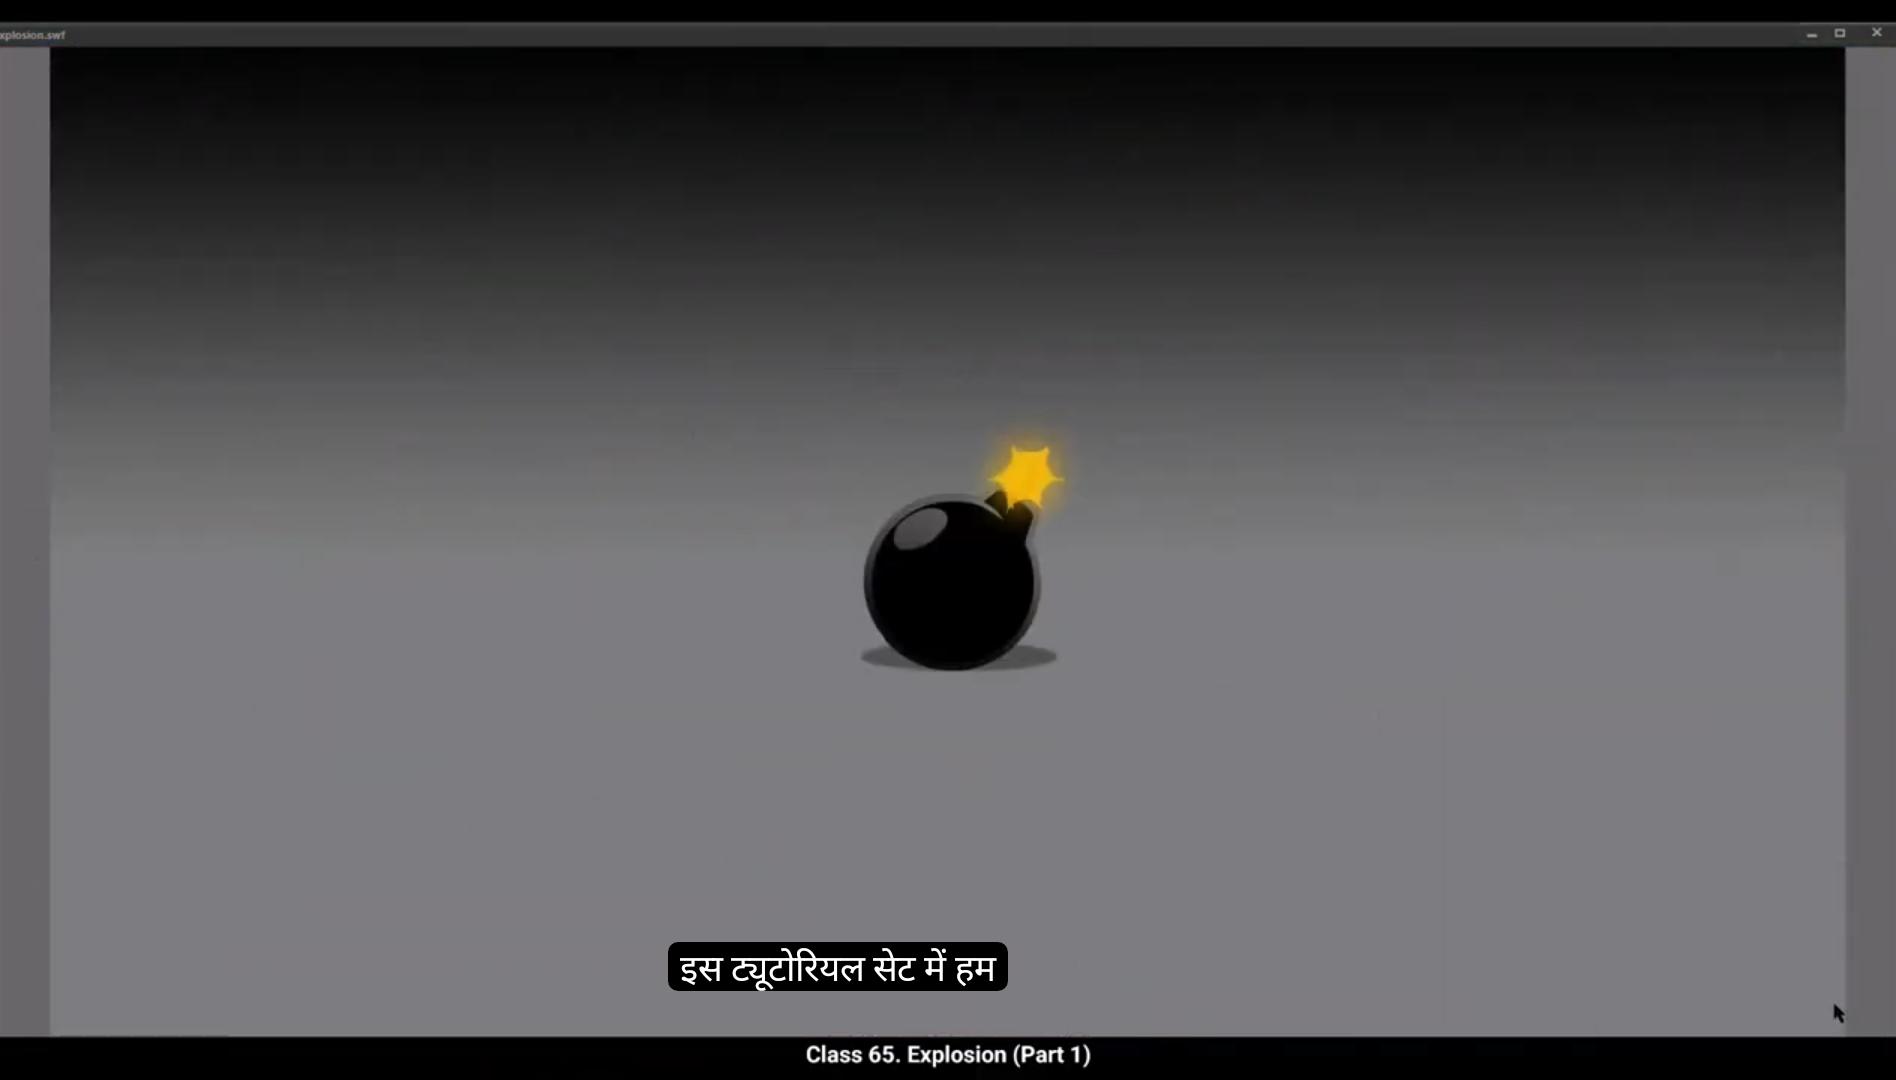
In this set of tutorials we are going to animate an explosion.There are going to be 3 parts to this tutorial. Welcome to Part 1.We are not only going to use the technique in Adobe Animate, but we are also going to use a whole lot of key drawings done in the traditional way to get a good explosion effect. In this part, we are going to animate a lit bomb with a spark on its Wick. As you can see, we have 3 layers here. We have background with a gradient which we call PG. We have a layer named wig and the topmost layer is the bomb.You will notice that we have extended our timeline 100 frames.They've done this by selecting frame 100 and using F5 to add frames. We will now add a new layer four and call it sparks. let's Quickly animate for the sparks.We go to frame one and start drawing the spark as seen in the video. We use the brush tool for this, for which the shortcut is B.We've added a yellow fill to it by using the paint bucket tool, the shortcut for which is K. We now select the spark shape and convert it to a symbol using F8 and call it Spark. Next we enter the symbol by double clicking on the spark shape. We then select frame 3 and add a black keyframe using F7. Please draw the keyframe as seen in the video.We now select frame 4 and add a frame using F5. Then we exit the symbol by clicking on the Scene 1 tab as seen in the video. Let's do a quick preview by pressing the Enter key. We'll notice that the spark is animated now. We now add keyframe on frame 10 using F6. We add another keyframe on frame 25. We now zoom in a little on the bomb and move the spark down on frame 25. Please see the video for clear position.We then select few frames randomly between frame 10 and 25.
😘
Now click on Anyone and choose Create Classic Tween from the drop down menu. We then add a blank keyframe on frame 27 using F7.Next, we go to Filters, which is on the tab at the right of our work area. It's in Properties, frame Filters, and we choose Glow from the drop down menu as seen in the video. There we choose yellow from the color box. We keep the quality at high and the value for the X&Y axis will be 30.A quick preview by pressing the enter key will show us the glow added to our animation. We add a new layer above the Wick layer and we call it mask.We now hide the spark layer and also the bomb layer. We now draw a rectangle on the mask layer using the rectangle tool. The shortcut for which is are. Then we delete the outline and then using the selection tool the shortcut is V We modify the shape of our newly created rectangle so that it matches the shape of the Wick exactly as seen in the video. Remember to switch off the snap tool object tool so it will be easier to modify the shape of the rectangle.Please see the video to locate it. We now move the first keyframe on the mask layer to 10th frame on the same layer as seen in the video. We then add a keyframe on frame 25 on the same layer as seen in the video again.Then we select some frames between frame 10 and frame 25 at random, right click and choose the Create Shape tween from the menu that shows.You will notice that our mask shape is animated, but it still needs to be refined to match the shape with the Wick. So we add a keyframe on frame 17 and we modify the shape of the mask using the selection tool as seen in the video. We now right click on the mask layer and choose mask from the drop down menu.
😘
You will notice that the Wick is being whipped out in the preview.We now zoom out and unhide the layers.We add a new layer 6 on top of the bomb layer and we hide the spark layer. Then we add a keyframe at frame 10 and we draw a rectangle again using the rectangle tool. The shortcut is R We change the colour of the rectangle to dark grey. Please see the video to locate the colour box. And we modify the shape of the rectangle to match the shape of the Wick exactly as we've done earlier.We now lock all the layers and do a quick preview of our animation. You will notice that when the spark moves down the wake we see a burnt Wick in the end. So we call the new layer 6 burnt Wick. This looks like we are doing OK. Next we add a new layer on top of the burnt Wick layer and call it BG two. We go to frame 35 and add a keyframe there using F6 and we import a new background from the library. Shortcut is control L The file we import is called Explosion under score Hole in the ground. You will be able to track all this in the video. Once This background file is imported to our work area. We position it as seen in the video and we lock the layer called BG 2.Once this background is positioned, we add a blank keyframe at frame 35 on the bomb layer. We do the exact same process for all the other layers as seen in the video.
इस ट्यूटोरियल सेट में हम एक explosion animate करने जा रहे हैं।
यह ट्यूटोरियल कुल 3 पार्ट में होगा।
पार्ट 1 में आपका स्वागत है।
हम Adobe Animate की technique के साथ-साथ traditional तरीके से बनाए हुए key drawings भी use करने वाले हैं ताकि explosion का अच्छा effect मिले।
इस पार्ट में हम एक जलता हुआ बम animate करेंगे जिसकी wick पर spark होगा।
जैसा कि आप देख सकते हैं, हमारे पास यहाँ 3 layers हैं।
एक background layer है जिसमें gradient है जिसे हम BG कहते हैं।
एक layer wick नाम से है और सबसे ऊपर वाली layer bomb है।
आप notice करेंगे कि हमने अपनी timeline को 100 frames तक extend किया हुआ है।
यह हमने frame 100 select करके और F5 दबाकर किया है।
अब हम एक नया layer 4 add करते हैं और इसे sparks कहते हैं।
अब जल्दी से spark animate करते हैं।
हम frame 1 पर जाते हैं और वीडियो में दिखाई अनुसार spark draw करना शुरू करते हैं।
इसके लिए हम brush tool का इस्तेमाल करते हैं, जिसका shortcut B है।
हमने इसमें paint bucket tool K का इस्तेमाल करके yellow fill add किया है।
अब हम spark shape select करते हैं और इसे symbol में convert करते हैं, shortcut F8, और इसे Spark नाम देते हैं।
अब हम spark shape पर double click करके symbol के अंदर enter करते हैं।
हम frame 3 select करते हैं और F7 दबाकर blank keyframe add करते हैं।
कृपया वीडियो में दिखाए अनुसार keyframe draw करें।
अब हम frame 4 select करते हैं और F5 से एक frame add करते हैं।
फिर हम Scene 1 tab पर click करके symbol से बाहर आते हैं।
अब Enter दबाकर एक quick preview देखते हैं।
हम notice करेंगे कि spark अब animate हो रहा है।
अब हम frame 10 पर F6 से एक keyframe add करते हैं।
हम frame 25 पर भी एक और keyframe add करते हैं।
अब हम bomb पर थोड़ा zoom करते हैं और frame 25 पर spark को नीचे move करते हैं।
कृपया position के लिए वीडियो देखें।
फिर हम frame 10 और 25 के बीच के कुछ random frames select करते हैं।
😘
अब हम किसी भी frame पर क्लिक करते हैं और drop down menu से Create Classic Tween चुनते हैं।
फिर हम frame 27 पर जाकर F7 से एक blank keyframe add करते हैं।
अब हम Filters में जाते हैं, जो हमारे work area के दाईं तरफ Properties → Frame Filters में होता है।
हम drop down menu से Glow चुनते हैं जैसा कि वीडियो में दिखाया गया है।
वहाँ हम color box से yellow चुनते हैं।
हम quality को high रखते हैं और X & Y axis की value 30 रखते हैं।
Enter दबाकर एक quick preview लेने पर हमें animation में glow नज़र आएगा।
अब हम Wick layer के ऊपर एक नया layer add करते हैं और उसे mask कहते हैं।
हम spark layer और bomb layer को hide कर देते हैं।
अब हम mask layer पर rectangle tool (shortcut R) से एक rectangle draw करते हैं।
फिर हम उसका outline delete कर देते हैं और selection tool (shortcut V) से rectangle की shape modify करते हैं ताकि वह Wick की shape से exactly match हो, जैसा वीडियो में दिखाया गया है।
ध्यान रखें कि snap tool object tool को off कर दें, ताकि rectangle modify करना आसान हो सके।
वीडियो देखकर snap tool की location समझें।
हम mask layer के पहले keyframe को drag करके 10th frame पर ले जाते हैं, जैसा वीडियो में दिखाया गया है।
फिर हम frame 25 पर एक और keyframe add करते हैं, उसी layer पर।
अब हम frame 10 और frame 25 के बीच के कुछ random frames select करते हैं, right click करते हैं और menu से Create Shape Tween चुनते हैं।
आप notice करेंगे कि mask shape animate हो गया है, लेकिन Wick की shape से बिल्कुल match नहीं हो रहा।
इसलिए हम frame 17 पर एक keyframe add करते हैं और selection tool से mask की shape modify करते हैं, जैसा वीडियो में दिखाया गया है।
अब हम mask layer पर right click करते हैं और drop down menu से Mask चुनते हैं।
😘
आप notice करेंगे कि preview में Wick whip होती हुई दिखाई दे रही है।
अब हम zoom out करते हैं और सभी layers को unhide करते हैं।
हम bomb layer के ऊपर एक नया layer 6 add करते हैं और spark layer को hide कर देते हैं।
फिर हम frame 10 पर एक keyframe add करते हैं और rectangle tool (shortcut R) से दोबारा rectangle draw करते हैं।
हम rectangle का colour dark grey कर देते हैं। वीडियो में colour box की location देख सकते हैं।
और हम rectangle की shape modify करते हैं ताकि Wick की shape से exactly match हो, जैसा हमने पहले किया था।
अब हम सभी layers को lock करते हैं और animation का quick preview लेते हैं।
आप notice करेंगे कि जैसे ही spark Wick पर move करता है, अंत में हमें एक burnt हुई Wick दिखाई देती है।
इसलिए हम नए layer 6 को burnt Wick कहते हैं।
ये देखकर लगता है कि हम ठीक जा रहे हैं।
अब हम burnt Wick layer के ऊपर एक नया layer add करते हैं और उसे BG 2 कहते हैं।
हम frame 35 पर जाकर F6 से एक keyframe add करते हैं और library से नया background import करते हैं। shortcut है Control + L
जो file हम import करते हैं उसका नाम Explosion_Hole in the ground है। वीडियो में आप इसे clearly track कर पाएंगे।
जब ये background file हमारे work area में import हो जाती है, हम इसे वीडियो में दिखाई गई position के अनुसार place करते हैं और BG 2 नाम के layer को lock कर देते हैं।
इस background को position करने के बाद, हम bomb layer पर frame 35 पर एक blank keyframe add करते हैं।
हम बिल्कुल यही process बाक़ी सभी layers पर भी करते हैं, जैसा वीडियो में दिखाया गया है।