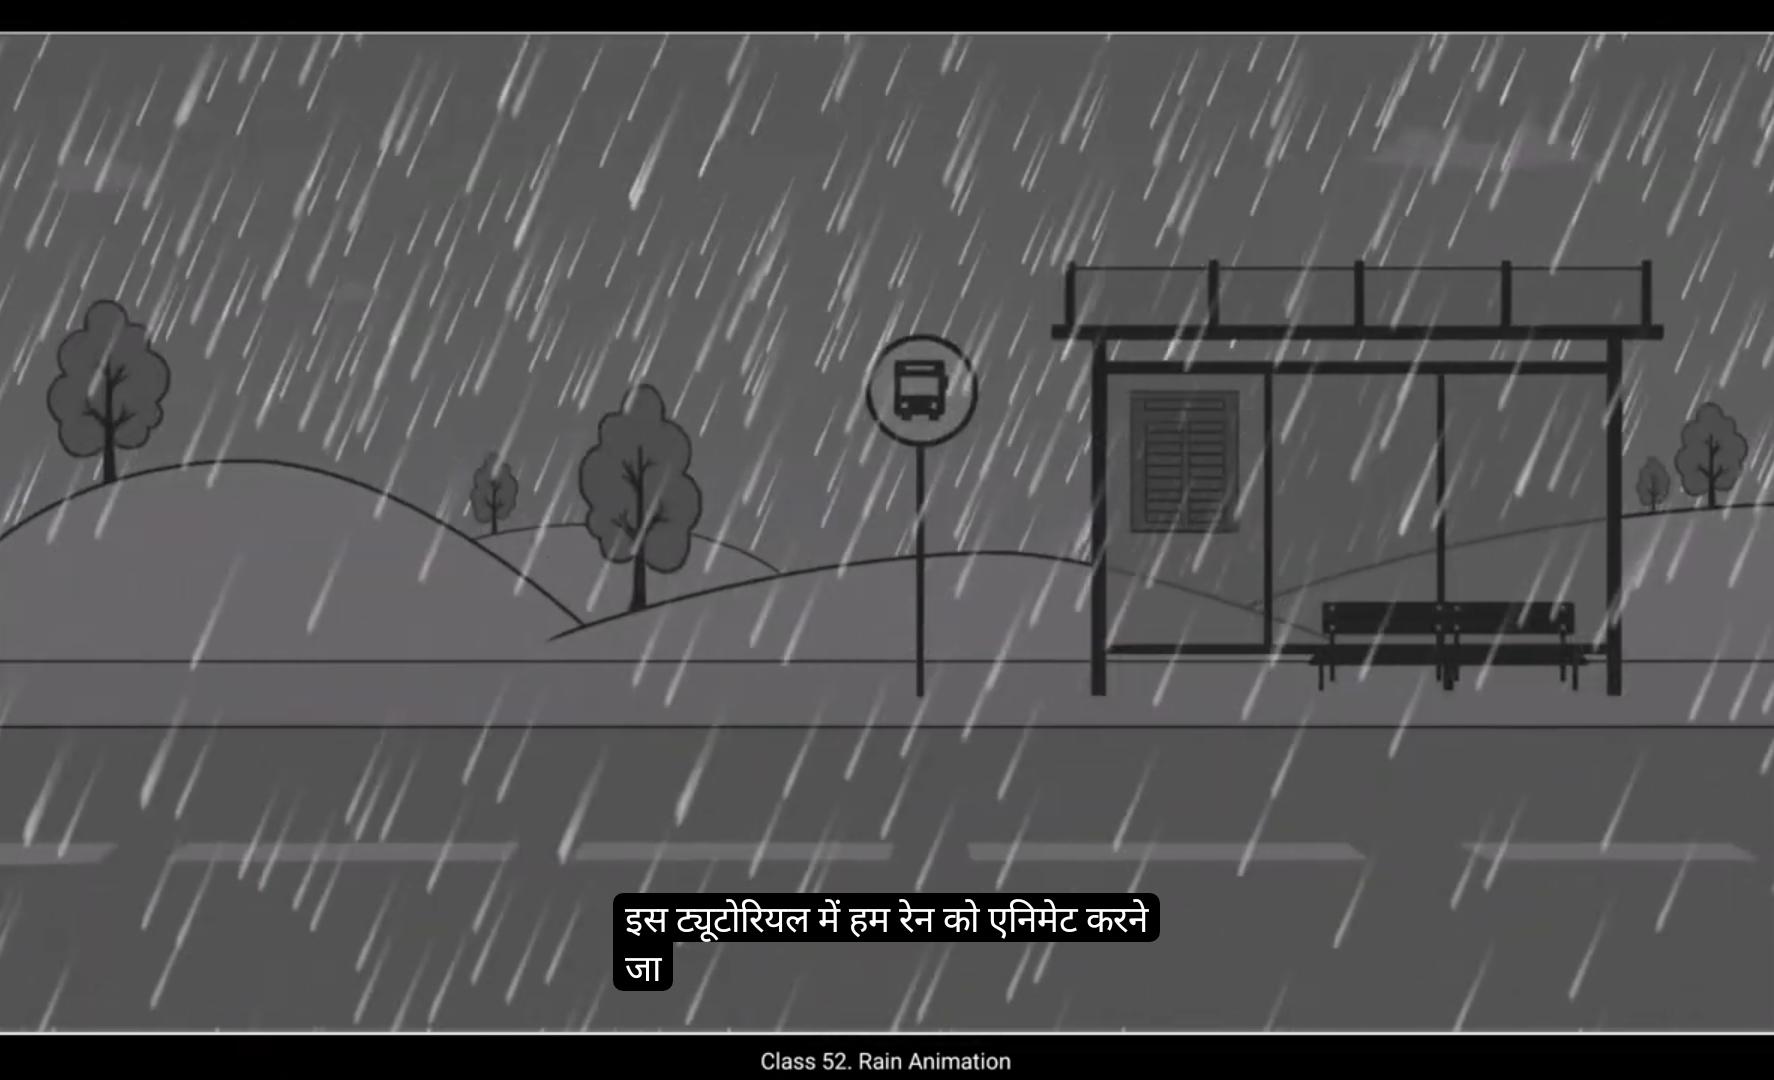
In this tutorial we are going to animate rain.You can see that we've already created 3 layers. There's an underlay and overlay and another layer which we call rain.We start by drawing a circle on the green layer using the Oval tool. The shortcut is O. Please remember to hold down the shift key while drawing the circle so that the circle remains proper and doesn't become an ellipse. Also remember to keep both the other layers locked. We now zoom in on the circle that we've drawn and we are now going to modify the circle into the shape of a falling raindrop. We do this by using the selection tool. The shortcut is V. Please follow.The modifications as they're done in the video.
Once the shape is done, we select it and convert it into a symbol using F8. Next we move our raindrop over to the top side of our work area.We then squwe with using the transform tool. As seen in the video, the shortcut for the transform tool is Q. Once this is done, we again convert our raindrop to a new symbol by selecting it and using F8 and we call it drop.We then enter the symbol by double clicking it. We extend the timeline here to frame 10 by selecting it and using F5 to add frames.
We also add a keyframe on frame 10 using F6, then on keyframe 2 add frame 10 which we've just created. We move our raindrop down and outside the work area again as seen in the video. We then select some frames in between the 1st and the last keys. Right click on anyone and choose Create Classic Tween from the menu that appears. A quick preview shows us our raindrop moving down.We now exit the symbol by clicking on the scene 1 tab as seen in the video. We are again convert our symbol to another symbol by selecting it and using F8 and we call this main rain.
We again extend our timeline here up to 10 frames by selecting frame 10 and adding frames by using F5. After this we enter this main range symbol and extend our timeline till frame 10 again as we've done earlier. We then exit the symbol. Here we select our raindrop symbol and convert it to a symbol again and call it rain. We now enter into the rain symbol and extend our timeline to frame 10, as we've been doing inside other symbols. We then select our raindrop symbol here and start duplicating it several times as seen in the video.
We exit the rain symbol by clicking on the scene 1 tab.We convert the raindrop symbol here to a new symbol by selecting it and using F8 and we call it Rain one. Again. We enter our rain symbol by double clicking it and just like before, we extend the timeline to frame 10. We duplicate our group of raindrops by selecting them and using control D.
Please follow the video for how many duplicates do we may and how to place them.
We enter any one of the symbols by double clicking it and enter the main symbol of that group by double clicking it again. As seen in the video, we zoom closer so we can see a single raindrop close enough.We are going to add a gradient to each raindrop. So we select a raindrop. Thendd a gradient to each raindrop. So we select a raindrop. Thent to the Properties tab. Please see the video to locate it. Once there, we click on the Solid color option and choose Linear Gradient from the drop down menu.Please adjust the gradient as seen in the video. We select the Swatch on the right and reduce the alpha to 0. Please follow the video carefully. Once this is done, we select our raindrop and adjust the gradient as seen in the video using the Gradient Transform tool. The shortcut is F.
We now select our raindrop, go back to the color palette, select the Swatch and the left, and set the alpha to 70.Next we exit all the symbols till we reach the rain one symbol.As seen in the video, we do a quick preview here and exit the symbol by clicking on the Scene 1 tab. Here we select the rain symbol and go to the Properties object and click on the Movie Clip option and choose Graphic instead from the drop down menu.We then convert the range symbol into a symbol by using F8. When the naming dialog box appears, we click on the movie clip which is the current selected option, and we choose graphic from the drop down menu instead. We then click on the registration right next to it. Then we name our symbol, Mainrain one. We then enter the symbol and extend our timeline to frame 10 as we've done with the other symbols before. We then copy our symbol and duplicate it using Control D. We then.Select the symbol and go to Color Effect and Properties object. We select alpha and reduce the value to 70% using the slider there. Next we add a new layer above the under layer and call it Rain 2. Then we go to the rain layer, copy the rain symbol from this layer. Then we lock this layer, go back to the newly created rain 2 layer and place the symbol there using Control Shift V which is based in place.
We are now going to scale the symbol down using the Scale and rotate tool. The shortcut is Control Alt S. We scale it down to 60% as seen in the video. A quick preview shows us that we are not quite there yet. A few changes will improve things. It would be good idea to follow them as they're done in the video. Exactly.
We can add more rain symbols inside by entering the main symbol and duplicating it using Control D There's virtually no limit to the number of duplicates we can make.
Once you followed all the steps in the video, we go to properties, Frame filters and we choose blur from the drop down menu. We set the quality to high and the values of the X&Y axis will be two.Let us now do a proper preview using control enter as always.Hope you found this tutorial helpful. Thank you for watching.
इस ट्यूटोरियल में हम rain को animate करने जा रहे हैं। आप देख सकते हैं कि हमने पहले से ही 3 layers बनाई हुई हैं — एक underlay, एक overlay, और तीसरी layer है जिसे हम rain कहते हैं।
हम शुरुआत करते हैं एक circle ड्रॉ करके green layer पर, इसके लिए हम Oval Tool का इस्तेमाल करेंगे। इसका shortcut है O। ध्यान रखें कि जब आप circle बना रहे हों, तो Shift key दबाकर रखें ताकि आपका circle perfectly गोल बने और ellipse न बन जाए। साथ ही यह भी याद रखें कि बाकी दोनों layers को lock रखें।
अब हम अपने बनाए हुए circle पर zoom in करते हैं और उसे falling raindrop के shape में modify करने जा रहे हैं। इसके लिए हम Selection Tool का इस्तेमाल करेंगे, जिसका shortcut है V। कृपया वीडियो में दिखाए गए modifications को ध्यान से follow करें।
जब shape तैयार हो जाती है, तो हम उसे select करते हैं और F8 दबाकर symbol में convert कर देते हैं। इसके बाद हम अपनी raindrop को work area के upper side पर ले जाते हैं।
अब हम Transform Tool का इस्तेमाल करके drop को थोड़ा squash और stretch करते हैं ताकि वो गिरती हुई बूंद जैसी दिखे। जैसा कि वीडियो में दिखाया गया है, Transform Tool का shortcut है Q।
यह हो जाने के बाद, हम फिर से अपनी raindrop को F8 दबाकर एक नए symbol में convert करते हैं और इसका नाम रखते हैं Drop।
अब हम इस symbol के अंदर double click करके enter करते हैं। यहाँ हम timeline को frame 10 तक बढ़ाते हैं — इसके लिए frame 10 select करके F5 दबाते हैं ताकि frames add हो जाएँ।
अब हम frame 10 पर एक keyframe जोड़ते हैं — इसके लिए F6 दबाते हैं। फिर हम keyframe 2 और frame 10 को select करते हैं और अपनी raindrop को नीचे की ओर move करते हैं, work area के बाहर तक — जैसा कि वीडियो में दिखाया गया है।
अब हम पहले और आखिरी keyframe के बीच कुछ frames select करते हैं, किसी भी frame पर right click करते हैं और जो menu खुलता है उसमें से Create Classic Tween चुनते हैं।
एक quick preview दिखाता है कि हमारी raindrop अब नीचे गिर रही है।
अब हम Scene 1 tab पर क्लिक करके symbol से बाहर निकलते हैं, जैसा कि वीडियो में दिखाया गया है।
हम अपने इस symbol को फिर से एक नए symbol में convert करते हैं — इसके लिए उसे select करके F8 दबाते हैं, और इसका नाम रखते हैं Main Rain।
हम यहाँ अपनी timeline को फिर से 10 frames तक बढ़ाते हैं, इसके लिए frame 10 select करके F5 दबाते हैं ताकि frames add हो जाएँ। इसके बाद हम Main Rain symbol के अंदर enter करते हैं और timeline को फिर से frame 10 तक extend करते हैं, बिल्कुल वैसे ही जैसे हमने पहले किया था। फिर हम symbol से बाहर निकलते हैं।
यहाँ हम अपने raindrop symbol को select करते हैं और उसे फिर से एक symbol में convert करते हैं, इसके लिए F8 दबाते हैं, और इसका नाम रखते हैं Rain। अब हम Rain symbol के अंदर enter करते हैं और यहाँ भी timeline को frame 10 तक बढ़ाते हैं, जैसे हमने बाकी symbols में किया था।
अब हम अपने raindrop symbol को select करते हैं और उसे कई बार duplicate करते हैं, जैसा कि वीडियो में दिखाया गया है।
इसके बाद हम Rain symbol से बाहर निकलते हैं — इसके लिए Scene 1 tab पर क्लिक करते हैं। अब हम अपने raindrop symbol को फिर से select करके F8 दबाते हैं और इसे एक नए symbol में convert करते हैं जिसका नाम रखते हैं Rain One।
फिर से, हम अपने Rain symbol के अंदर double click करके enter करते हैं, और पहले की तरह timeline को frame 10 तक extend करते हैं। अब हम अपने raindrops के group को select करते हैं और Control D दबाकर duplicate करते हैं।
कृपया ध्यान से वीडियो देखें कि हमें कितने duplicates बनाने हैं और उन्हें कहाँ place करना है।
अब हम किसी भी एक symbol पर double click करके enter करते हैं, और फिर उस group के main symbol के अंदर double click करके जाते हैं। जैसा कि वीडियो में दिखाया गया है, हम zoom in करते हैं ताकि एक single raindrop को करीब से देखा जा सके।
अब हम हर raindrop पर gradient जोड़ने जा रहे हैं। इसके लिए हम raindrop को select करते हैं, फिर color palette में जाते हैं, जो Properties tab के बाईं ओर vertical tab पर होती है। कृपया वीडियो में देखें कि यह कहाँ स्थित है।
वहाँ पहुँचने के बाद, हम Solid color option पर क्लिक करते हैं और drop down menu से Linear Gradient चुनते हैं। अब gradient को वीडियो में दिखाए अनुसार adjust करते हैं।
हम right side वाले swatch को select करते हैं और उसकी alpha value को 0 पर सेट करते हैं। कृपया इस हिस्से को वीडियो में ध्यान से follow करें।
यह हो जाने के बाद, हम अपने raindrop को select करते हैं और Gradient Transform Tool का इस्तेमाल करके gradient adjust करते हैं, जिसका shortcut है F।
अब हम अपने raindrop को select करते हैं, फिर color palette में वापस जाते हैं, वहाँ left side वाले swatch को select करते हैं और alpha value को 70 पर सेट करते हैं।
इसके बाद हम सारे symbols से बाहर निकलते हैं जब तक कि हम Rain One symbol तक नहीं पहुँच जाते, जैसा कि वीडियो में दिखाया गया है। यहाँ हम एक quick preview करते हैं और फिर Scene 1 tab पर क्लिक करके symbol से बाहर निकलते हैं।
अब हम Rain symbol को select करते हैं और Properties > Object में जाकर Movie Clip option पर क्लिक करते हैं, और drop down menu से Graphic चुनते हैं।
फिर हम Rain symbol को एक नए symbol में convert करते हैं, इसके लिए F8 दबाते हैं। जब naming dialog box खुलता है, तो हम Movie Clip (जो अभी selected है) की जगह Graphic चुनते हैं, और फिर registration box के बगल में क्लिक करते हैं।
अब हम अपने symbol का नाम रखते हैं MainRain One।
फिर हम symbol के अंदर enter करते हैं और timeline को frame 10 तक extend करते हैं, जैसा कि हमने बाकी symbols में किया था।
अब हम अपने symbol को copy करते हैं और Control D दबाकर duplicate करते हैं। इसके बाद हम symbol को select करते हैं, फिर Properties > Object > Color Effect में जाकर Alpha option चुनते हैं और slider का इस्तेमाल करके alpha value को 70% तक घटाते हैं।
इसके बाद हम under layer के ऊपर एक नया layer जोड़ते हैं और उसका नाम रखते हैं Rain 2।
फिर हम Rain layer पर वापस जाते हैं, वहाँ से Rain symbol को copy करते हैं, और इस layer को lock कर देते हैं। अब हम नई बनाई हुई Rain 2 layer पर वापस जाते हैं और वहाँ Control Shift V दबाकर symbol को paste in place करते हैं।
अब हम symbol को scale down करने जा रहे हैं इसके लिए हम Scale and Rotate tool का इस्तेमाल करेंगे। इसका shortcut है Control + Alt + S। हम इसे 60% तक scale down करते हैं, जैसा कि वीडियो में दिखाया गया है।
एक quick preview से हमें पता चलता है कि हम अभी पूरी तरह वहाँ तक नहीं पहुँचे हैं। कुछ छोटे बदलाव करने से animation और बेहतर हो जाएगा। इसलिए यह अच्छा रहेगा कि आप वीडियो में दिखाए गए steps को बिल्कुल वैसे ही follow करें।
अब हम main symbol के अंदर जाकर और अधिक rain symbols जोड़ सकते हैं, इसके लिए हम Control + D दबाकर symbol को duplicate करते हैं। आप चाहें तो कई सारे duplicates बना सकते हैं, इसकी कोई limit नहीं है।
जब आप वीडियो में बताए गए सारे steps follow कर लेंगे, तब हम Properties > Frame Filters में जाते हैं और drop-down menu से Blur option चुनते हैं।
यहाँ हम Quality को High पर सेट करते हैं और X और Y axis दोनों की value 2 रखते हैं।
अब हम Control + Enter दबाकर एक proper preview करते हैं, जैसा कि हमेशा किया जाता है।
आशा है आपको यह tutorial helpful लगा होगा। धन्यवाद वीडियो देखने के लिए।