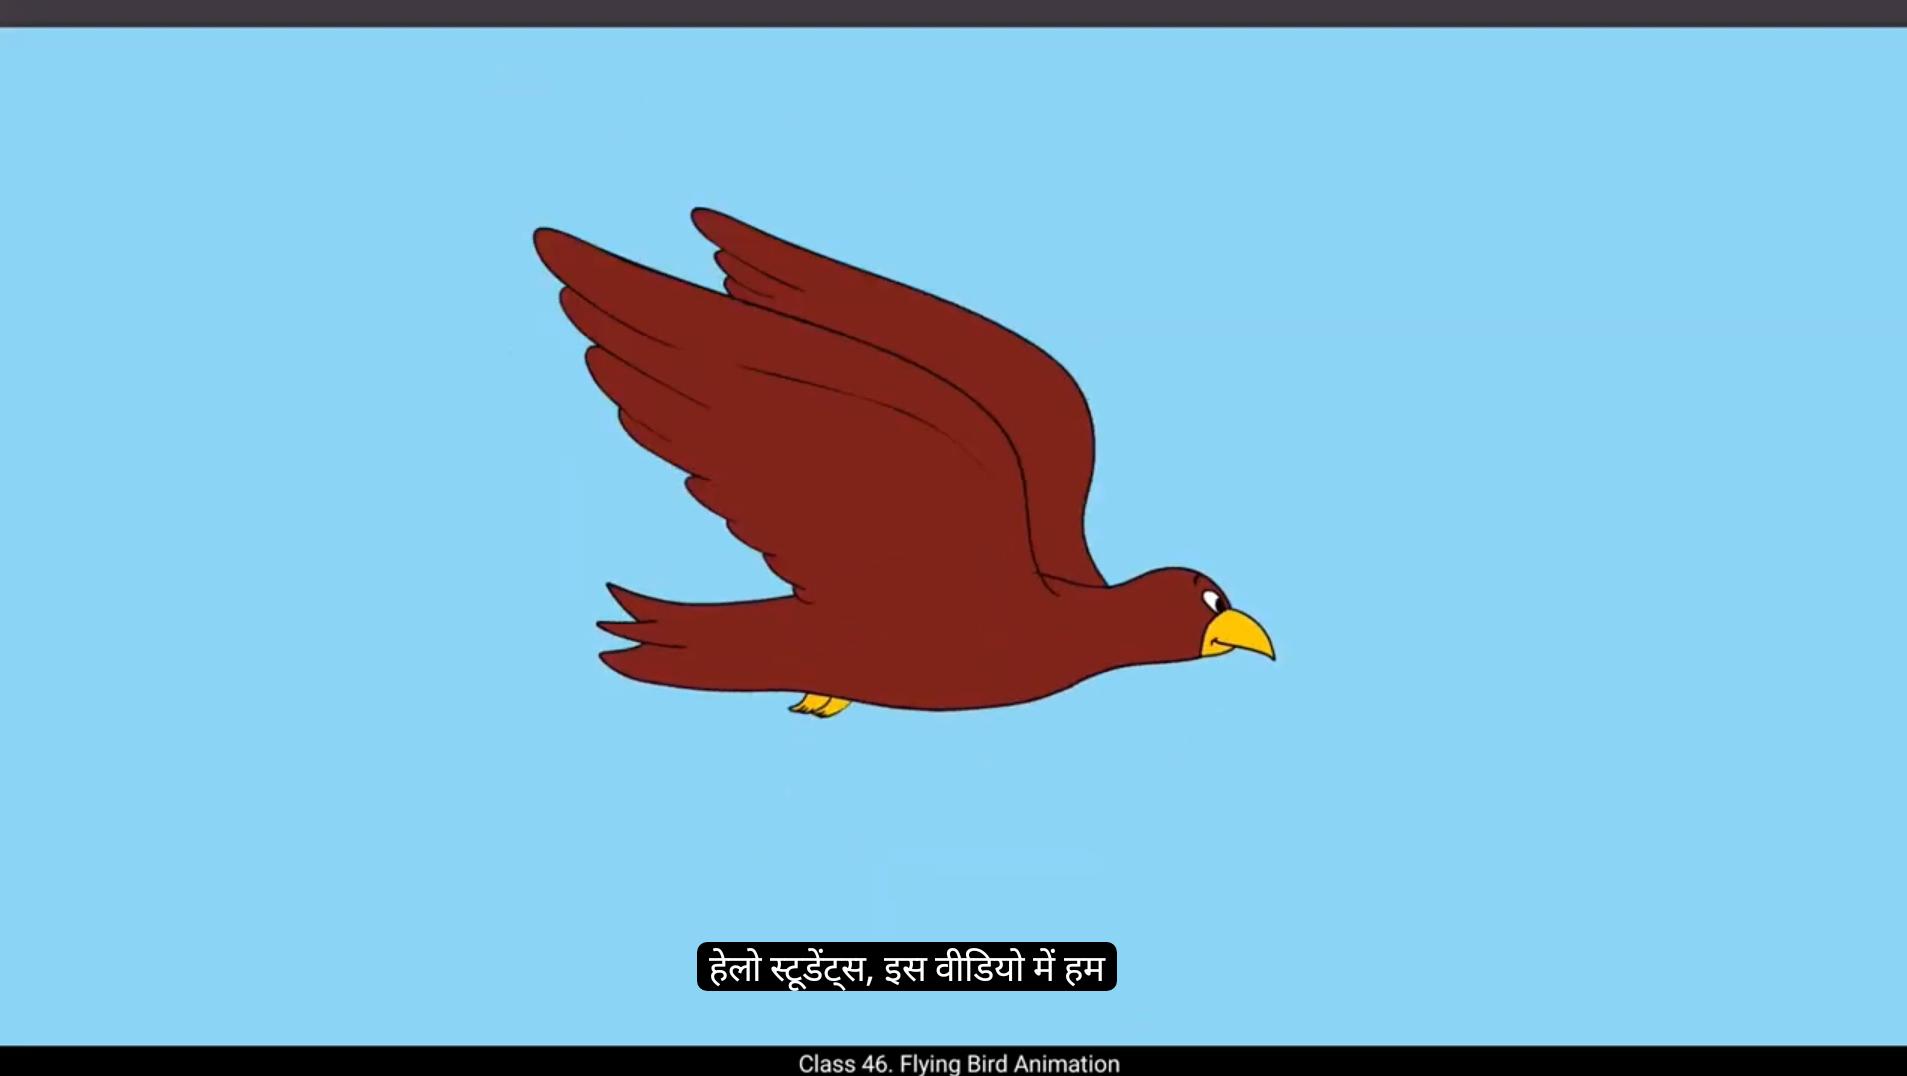
Hello students in this video we are going to animate a flying bird using key by key drawing method. So let's start animating.We are using the traditional style of animation. This means we will be drawing each frame individually and playing them in sequence to create movement.This process is known as frame by frame animation, where we draw every frame by hand.Before jumping into the detailed drawings, we will begin with rough sketches.At this stage, we focus on capturing the movement and flow rather than precise details. This approach allows us to explore different poses and make adjustments without being restricted by the drawing quality.To animate a flying bird effectively, we are following the straight ahead principle of animation. Instead of setting keyframes first and then filling in the in betweens, we will be drawing the frames in sequence from start to finish. This approach gives the animation a more fluid and natural feel, which is particularly useful for organic movements like a bird's flight.On the 1st keyframe, the wings will be positioned downwards. As we progress to the next keyframe, we will gradually draw the wings, expanding and moving upward frame by frame.In this tutorial, we will hold each drawing for 2 frames. This technique is called animation in twos. It helps maintain smooth motion while reducing the number of frames needed.The body position of the bird will remain almost the same throughout the animation, as the primary focus is on the wing movements.This transition should be smooth, ensuring that the motion follows a natural arc.When animating the wings, we follow the arc principle to ensure realistic motion. Bird wings do not move in straight lines. They follow curved paths as they flap.To capture this, we will analyze how a bird's wing moves in an upward and downward cycle. The wings rise in a smooth arc, then push downward in a powerful motion before lifting again.Understanding this movement will help create a believable animation.Watch the video carefully and follow the steps. Copy the drawing from frame 3 to the last keyframe to complete the loop and draw the in between frame for the previous position. Once the rough poses are complete, we create a new layer above them to start the cleanup process.For the cleanup, we trace over our rough frames using a single smooth line.This step refines the movement and gives the animation a polished look.When tracing, make sure to keep the thickness of the lines consistent and follow the natural flow of the rough pose. If you want, you can also make slight adjustments to improve the motion while tracing.The goal is to maintain the same fluidity while ensuring the lines are neat and clear. Cleanup every keyframe drawing For now, we will skip further clean up steps to keep the focus on the animation process.Now that our clean up is done, you can also add color to the bird and include a simple sky background to enhance the scene.And there you have it. We have successfully animated a flying bird using traditional frame by frame animation. By following the straight ahead method and applying the arc principle, we created a fluid, natural looking motion.This also marks the conclusion of our animation course. By now you should have gained confidence in your ability to animate using various methods.We hope this series has helped you grow as an animator. Keep creating, keep animating, and most importantly, enjoy the process.Thank you for watching and being part of this journey. Happy animating. हेलो स्टूडेंट्स, इस वीडियो में हम key by key drawing method का इस्तेमाल करके एक उड़ते हुए पक्षी (flying bird) को animate करने जा रहे हैं। तो चलिए शुरू करते हैं animating करना। हम यहाँ traditional style of animation का उपयोग कर रहे हैं। इसका मतलब है कि हम हर frame को अलग-अलग manually draw करेंगे और फिर उन्हें sequence में play करेंगे ताकि movement बन सके। इस process को frame-by-frame animation कहा जाता है, जिसमें हर frame को हाथ से draw किया जाता है। डिटेल्ड drawings पर जाने से पहले हम rough sketches से शुरुआत करेंगे। इस stage पर हमारा focus perfect details पर नहीं बल्कि movement और flow को capture करने पर होगा। यह तरीका हमें अलग-अलग poses को explore करने और उन्हें freely adjust करने की सुविधा देता है, बिना drawing quality की चिंता किए। एक flying bird को effectively animate करने के लिए हम Straight Ahead Principle of Animation follow कर रहे हैं। इसका मतलब है कि हम पहले keyframes set करने और फिर in-betweens भरने के बजाय, शुरू से अंत तक frames को एक के बाद एक draw करेंगे। यह approach animation को ज्यादा fluid और natural feel देती है, खासकर उन organic movements के लिए जैसे किसी पक्षी का उड़ना। पहले keyframe पर bird के wings नीचे की ओर (downward position) होंगे। जैसे-जैसे हम अगले keyframes की ओर बढ़ेंगे, हम धीरे-धीरे wings को फैलाते हुए और ऊपर की ओर move करते हुए draw करेंगे। इस tutorial में हम हर drawing को 2 frames तक hold करेंगे। इस technique को animation in twos कहा जाता है। यह तरीका motion को smooth रखता है, साथ ही जरूरी frames की संख्या को भी कम करता है। पूरी animation के दौरान पक्षी का body position लगभग एक जैसा रहेगा, क्योंकि हमारा मुख्य ध्यान wings की movement पर है। यह transition smooth होनी चाहिए ताकि motion एक natural arc में flow करे। जब हम wings animate करते हैं, तो हम Arc Principle को follow करते हैं ताकि motion realistic और natural लगे। 😘 पक्षी के पंख सीधी रेखाओं में नहीं चलते — वे ऊपर और नीचे जाते हुए curved path यानी वक्राकार रास्ता follow करते हैं। इसे सही तरीके से capture करने के लिए हमें यह समझना होगा कि एक पक्षी का पंख ऊपर उठने और नीचे आने के पूरे cycle में कैसे move करता है। जब पंख ऊपर उठता है, तो वह एक smooth arc बनाता है, और फिर नीचे आते समय एक ज़ोरदार powerful motion से हवा को push करता है, उसके बाद फिर से ऊपर उठ जाता है। इस movement को समझने से हमें एक believable और natural animation बनाने में मदद मिलती है। वीडियो को ध्यान से देखिए और सारे steps को follow कीजिए। अब frame 3 की drawing को copy करके last keyframe पर paste करें ताकि loop complete हो जाए, और पिछले position के लिए in-between frame draw करें। जब हमारी rough poses पूरी हो जाएँ, तो उनके ऊपर एक नई layer बनाएँ और cleanup process शुरू करें। Cleanup के लिए हम अपने rough frames पर एक smooth single line से trace करेंगे। यह step animation की movement को refine करता है और उसे polished look देता है। Tracing करते समय ध्यान रखें कि lines की thickness consistent हो और rough pose के natural flow को follow करें। अगर चाहें, तो tracing के दौरान थोड़े-बहुत सुधार भी कर सकते हैं ताकि motion और बेहतर लगे। इस step का goal है कि movement की fluidity बनी रहे और lines साफ़-सुथरी और clear दिखें। अब हर keyframe drawing को clean up करें। फिलहाल हम आगे के cleanup steps को skip करेंगे ताकि focus animation process पर बना रहे। Cleanup पूरा होने के बाद, आप bird में color add कर सकते हैं और background में simple sky जोड़ सकते हैं ताकि scene और सुंदर लगे। और बस, इस तरह हमने सफलतापूर्वक एक flying bird animation बना ली है जो traditional frame-by-frame animation पर आधारित है। Straight Ahead Method और Arc Principle को follow करके हमने एक fluid और natural looking motion हासिल किया है। इसके साथ ही हमारा animation course अब पूरा हो गया है। अब तक आपने विभिन्न तरीकों से animation बनाने में अच्छी समझ और confidence हासिल कर लिया होगा। हमें उम्मीद है कि इस series ने आपको एक animator के रूप में grow करने में मदद की होगी। Create करते रहिए, Animate करते रहिए, और सबसे ज़रूरी — Process का आनंद लीजिए। Thank you for watching and being part of this journey. Happy Animating!