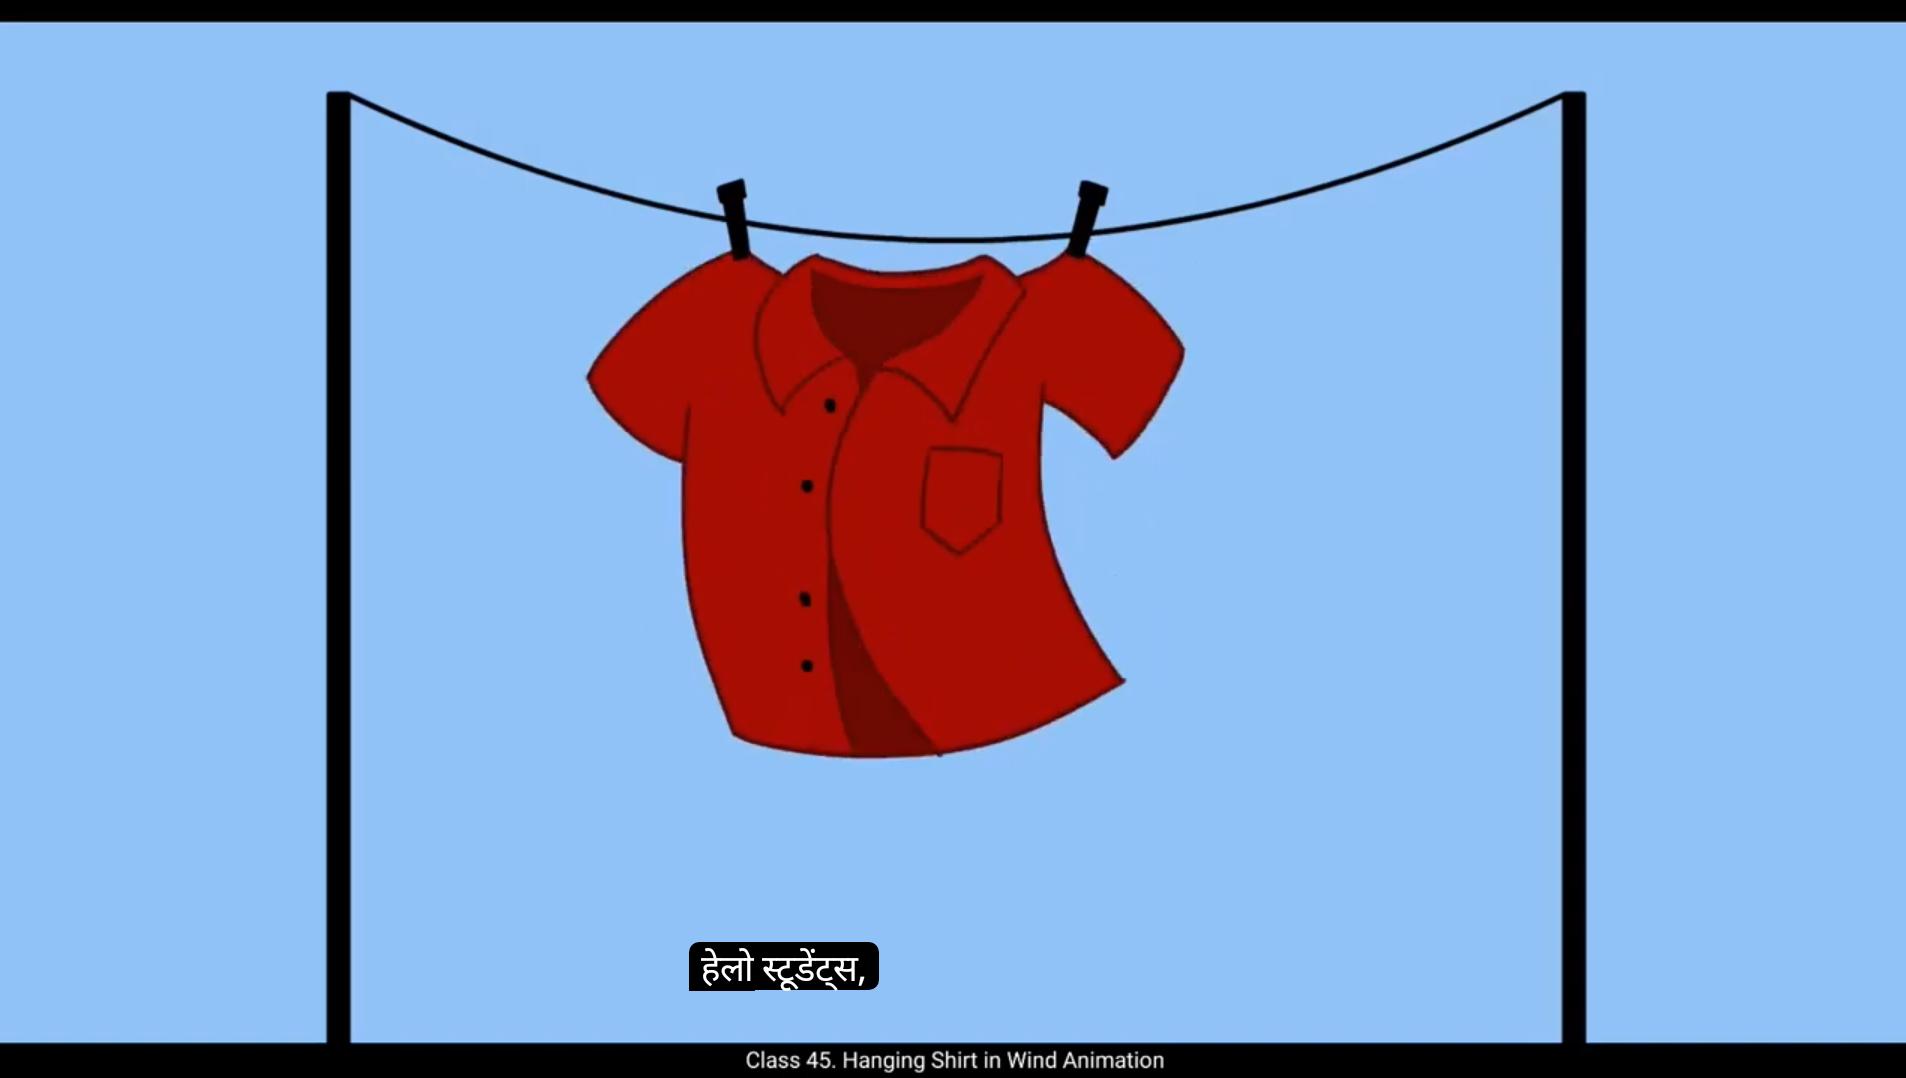
Hello students, in this video we are going to animate a hanging shirt blowing in the wind. We'll create a smooth natural movement as if the shirt is swaying while hanging on a rope. So let's start animating.We will begin by drawing the first keyframe of the shirt. This is the rough sketching stage, so we don't need to worry about making perfect lines at this stage. The goal is to establish the primary shape and movement of the shirt.Since this is a hand drawn frame by frame animation, we will refine these rough sketches later on a separate layer.For now, focus on the general shape of the shirt and how it might behave in the wind.Imagine how fabric reacts to airflow. It bends, twists and flutters naturally. A good reference is watching clothes hanging on a clothesline in real life, or checking slow motion footage of fabric blowing in the wind.We will display each keyframe for 2 frames to maintain a fluid motion.Once the first drawing is done, we will add a blank keyframe every second frame using F7 and start animating the motion of the shirt.We will be adding our drawings on frames 1, 3, 5, 7, 9 and 11 on the timeline.For this animation we are following The straight ahead principle of animation.This means that we are drawing each frame one after another, rather than setting key poses first and filling in the in betweens later.Straight ahead animation is great for organic movements like wind, water or fire because it allows for a more natural flow in motion.Now let's think about how a shirt behaves when it is hanging in the wind. It doesn't move in a perfectly repetitive cycle. Instead, it reacts to changes in wind speed, direction, and resistance from the fabric itself. 😘 To capture this natural feel, we add slight variations in each frame. As we draw, we should keep a few key things in mind. Fabric movement. The wind causes different parts of the shirt to move at different times.The edges and sleeves will often react more to the wind than the center.Overlapping motion.Different parts of the shirt won't move at the same time. For example, if the bottom of the shirt moves first, the top might follow with a slight delay.Secondary motion elements like folds and creases in the fabric will shift and change as the shirt moves. With these principles in mind, we continue drawing each new keyframe by slightly adjusting the shirts shape based on the wind's effect.We can exaggerate the motion in some frames to create a more dramatic and appealing movement. Watch the video carefully and follow the steps. Once we complete all our rough key frames, we go ahead and play the animation to see how it looks. If anything feels off, we can adjust our frames before moving to the next step.To move forward, we will reduce the opacity of the rough animation layer by bringing its alpha down to 12. Then we create a new layer above it to start the cleanup process. For the cleanup, we trace over our rough frames using a single smooth line.This step refines the movement and gives the animation a polished look.When tracing, make sure to keep the thickness of the lines consistent and follow the natural flow of the fabrics movement. If you want, you can also make slight adjustments to improve the motion while tracing.The goal is to maintain the same fluidity while ensuring the lines are neat and clear.Now that our clean up is done, you can also add color to the shirt and include a simple background to enhance the scene. A gentle sky gradient or some subtle details like a rope and clothespins can make the animation look even more appealing.And that's it. We have successfully animated a hanging shirt blowing in the wind using frame by Frame animation in Adobe Animate. By following the straight ahead principle, we've achieved a natural and organic motion. Hope you found this tutorial helpful. Thanks for watching. हेलो स्टूडेंट्स, इस वीडियो में हम एक हवा में लटकती हुई शर्ट को एनिमेट करने जा रहे हैं। हम ऐसा smooth और natural movement बनाएँगे, जैसे शर्ट रस्सी पर टंगी हुई हवा में धीरे-धीरे झूल रही हो। तो चलिए शुरू करते हैं animating करना। सबसे पहले हम शर्ट का पहला keyframe draw करेंगे। यह rough sketching stage है, इसलिए इस समय perfect lines बनाने की ज़रूरत नहीं है। इस stage का main goal है शर्ट का primary shape और उसकी movement को establish करना। क्योंकि यह एक hand-drawn frame-by-frame animation है, हम इन rough sketches को बाद में एक अलग layer पर refine करेंगे। अभी के लिए ध्यान दो शर्ट के overall shape पर और इस बात पर कि हवा में वो कैसे behave करेगी। सोचो कि हवा लगने पर कपड़ा कैसे react करता है — वो मुड़ता है, twist होता है और हल्के से flutter करता है। एक अच्छा reference है real life में कपड़े को clothesline पर हवा में उड़ते हुए देखना, या फिर slow motion footage देखना जहाँ कपड़ा हवा में sway कर रहा हो। हम हर keyframe को 2 frames तक display करेंगे ताकि motion fluid और smooth दिखे। जब पहला drawing तैयार हो जाए, तो हम हर दूसरे frame पर blank keyframe (F7) add करेंगे और शर्ट के motion को animate करना शुरू करेंगे। हम timeline पर drawings add करेंगे frames 1, 3, 5, 7, 9 और 11 पर। इस animation के लिए हम “Straight Ahead Principle of Animation” follow कर रहे हैं। इसका मतलब है कि हम हर frame को एक के बाद एक draw करेंगे, ना कि पहले key poses बनाकर बाद में in-betweens भरेंगे। Straight ahead animation उन organic movements के लिए बहुत अच्छा होता है जैसे हवा, पानी या आग, क्योंकि ये motion को ज़्यादा natural और continuous flow देता है। अब सोचो कि हवा में लटकती हुई शर्ट कैसी behave करती है — वो perfectly repetitive तरीके से नहीं हिलती। बल्कि, वो हवा की speed, direction, और fabric की resistance के हिसाब से अलग-अलग react करती है। 😘 इस natural feel को capture करने के लिए हम हर frame में हल्के-फुल्के variations add करेंगे। जब हम draw करते हैं, तो हमें कुछ बातें ध्यान में रखनी चाहिए — हवा की वजह से शर्ट के अलग-अलग हिस्से अलग समय पर move करते हैं, खासकर edges और sleeves ज़्यादा react करते हैं जबकि बीच का हिस्सा थोड़ा stable रहता है। शर्ट के सभी हिस्से एक साथ नहीं हिलते, जैसे अगर नीचे वाला हिस्सा पहले हिले तो ऊपर का हिस्सा थोड़ी देरी से follow करेगा। इसके अलावा, folds और creases भी movement के साथ बदलते रहते हैं। इन principles को ध्यान में रखते हुए, हम हर नए keyframe को हवा के असर के हिसाब से थोड़ा-थोड़ा adjust करते हुए draw करेंगे। कुछ frames में हम motion को थोड़ा exaggerate कर सकते हैं ताकि movement और dramatic और appealing लगे। सारे rough keyframes तैयार हो जाने के बाद animation को play करके देखें, अगर कुछ off लगे तो frames को adjust कर लें। फिर हम rough animation layer की opacity कम करेंगे, इसकी alpha value लगभग 12 तक घटाकर उसके ऊपर एक नई layer बनाएँगे ताकि cleanup process शुरू किया जा सके। Cleanup में हम rough frames को एक smooth continuous line से trace करेंगे, जिससे animation refined और polished दिखे। tracing करते समय lines की thickness consistent रखें और fabric के natural movement के flow को follow करें। अगर ज़रूरत हो तो tracing के दौरान थोड़े सुधार भी कर सकते हैं ताकि motion और smooth लगे। Cleanup पूरा हो जाने के बाद आप शर्ट में color add कर सकते हैं और background में simple details जैसे हल्का sky gradient, या फिर rope और clothespins जोड़ सकते हैं ताकि animation और आकर्षक लगे। और बस! हमने सफलतापूर्वक एक हवा में लहराती हुई लटकती शर्ट को frame-by-frame animation के ज़रिए Adobe Animate में बना लिया है। Straight Ahead Principle को follow करके हमने एक natural और organic motion हासिल किया है। उम्मीद है आपको यह tutorial helpful लगा होगा। Thanks for watching, और मिलते हैं अगले tutorial में!